Main Instrument Panel Construction (MIP)
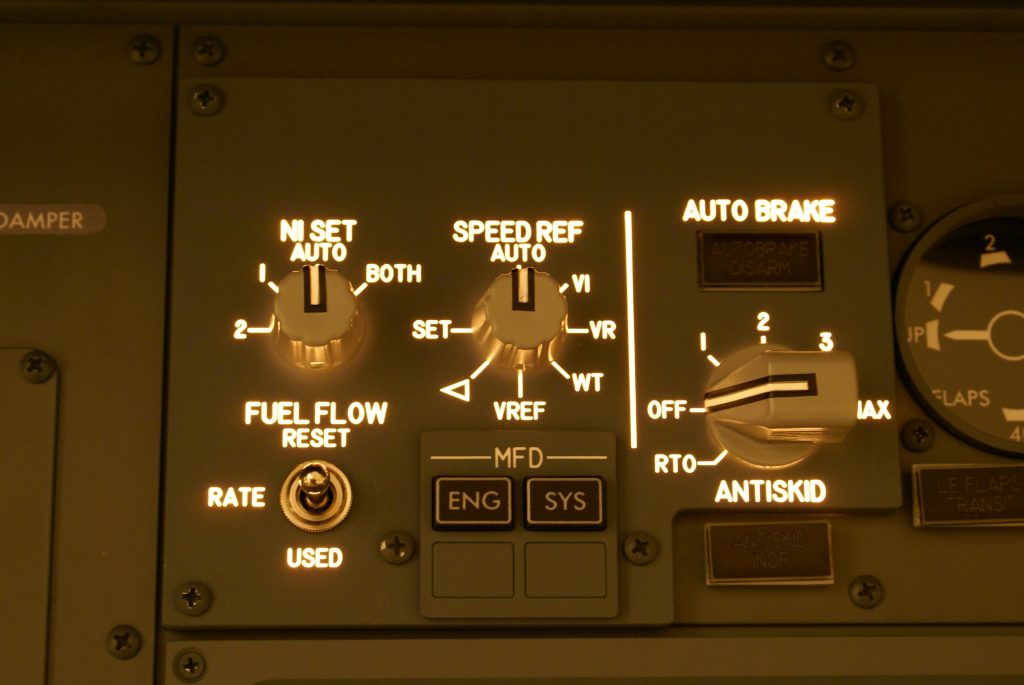
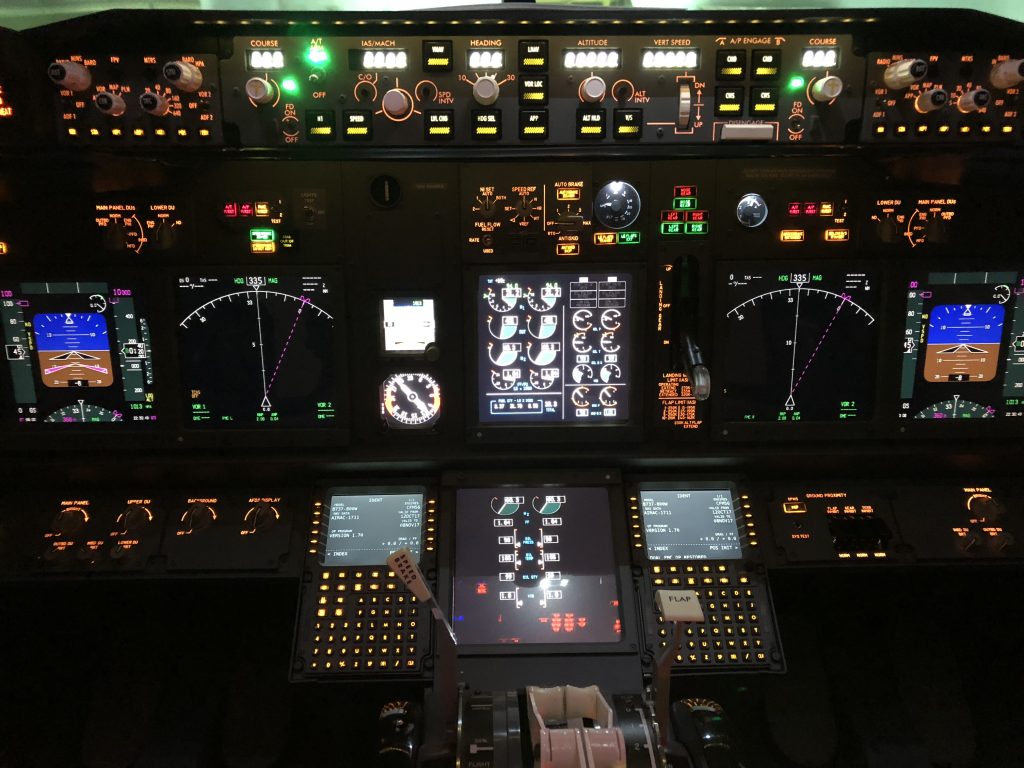
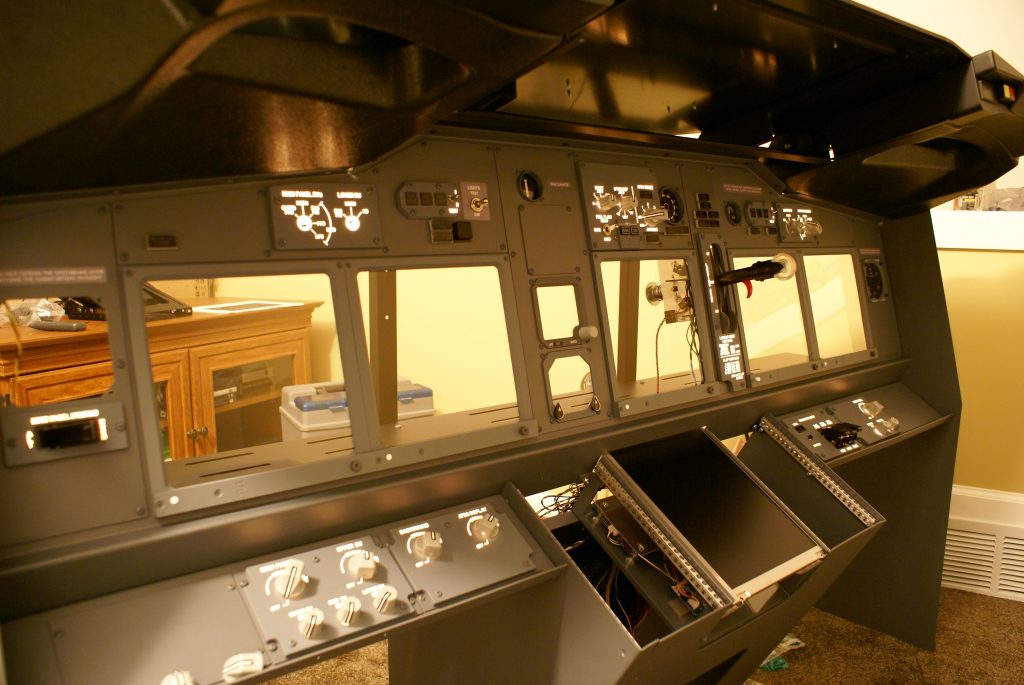
Perhaps one of the most critical parts of the flight deck is the MIP. On it are all of the important flight parameters. I purchased the components from Flightdeck Solutions. In my opinion, you cannot find higher quality, more realistic components anywhere outside of the real aircraft.
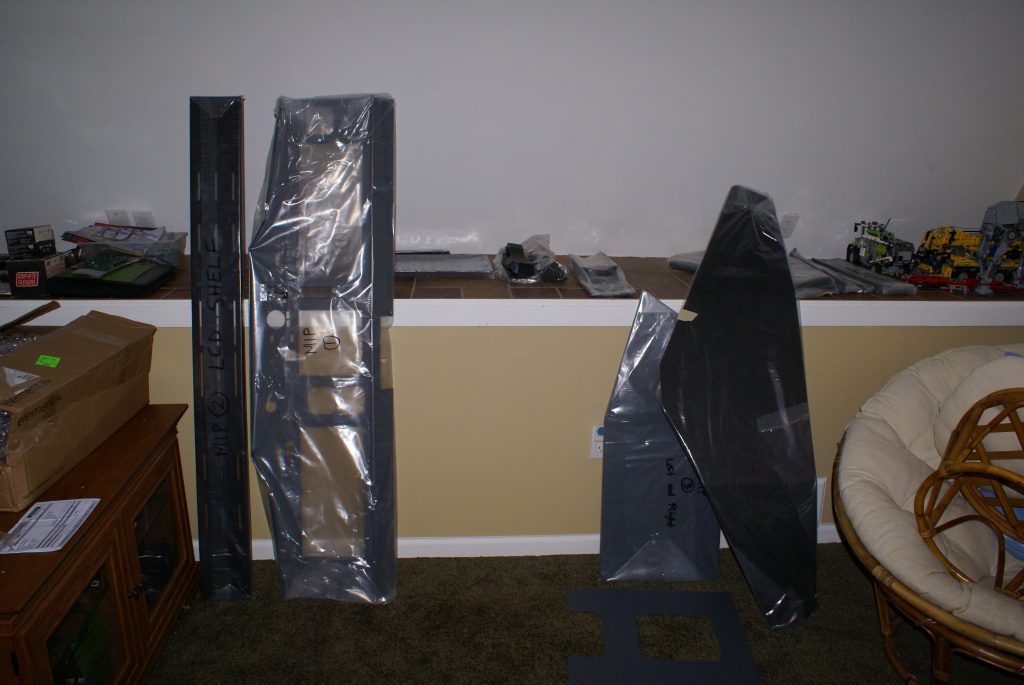
I ordered the components unassembled. It was well packaged and fairly compact. All components are power coated with a very smooth finish.
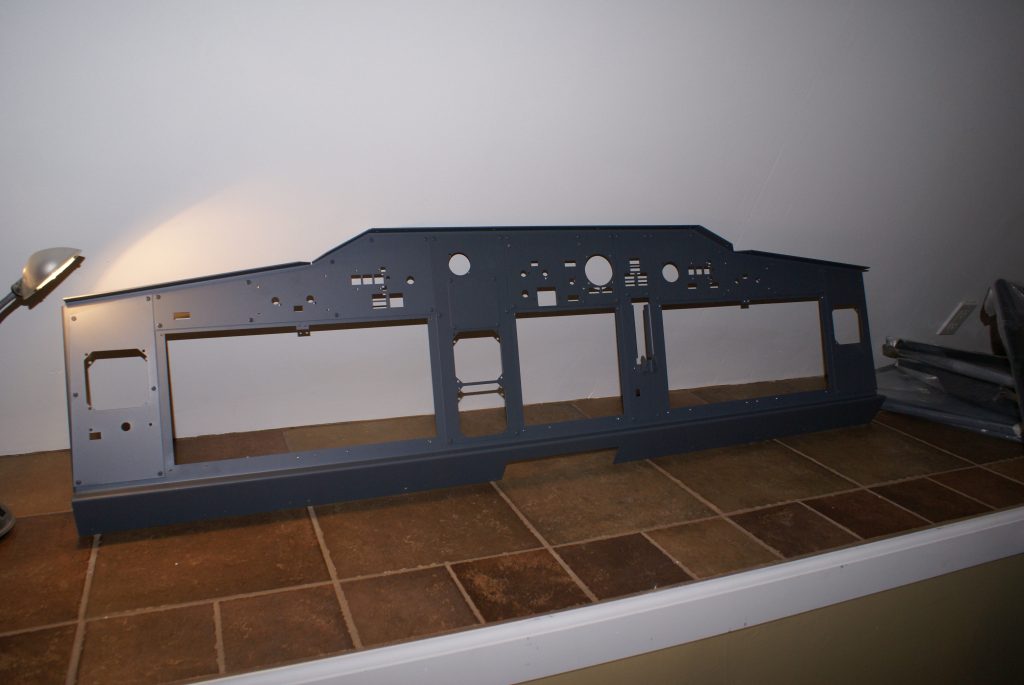
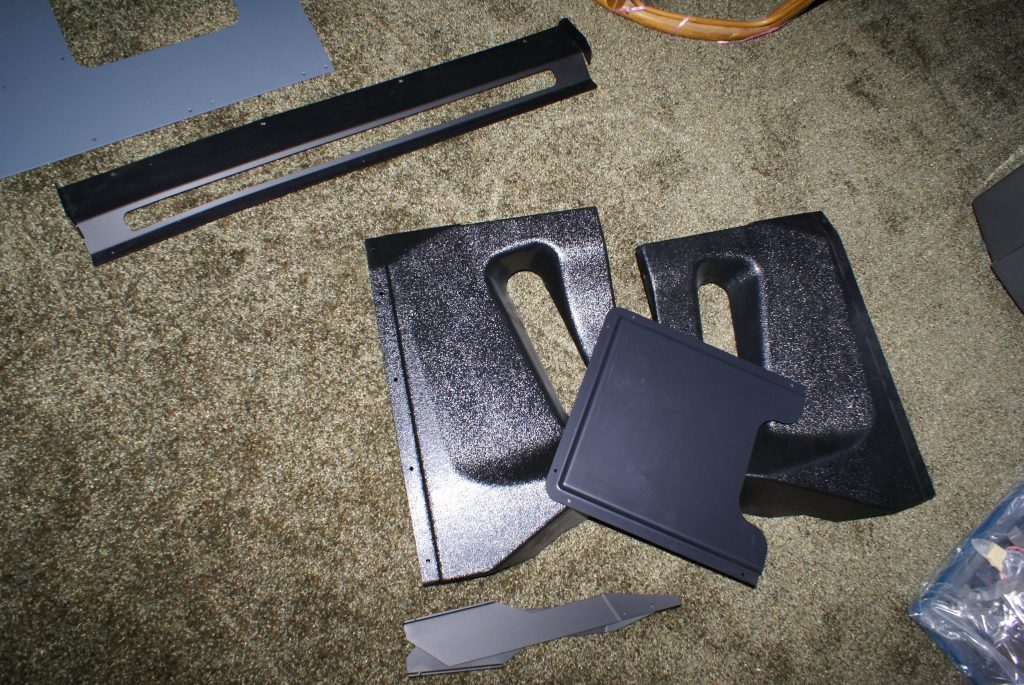
All of the hardware was painted a matte Boeing gray that looked awesome. Everything was very realistically represented. Keeping everything organized during the build is extremely important.
I ordered the components unassembled. It was well packaged and fairly compact. I also purchased the CDU bay (which I would highly recommend) and all of the hardware from FDS.
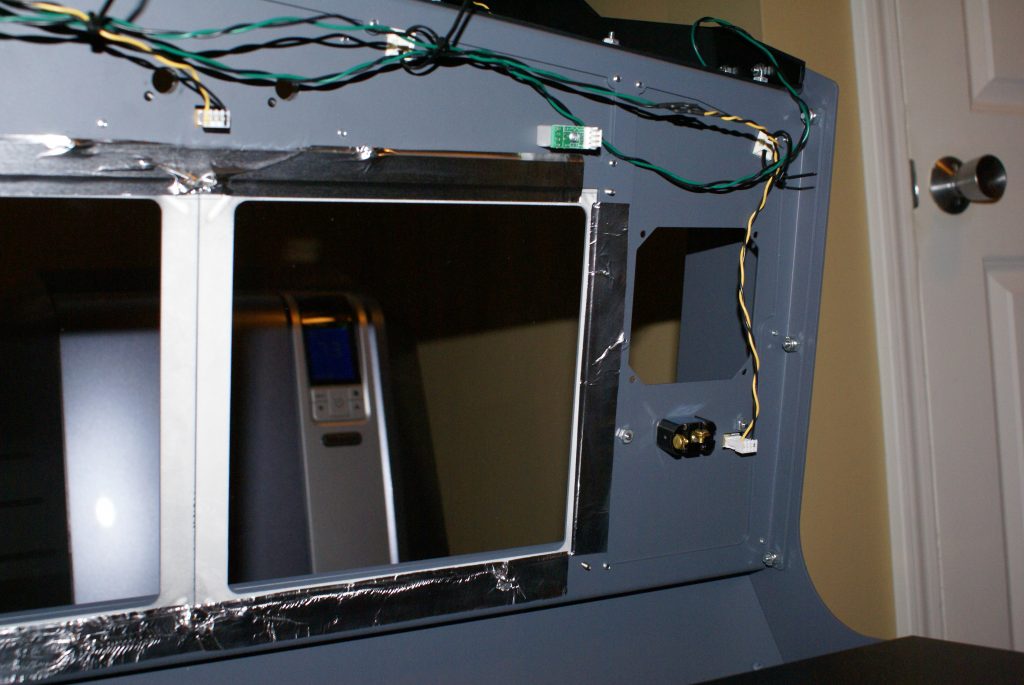
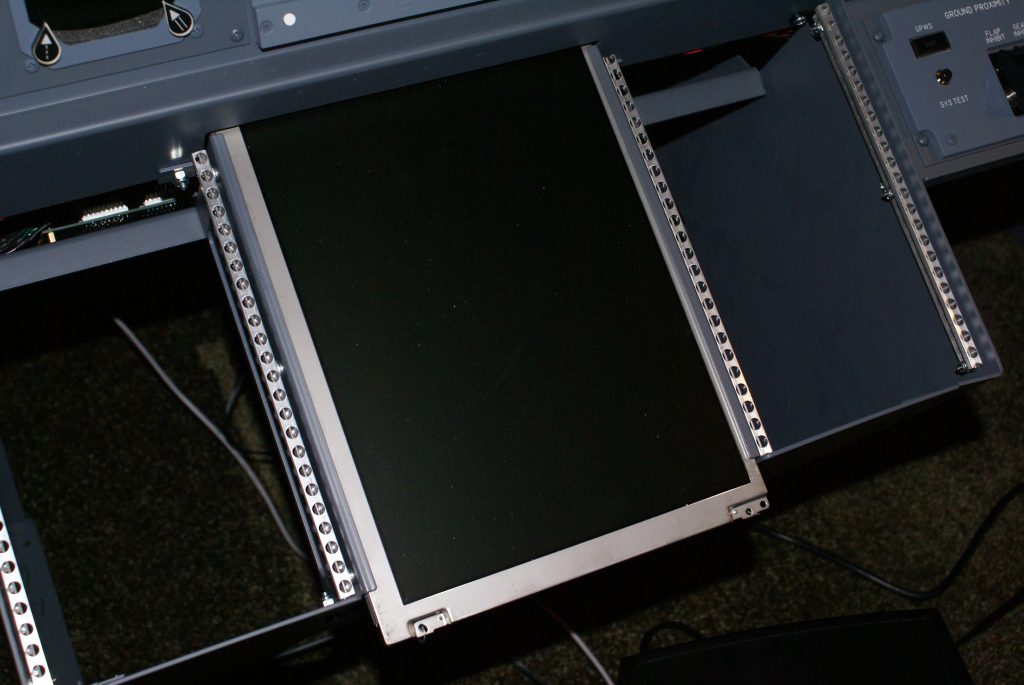
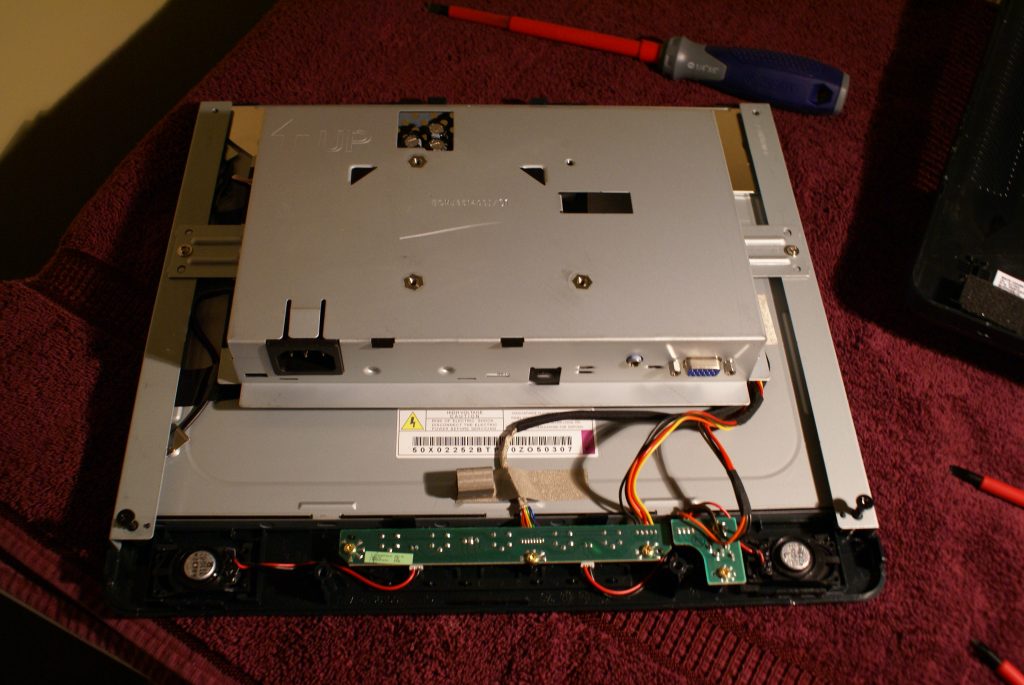
The MFD LCD was also purchased from FDS due to the custom size. It’s pricy but I wouldn’t get it from anywhere else. The final fit looks great.
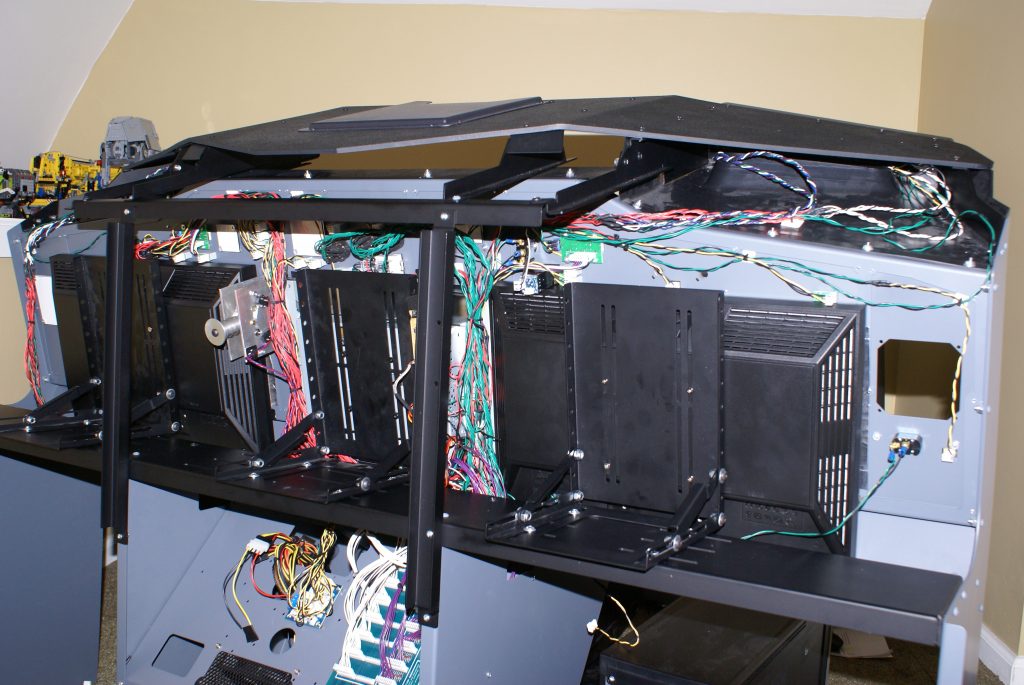
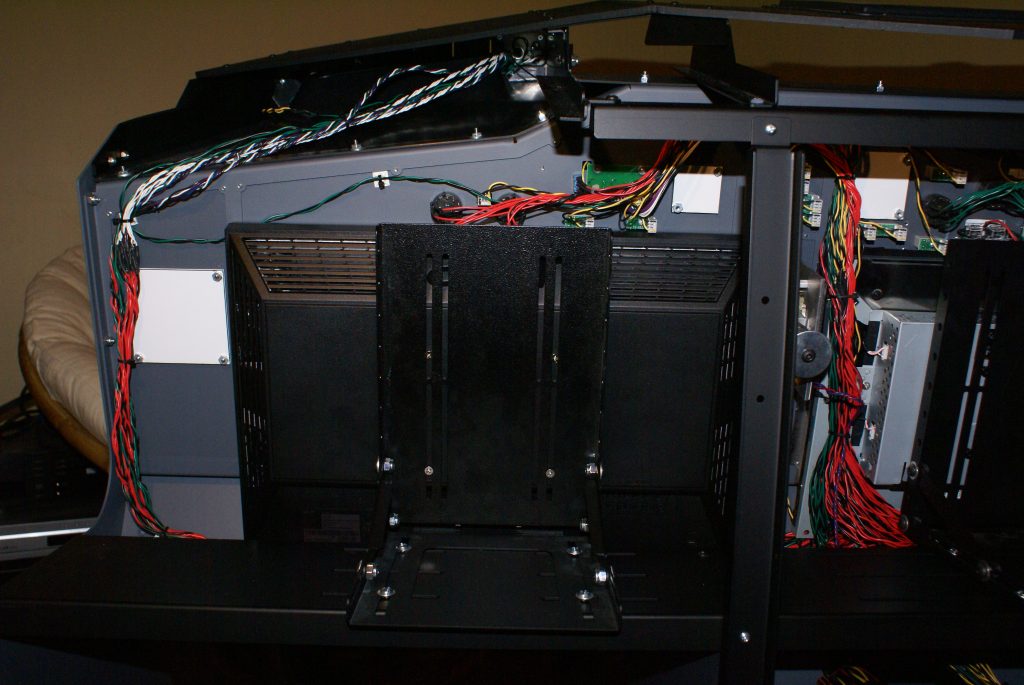
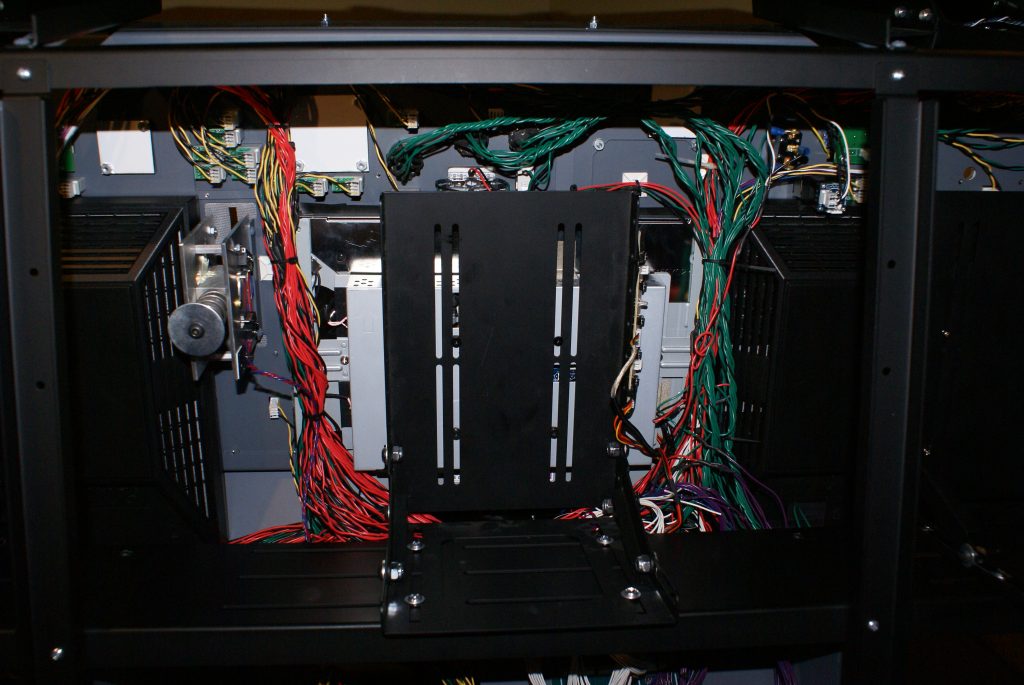
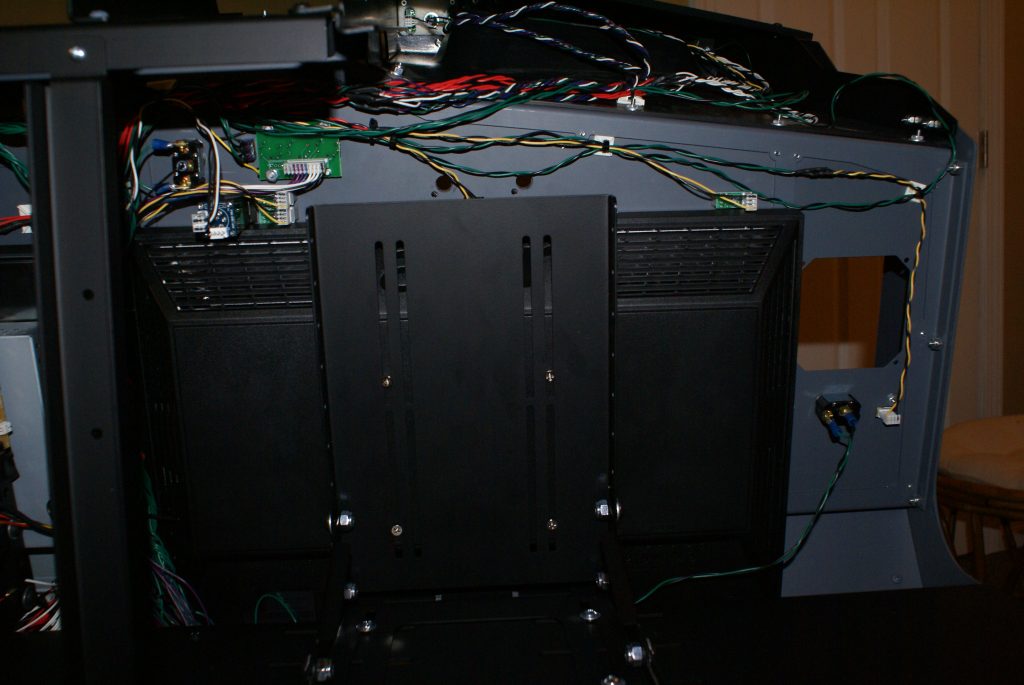
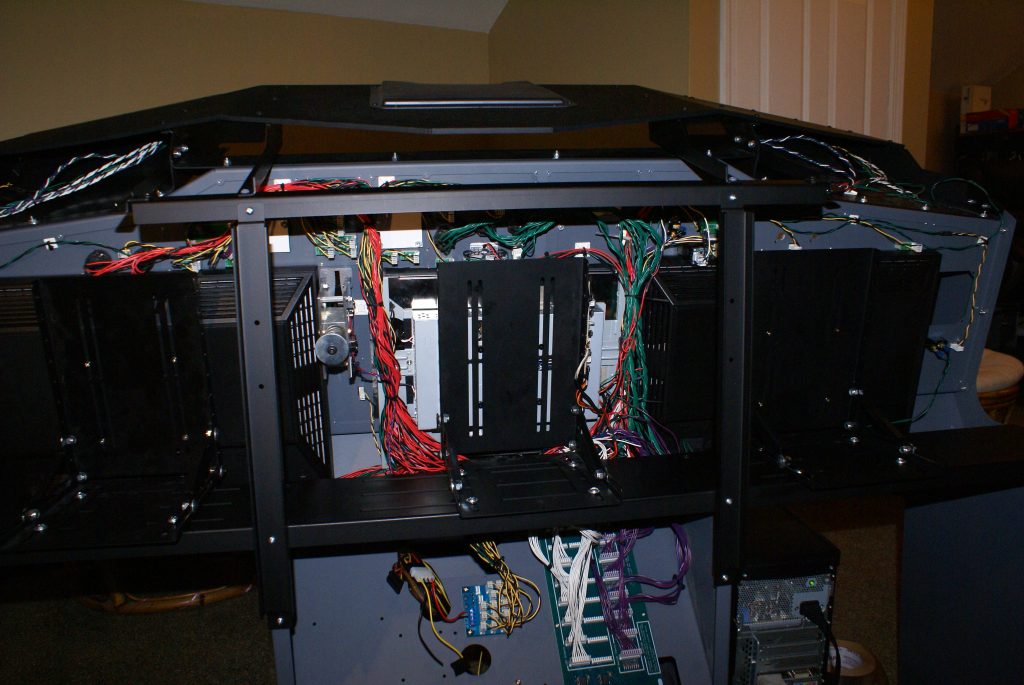
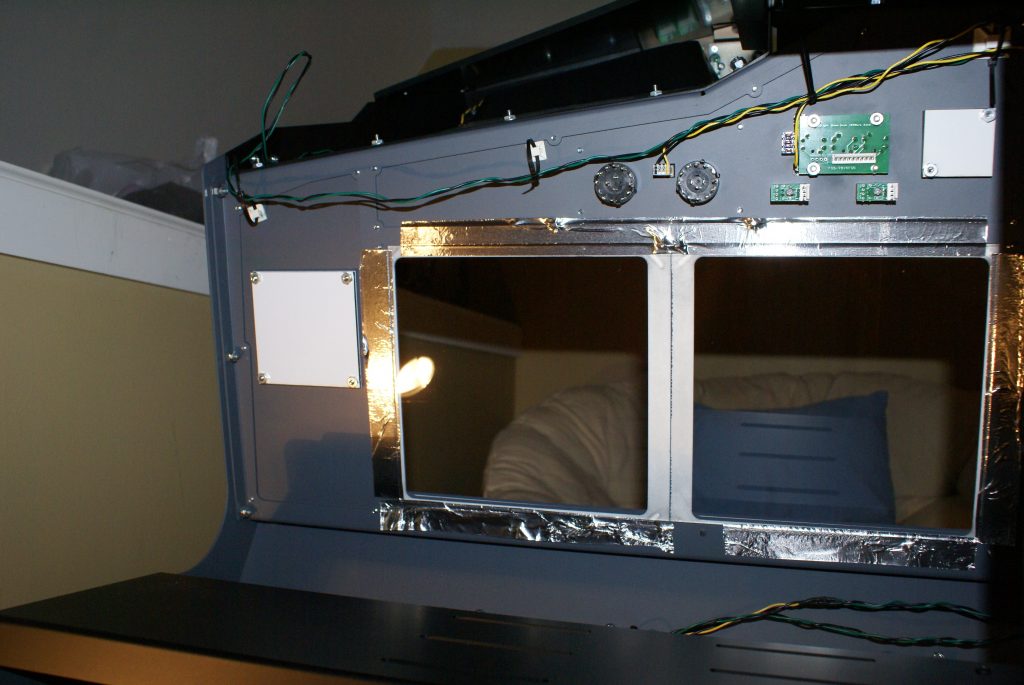
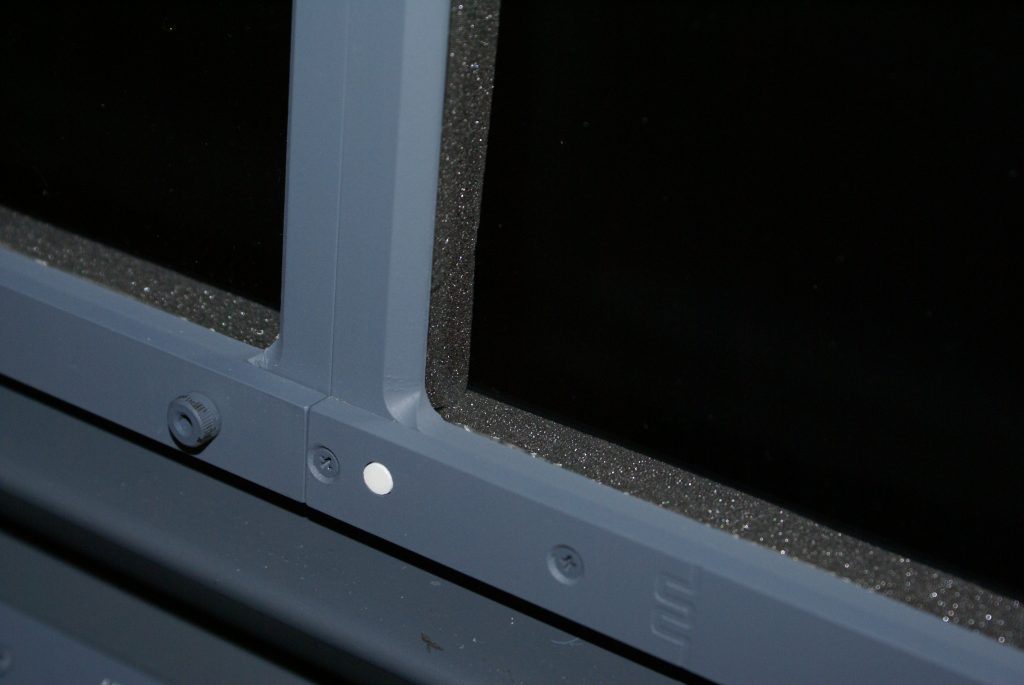
I placed foam around each of the frames on the backside to fill in gaps from each of the monitors. There are two (2) 17″ ACER monitors for the PFD & ND on each side of the MIP. There is a Planar 15″ monitor for the EICAS, backup AI & RMI center displays. Finding that 15″ monitor was not easy and it was very expensive for it’s size.
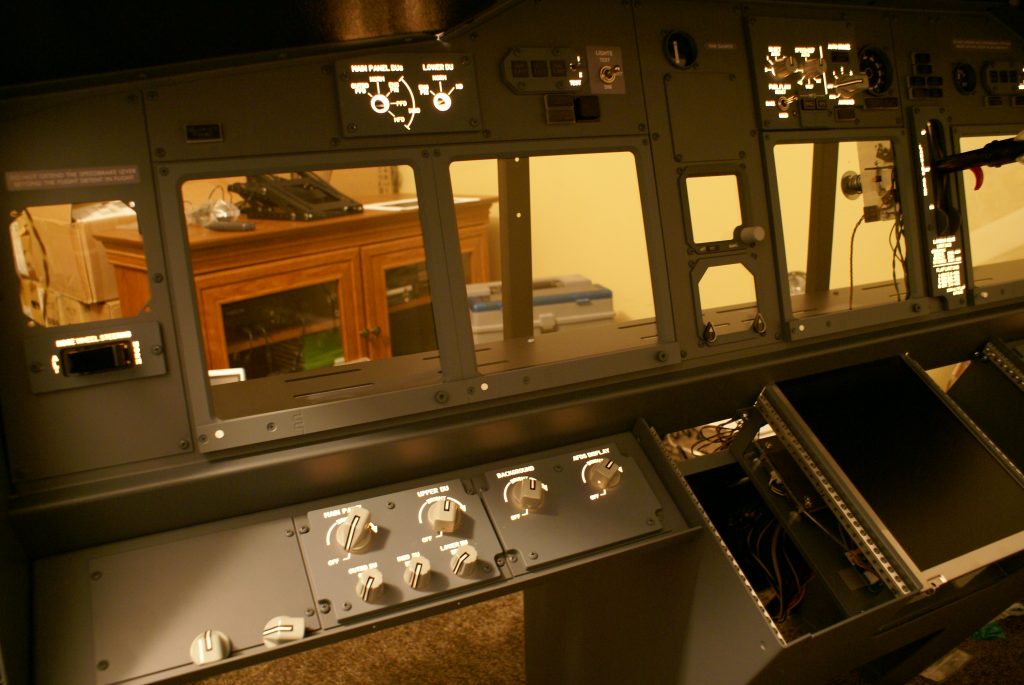
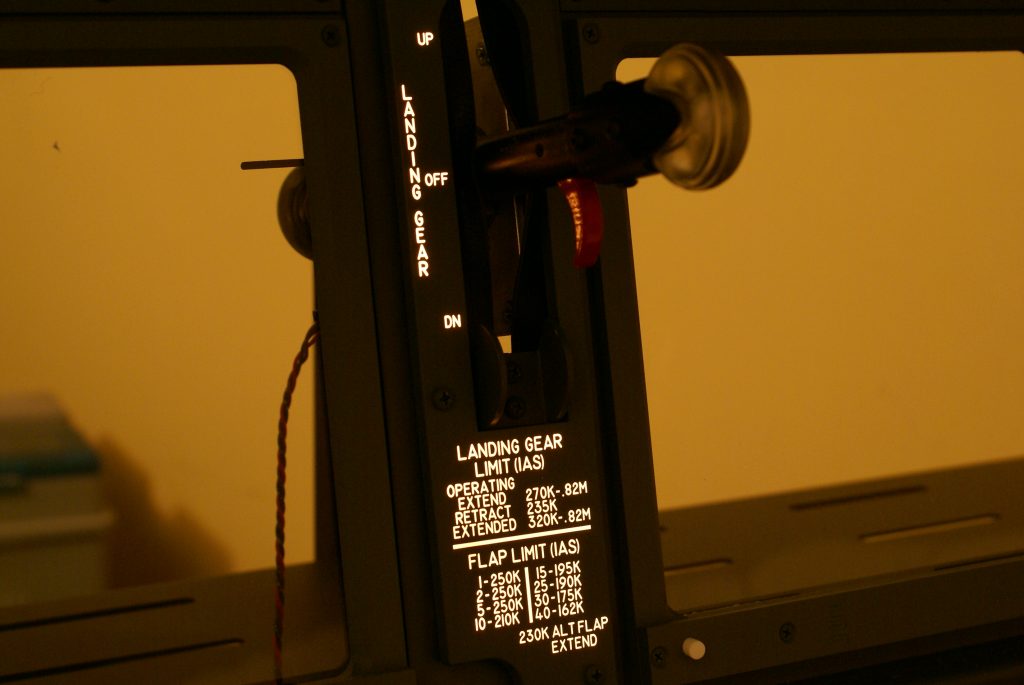
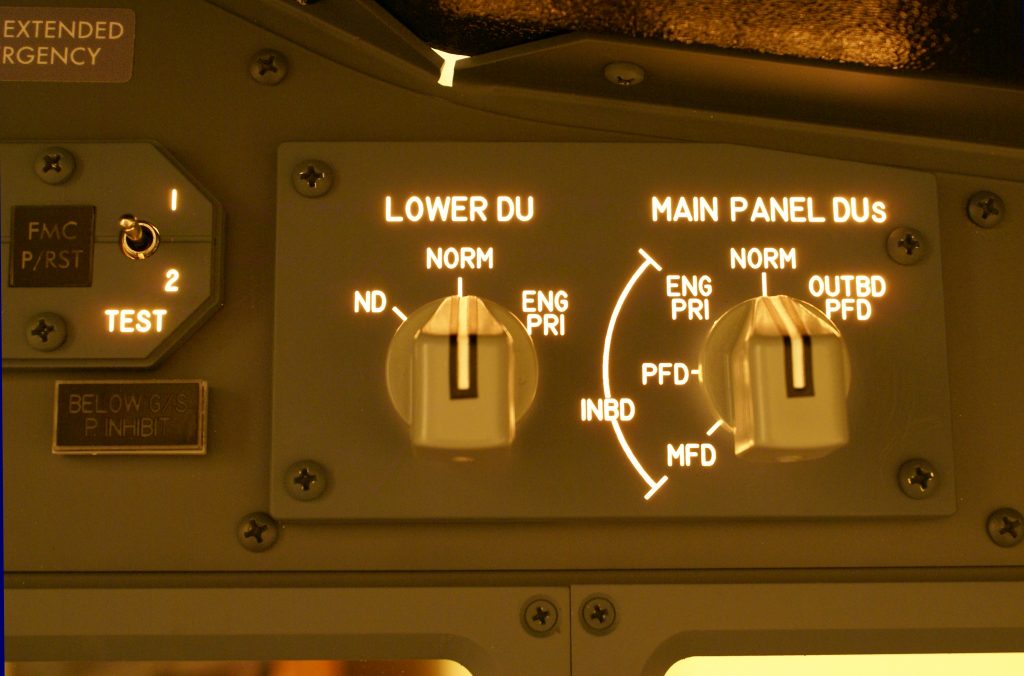
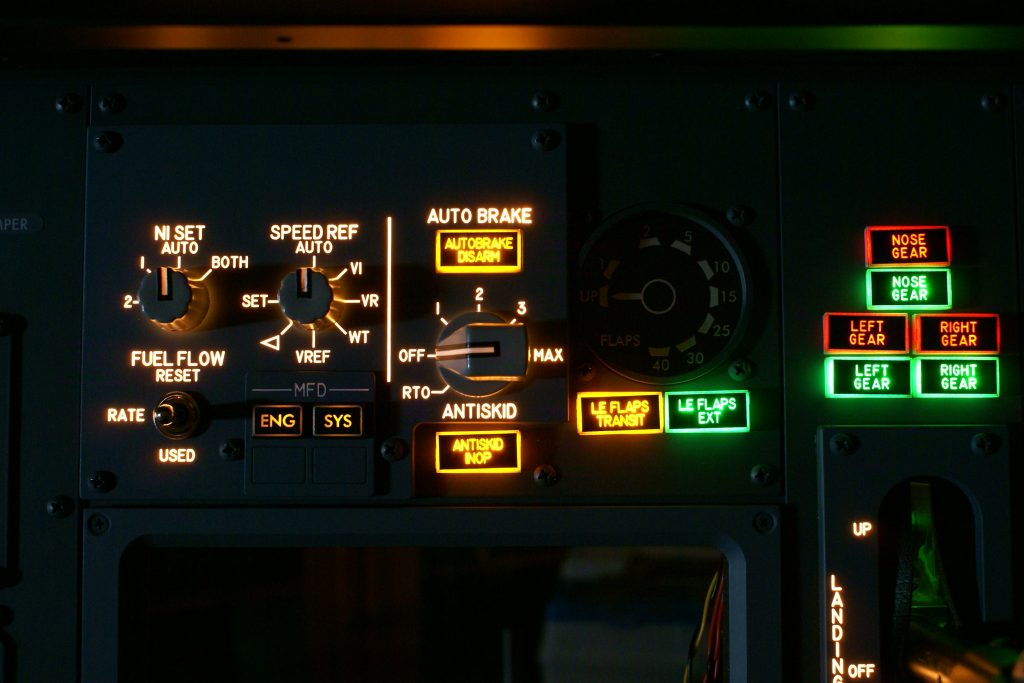
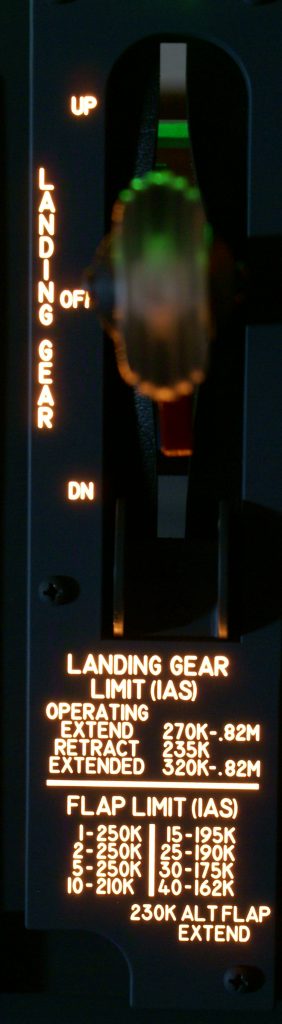
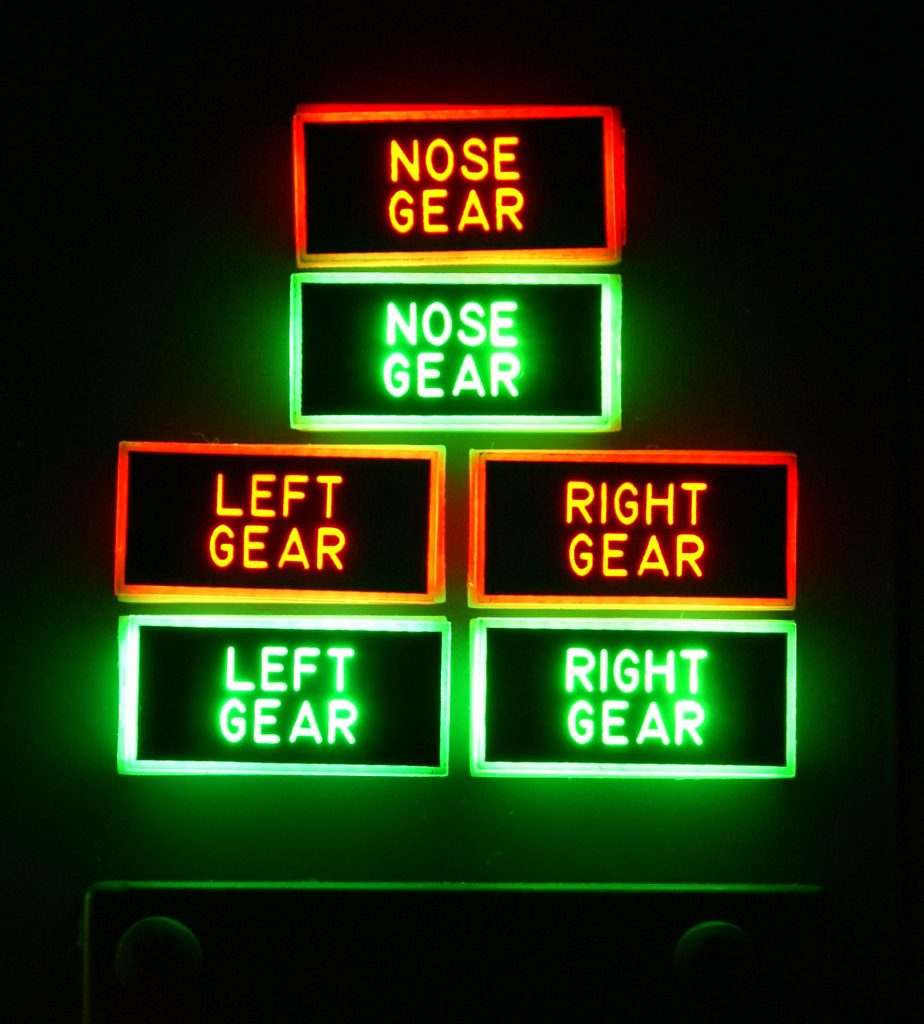
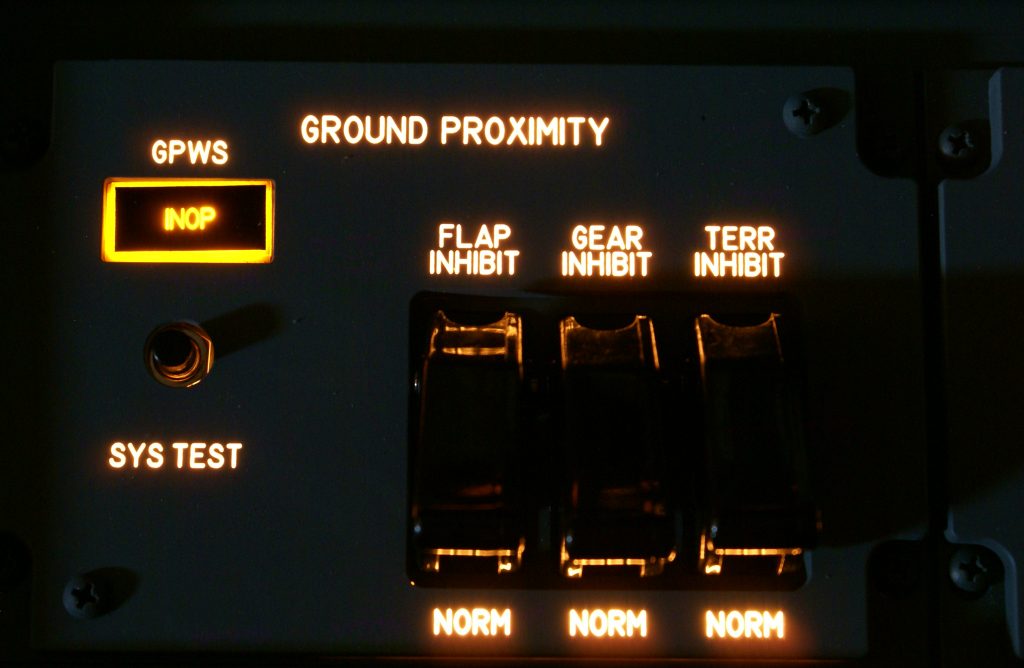
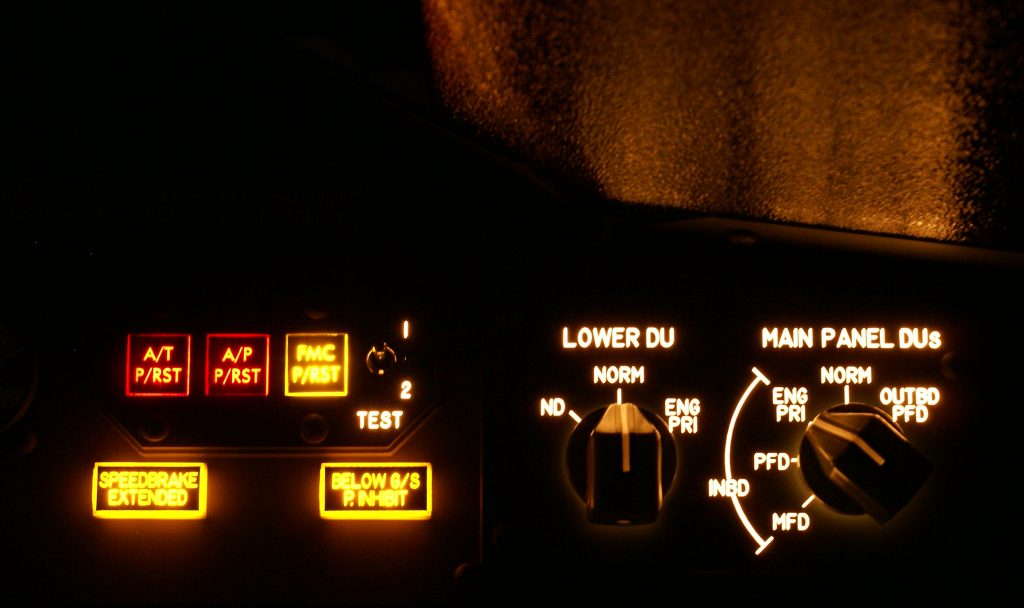
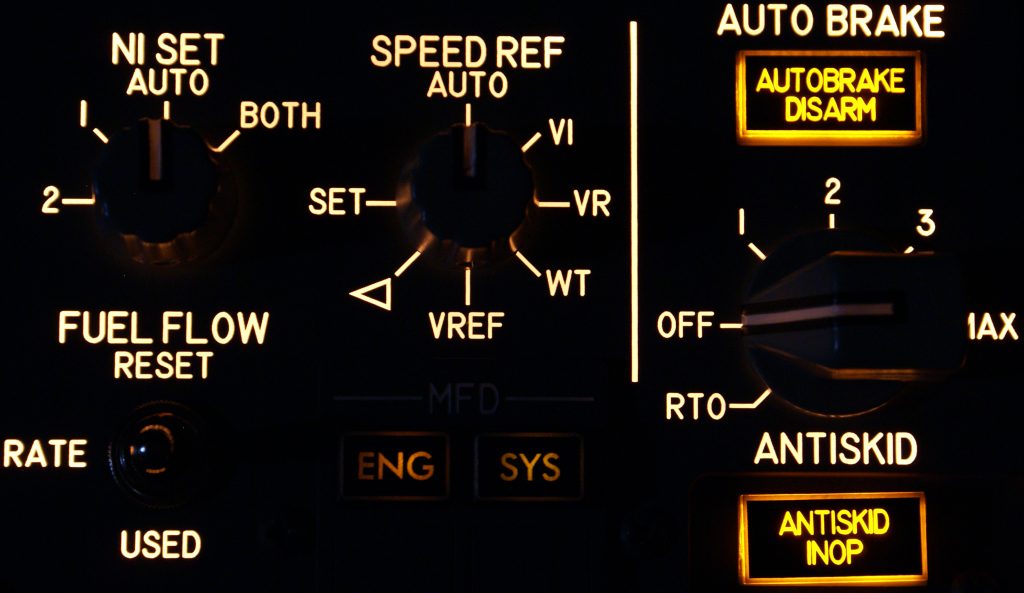
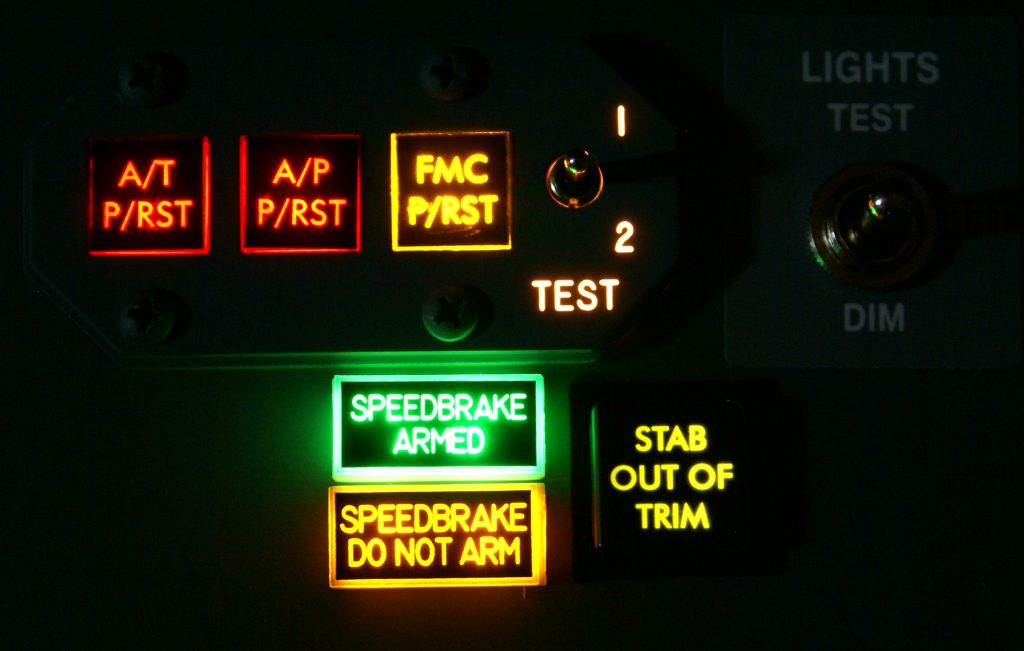
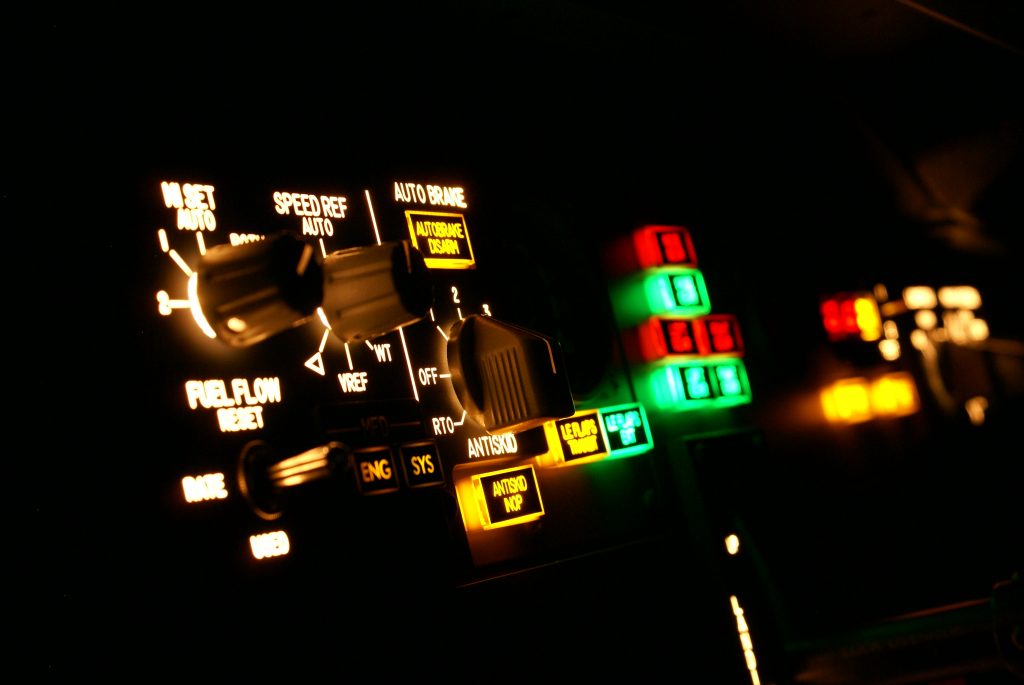
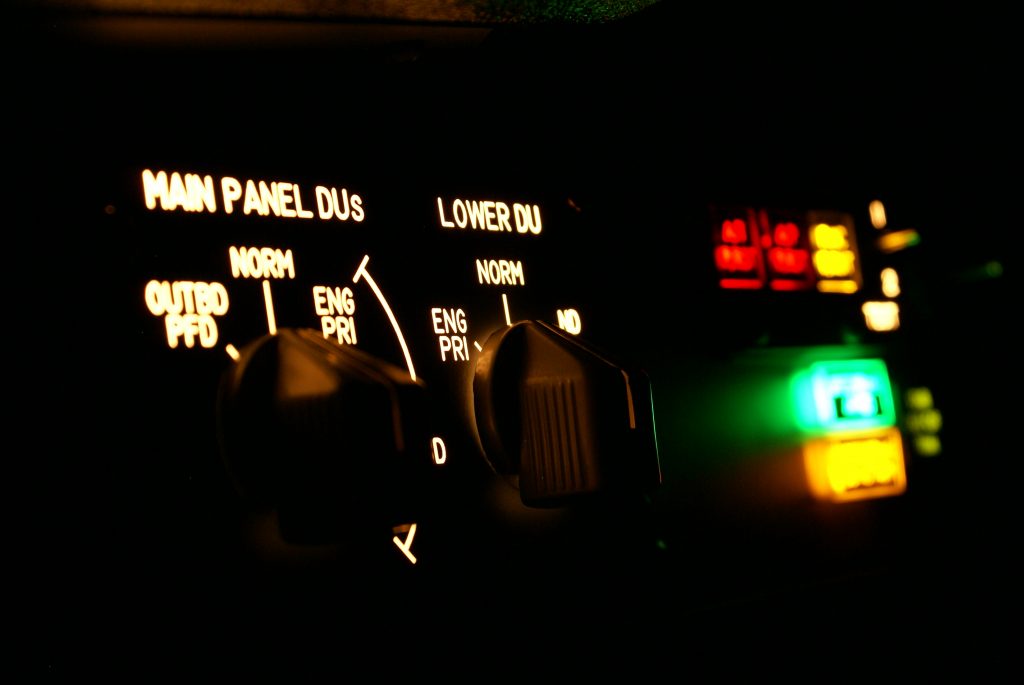
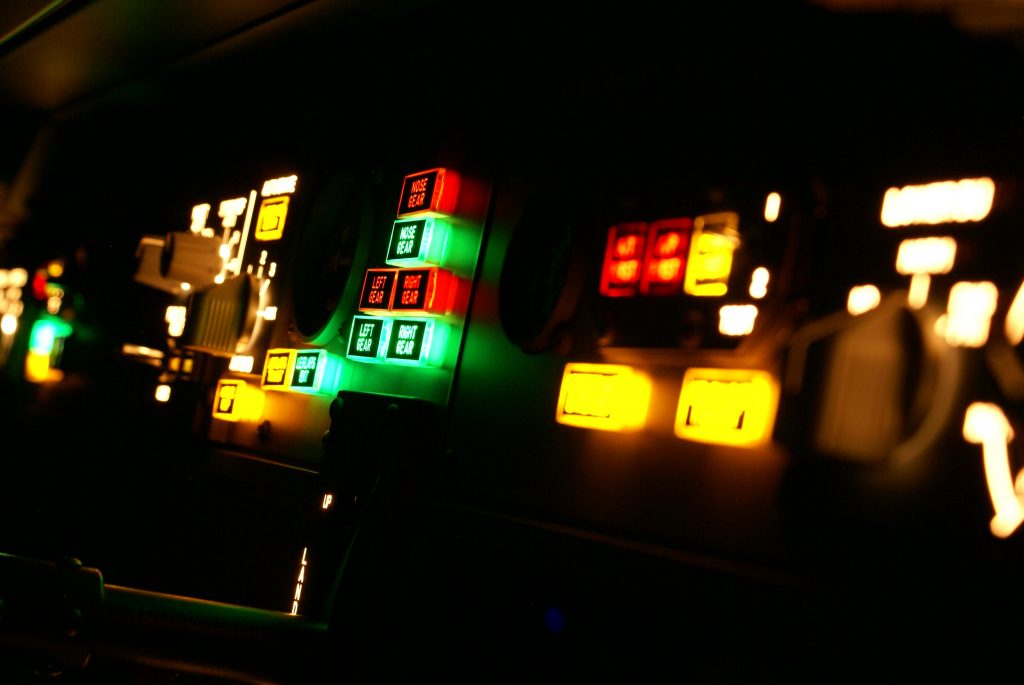
Once I finished the assembly, I mounted the Integrated Backlit Panels (IBL) and powered them up. The backlighting looks awesome. Very realistic!!
I chose to do all the assembly myself. Some may want FDS to do this for them, and they will be happy to do it, but for me the build is the main reason I love the hobby.
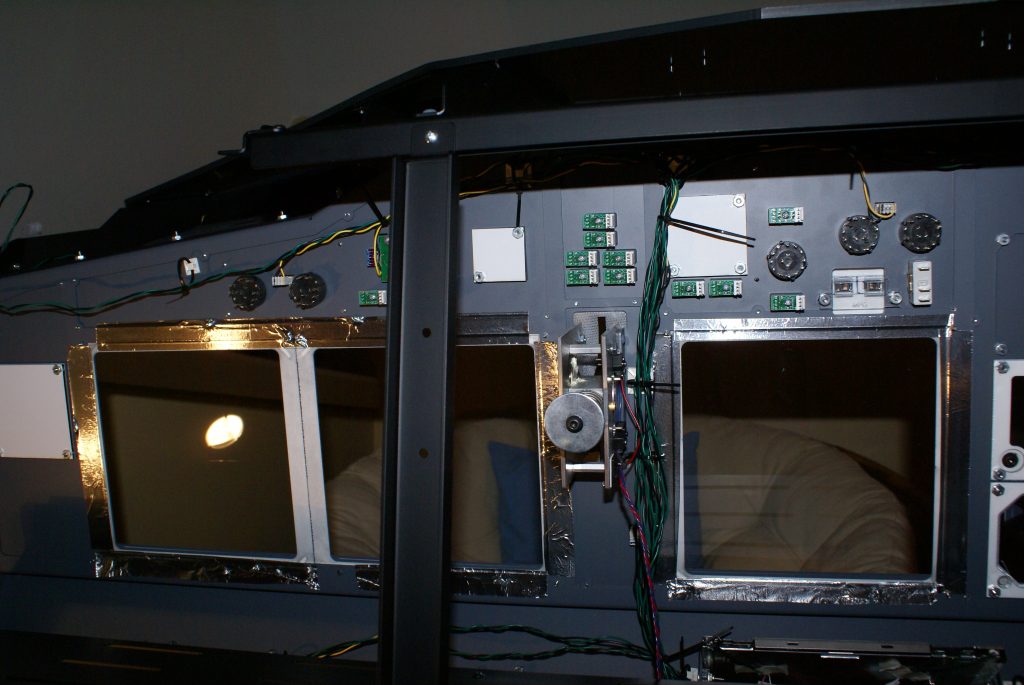
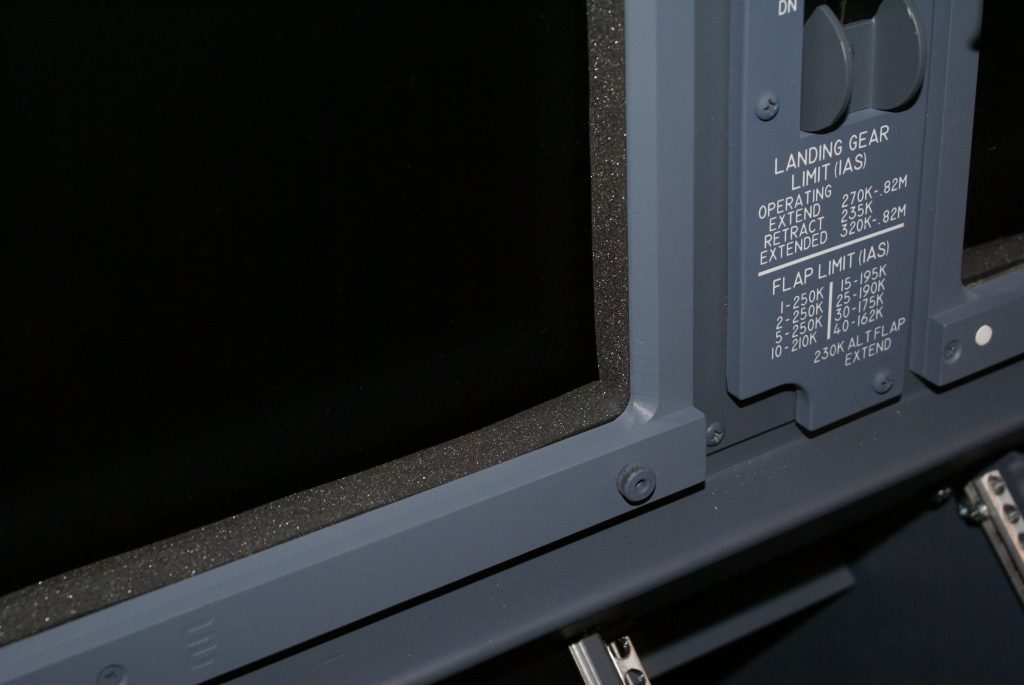
This is a detail of the weather-stripping foam I used around each monitor. Makes for a nice finish.
CDU Bay
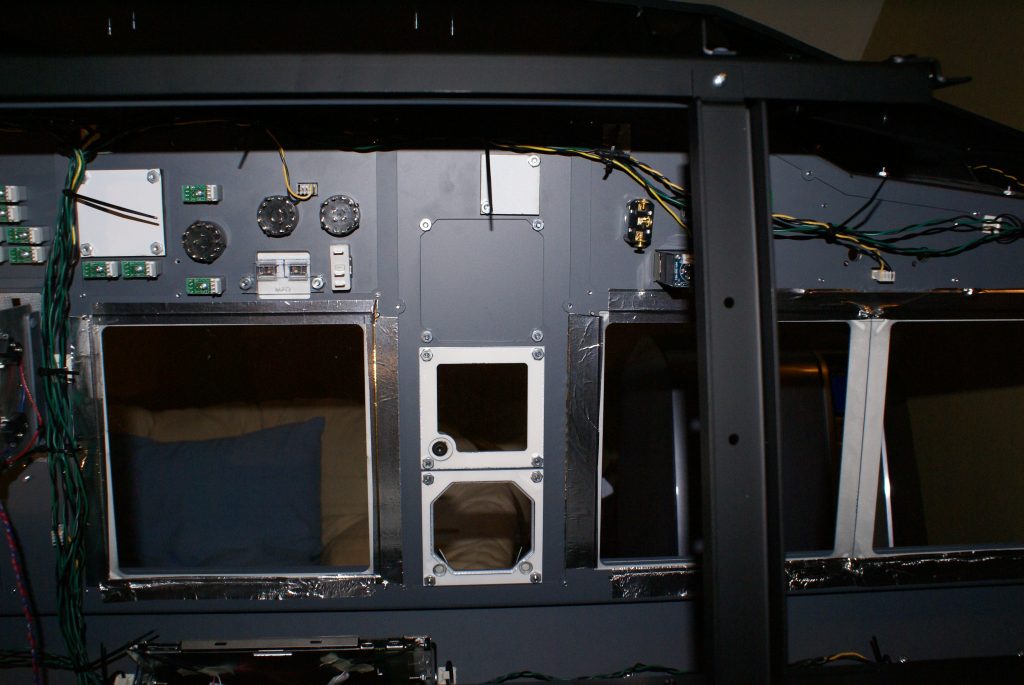
The CDU bay and MFD panel mounts up very nicely. The fit and finish is perfect. You can see the DZUS rails that are in each CDU bay for each FMS. This is the only place on my flight deck where I used DZUS rails. For me, the expense of this on the overhead, for example, is not worth the price. FDS will use DZUS rails anywhere you want.

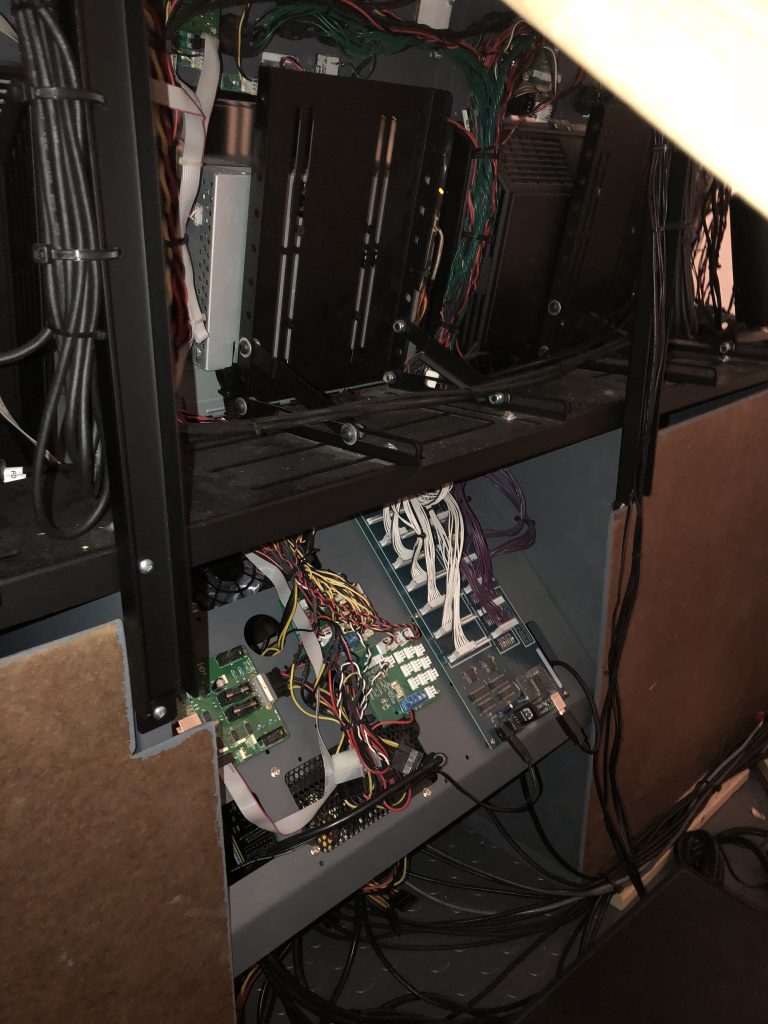
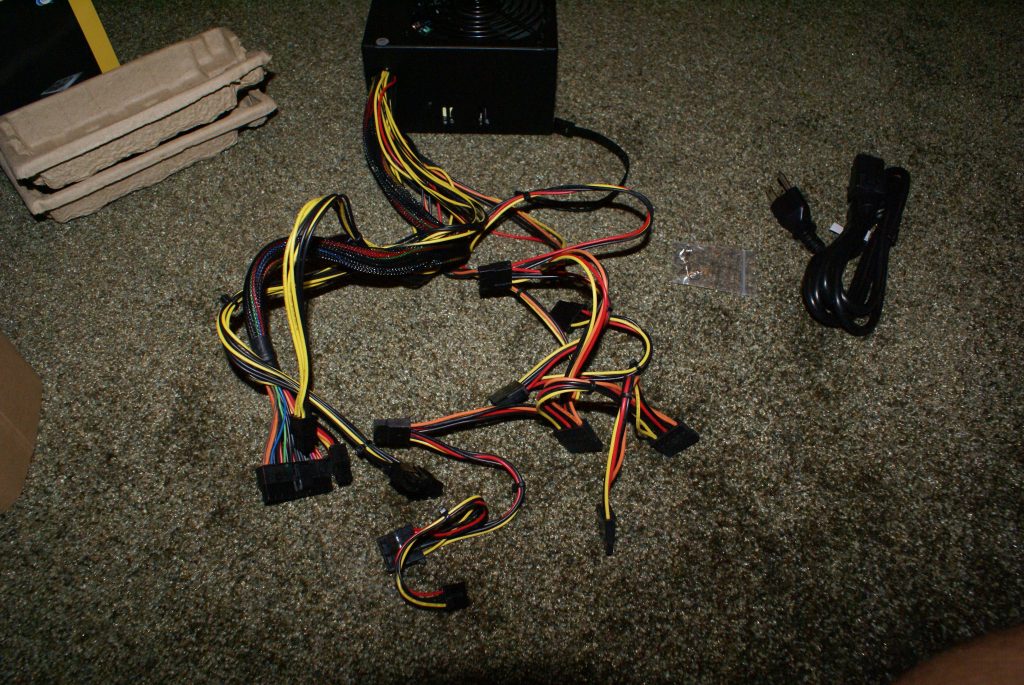
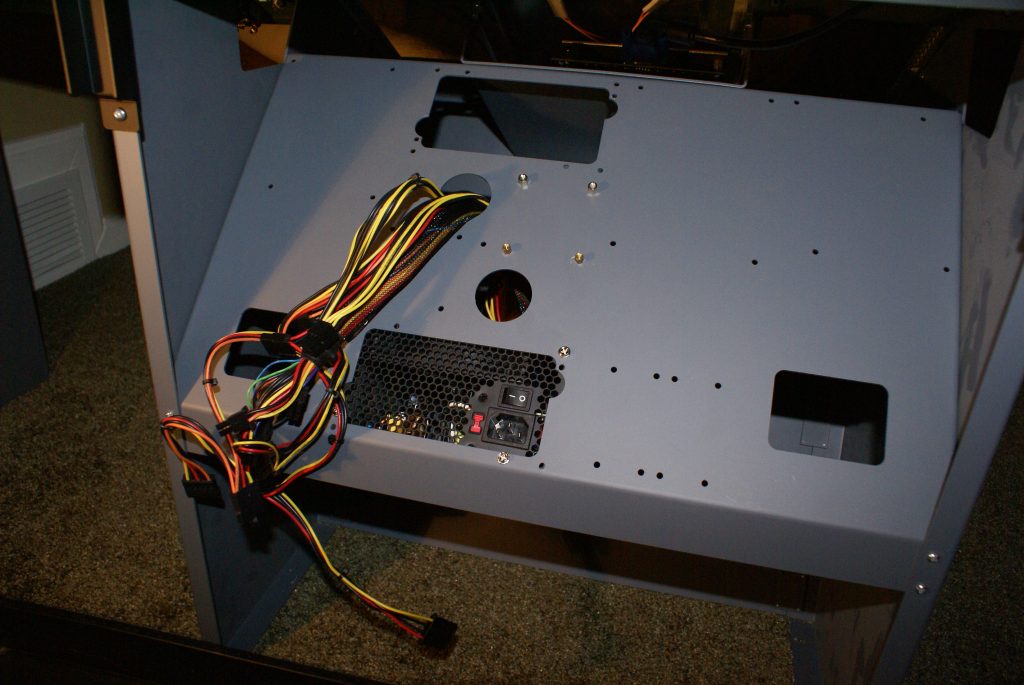
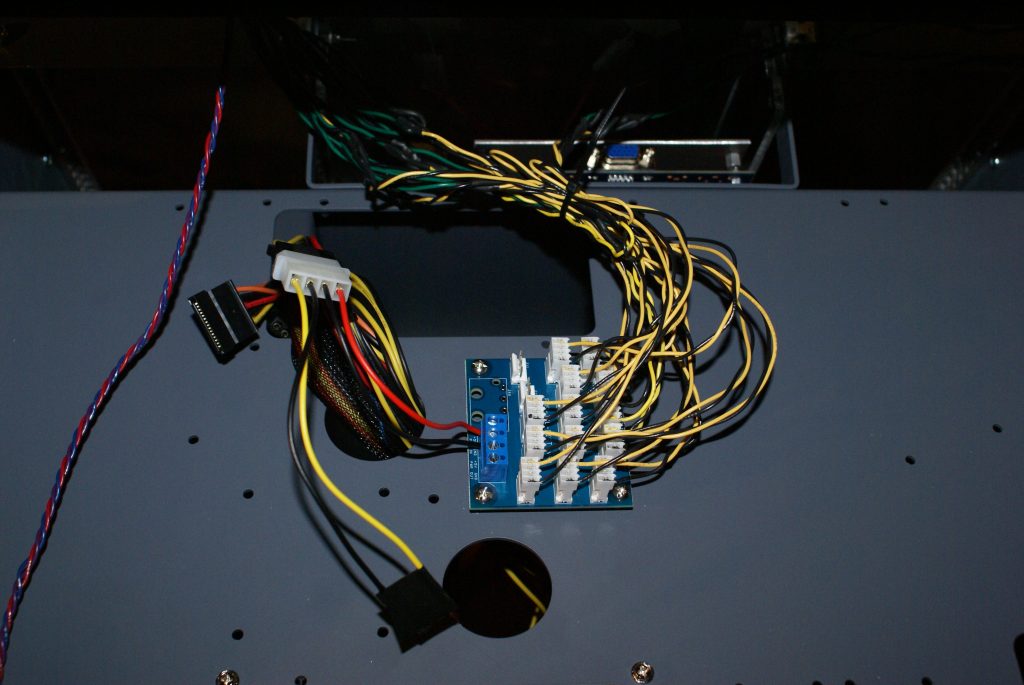
Power Supply
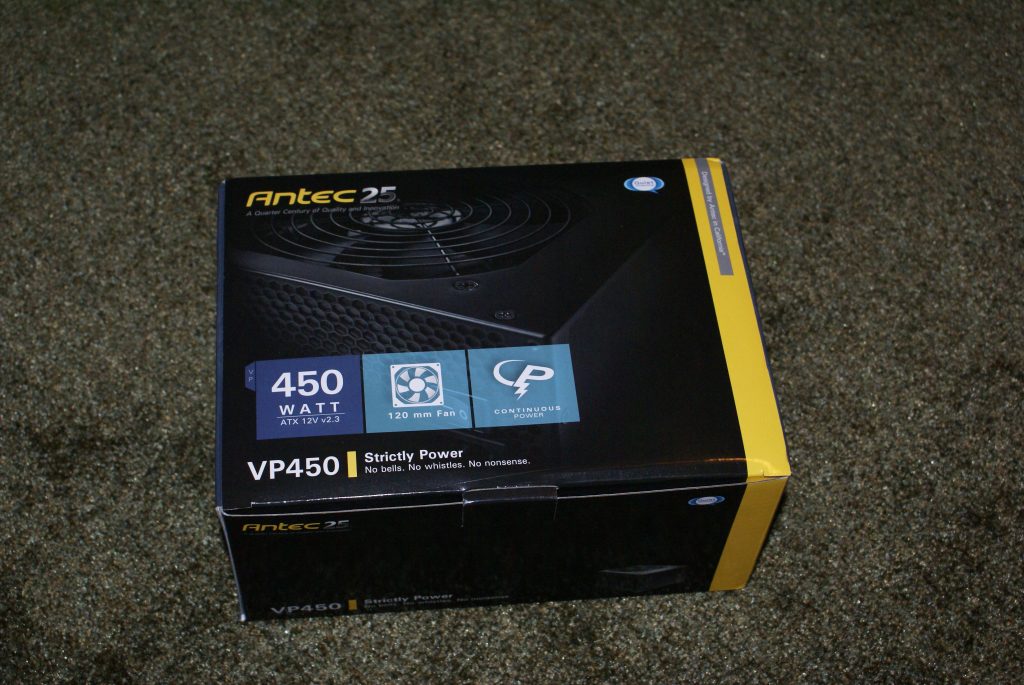
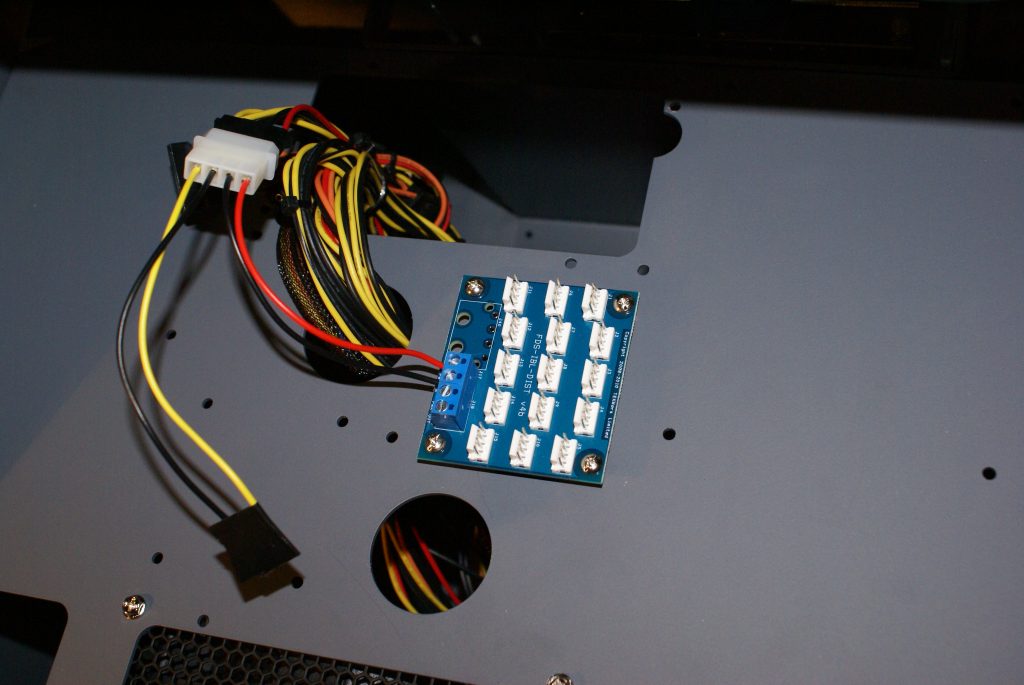
The entire flight deck runs on 5 volt and 12 volt power. Make sure you have a good soldering iron and a multi-meter. These are indispensable tools. The easiest place to get this is from computer power supplies. We have a small computer store near my home and these were very easy to source.
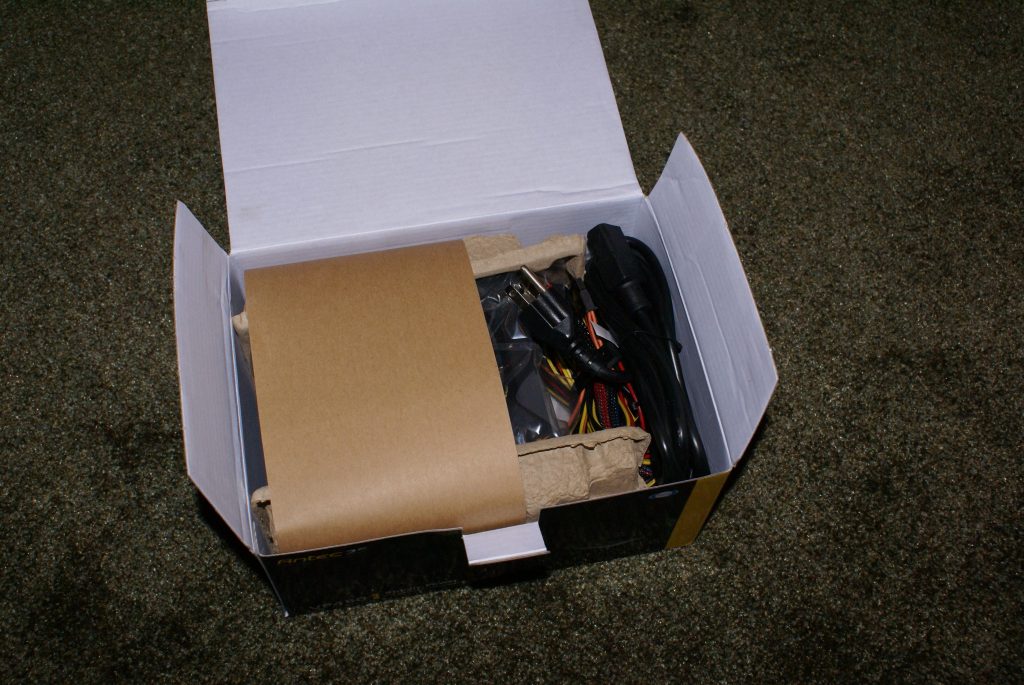
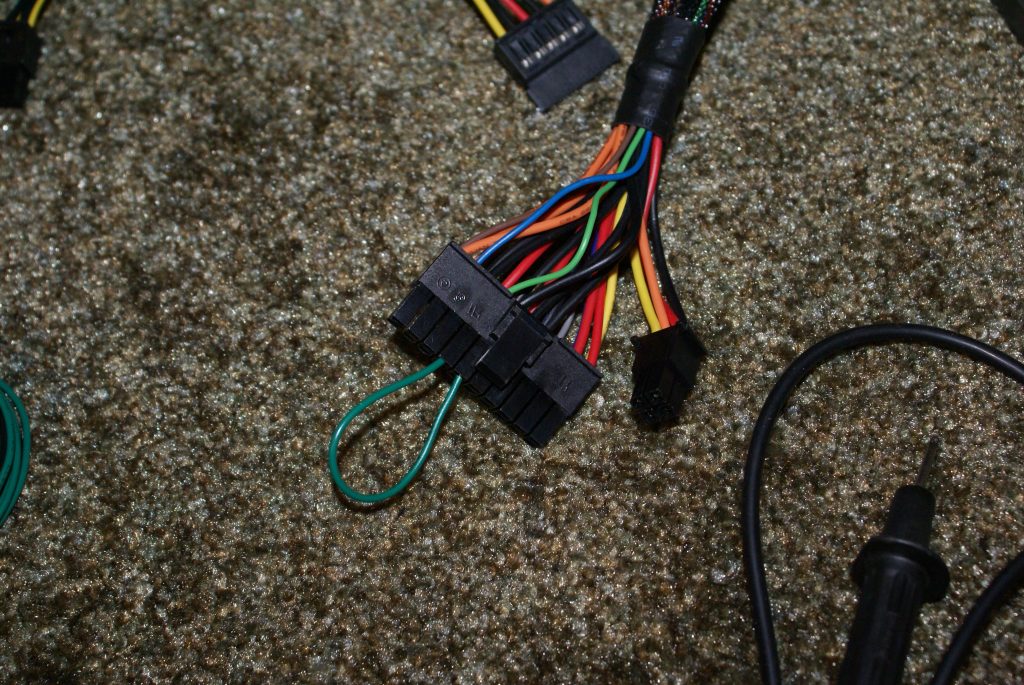
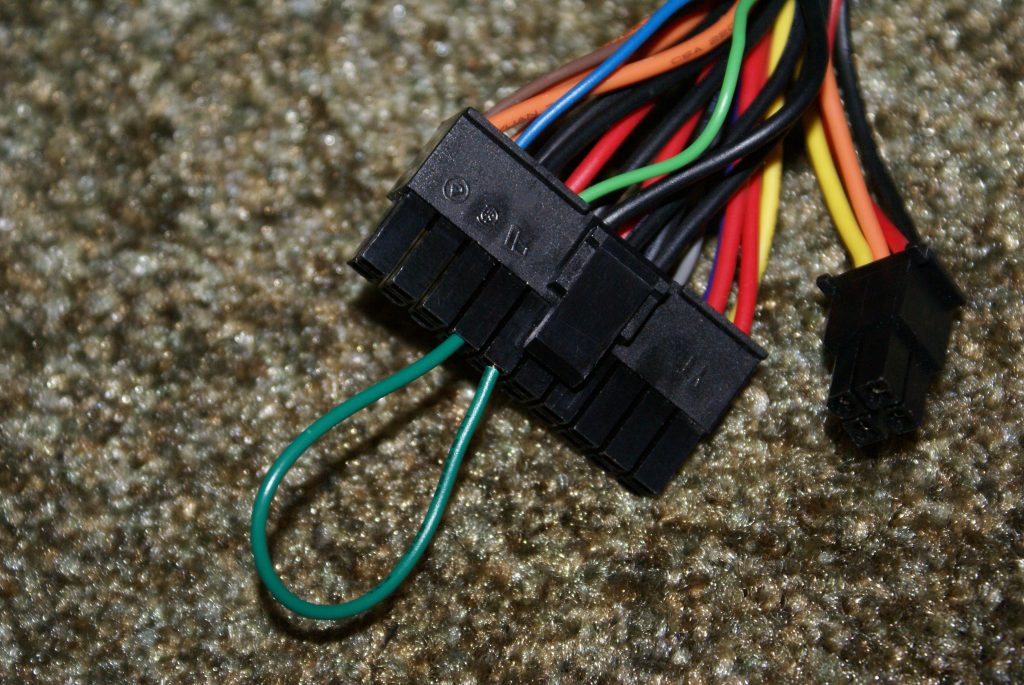
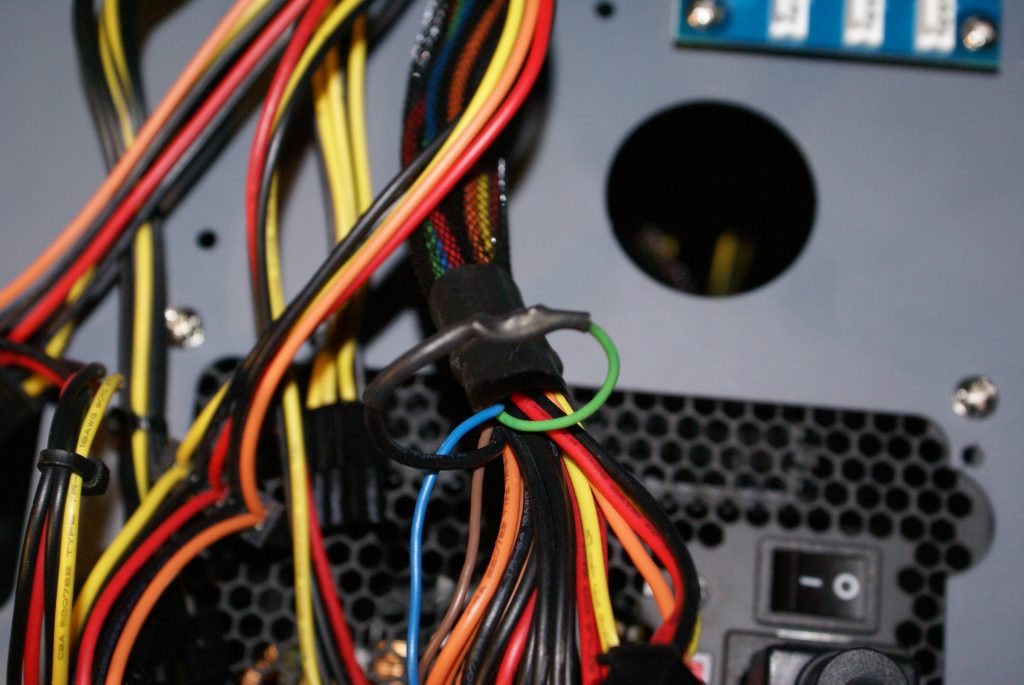
The first thing that has to be done is to jumper the main connector to make sure the power supply is on continuously when its actually turned on. In a normal computer this is accomplished through the on/off button. We don’t have that on the flight deck so we need to permanently jumper this connection.
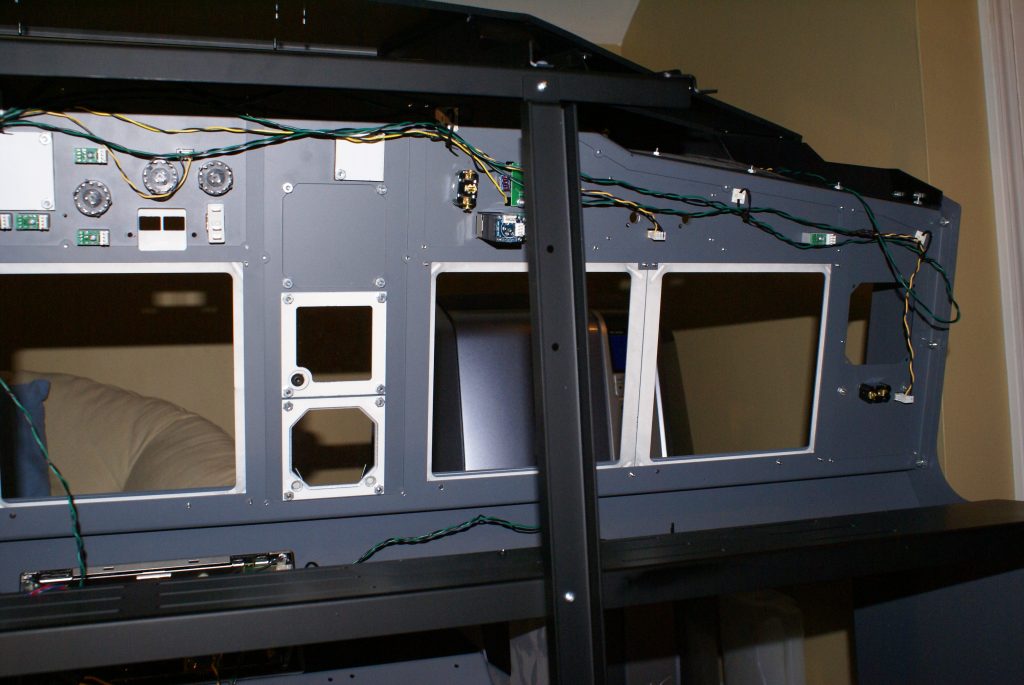
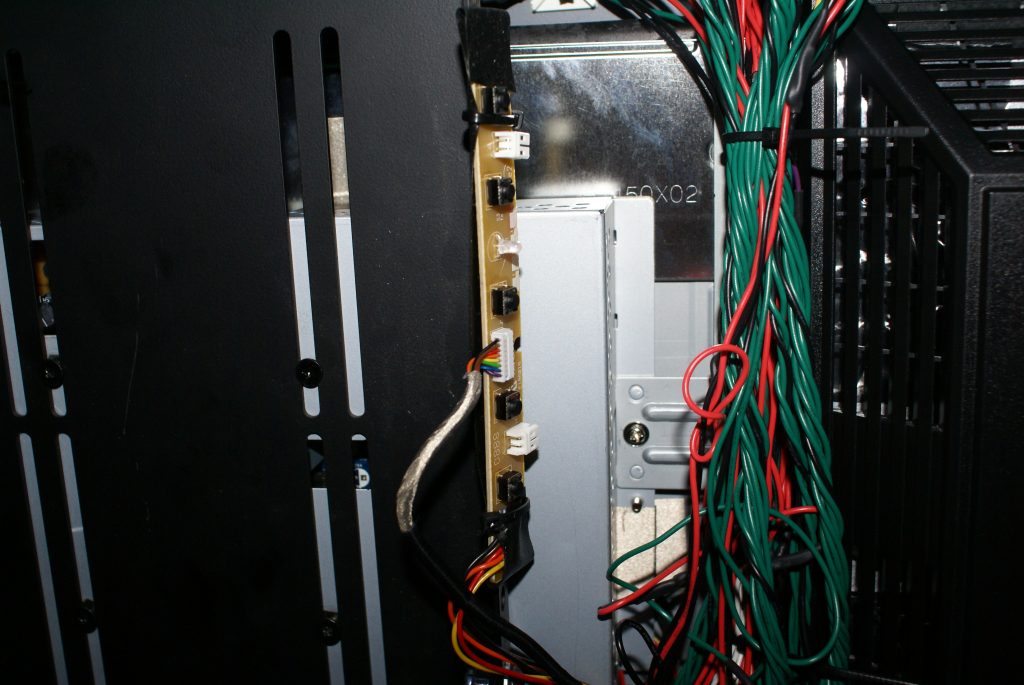
Wiring
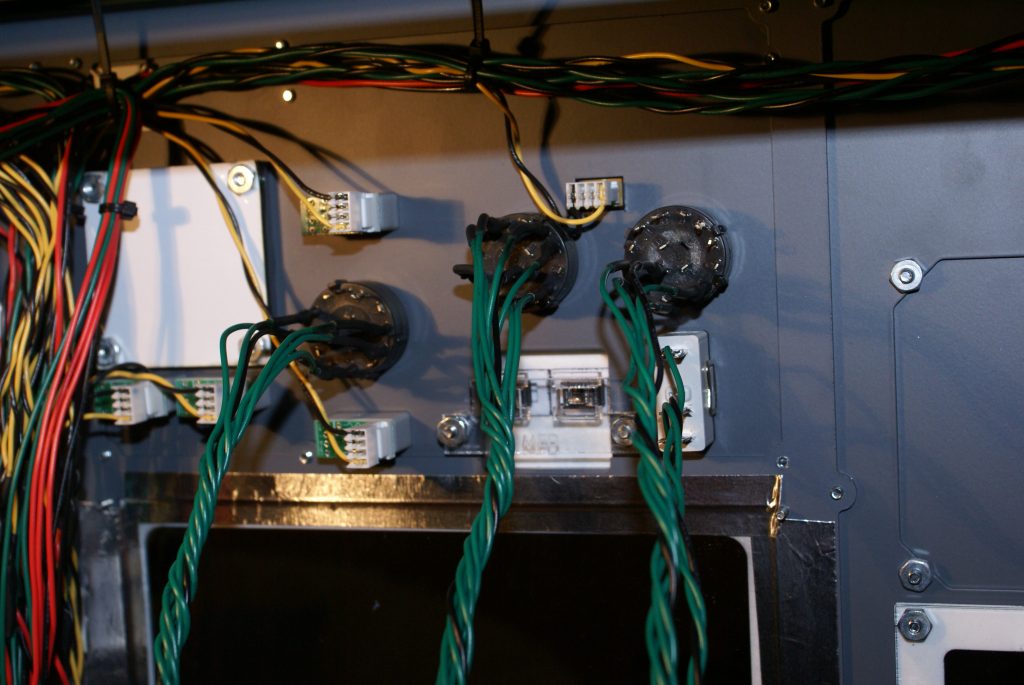
If you are going to do the wiring yourself, as I have opted to do, make sure you know how to solder. You will be doing this for months!! I also ordered a healthy supply of 22 gauge wire from a supply house in 5 different colors. I used the colors to coordinate backlighting, switched, toggles, LED’s, etc. Although this is more of a behind the scenes issue, I still wanted it to look organized. If I ever needed to chase something down later due to a malfunction it makes that job easier as well.
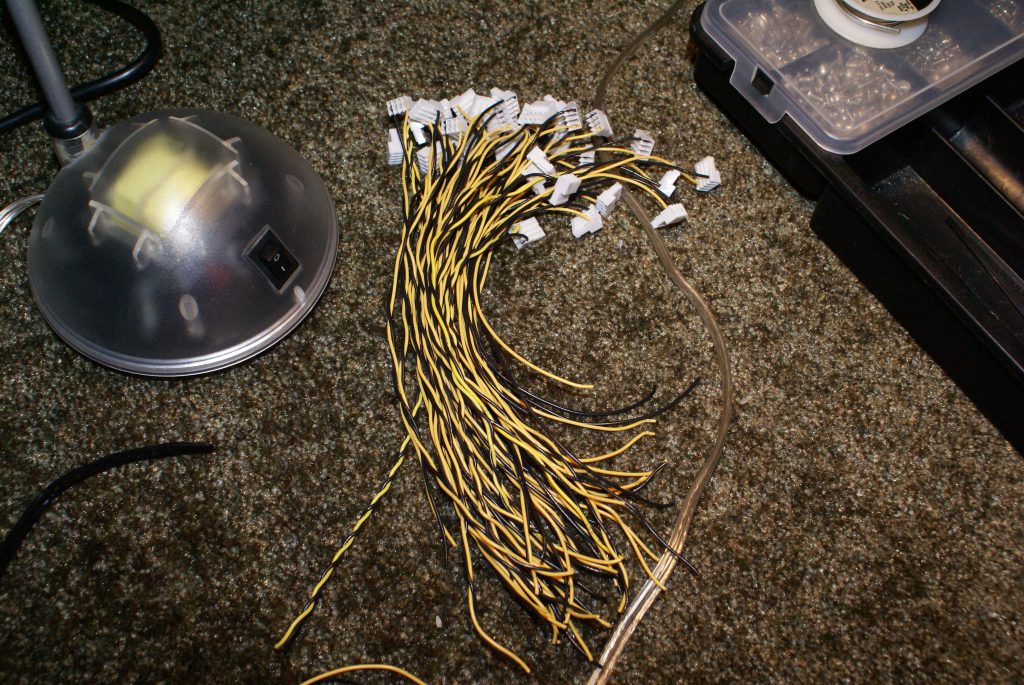
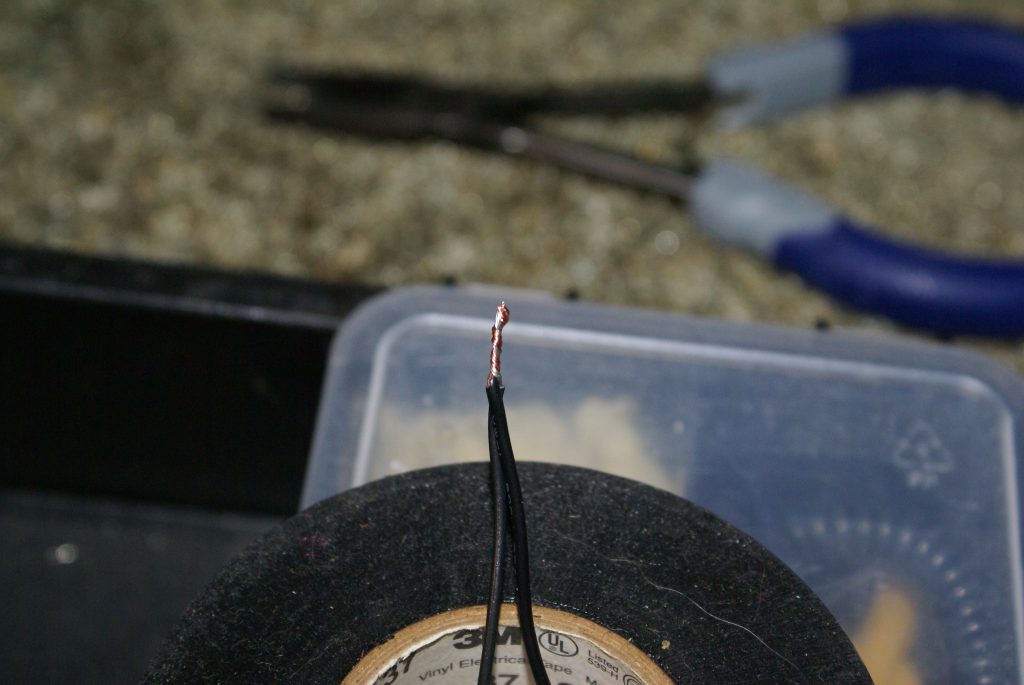
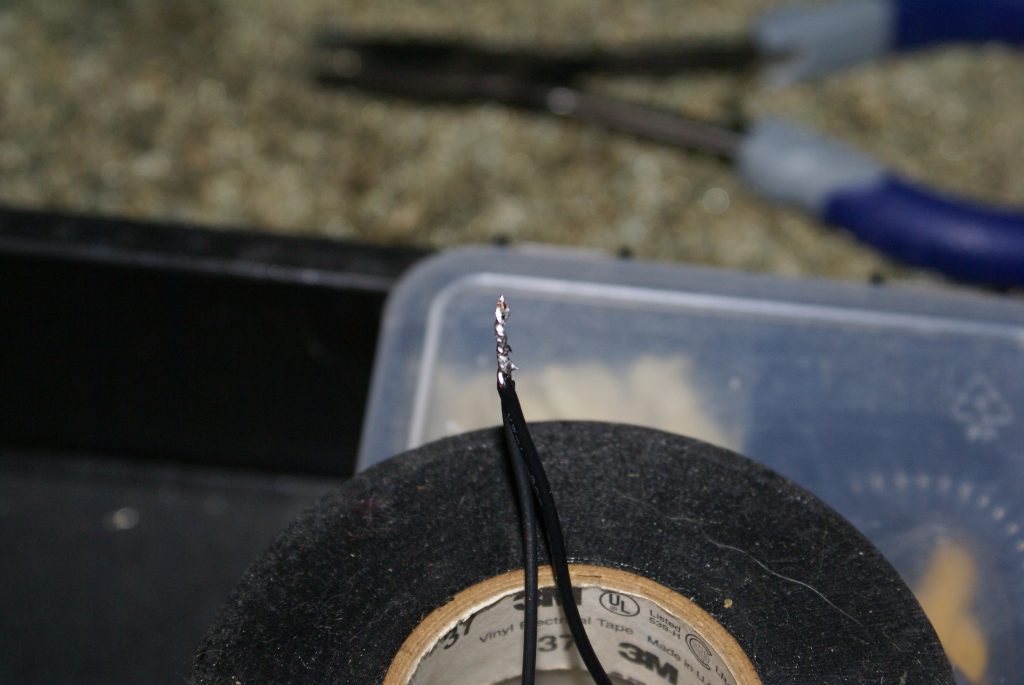
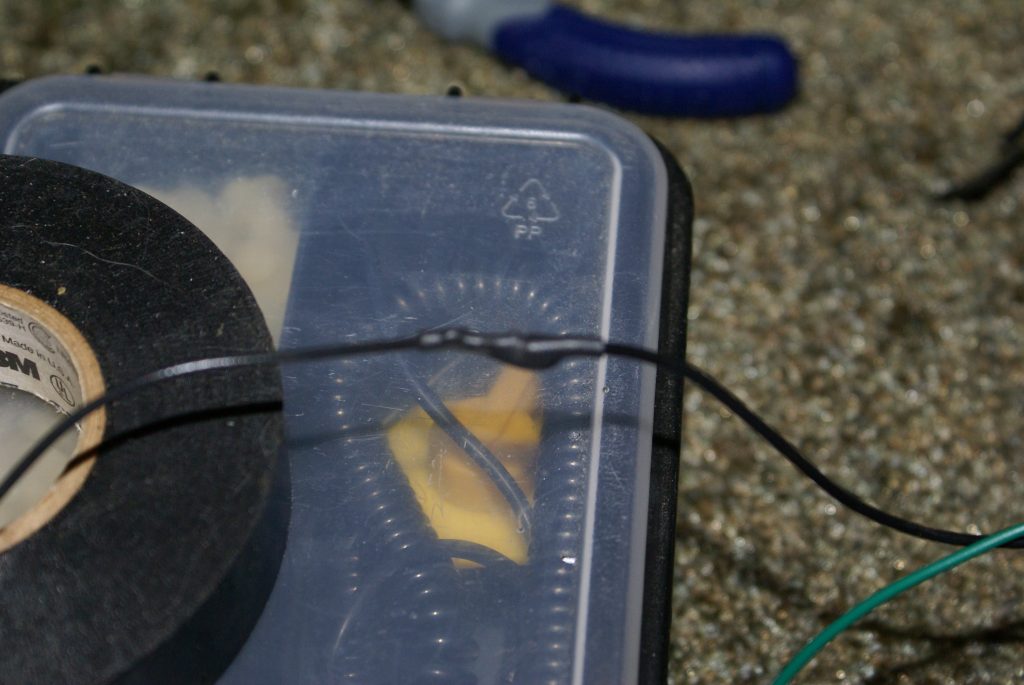
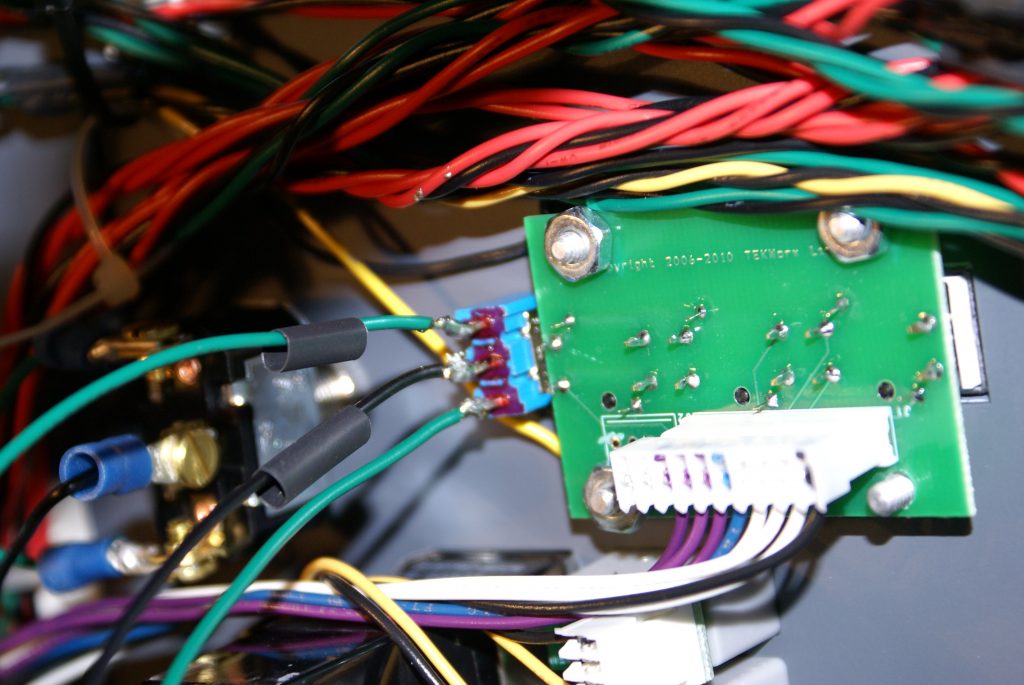
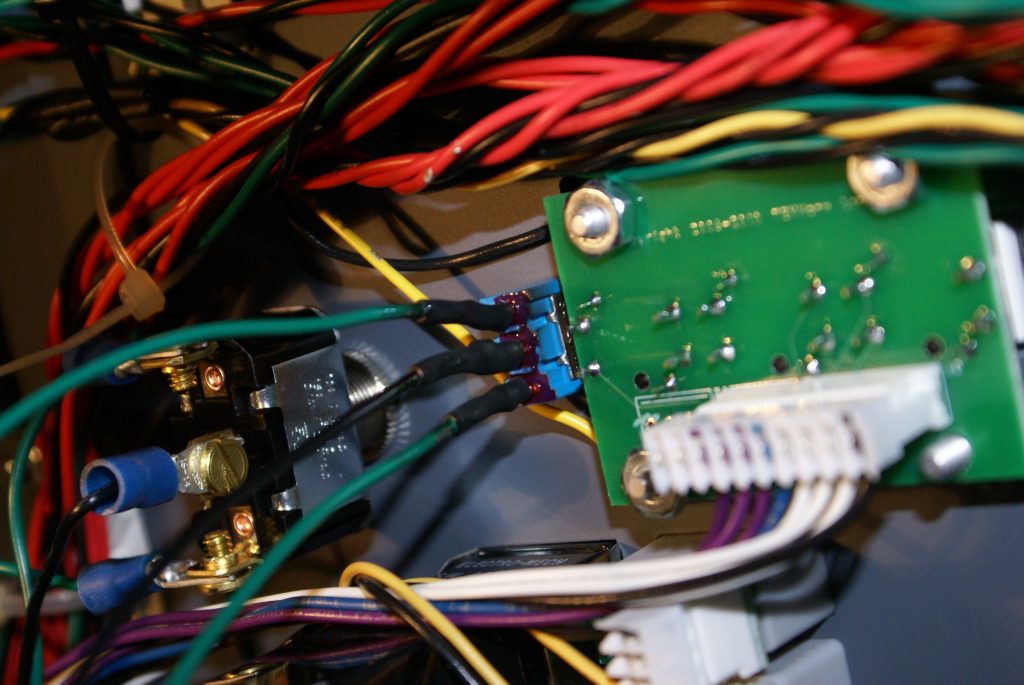
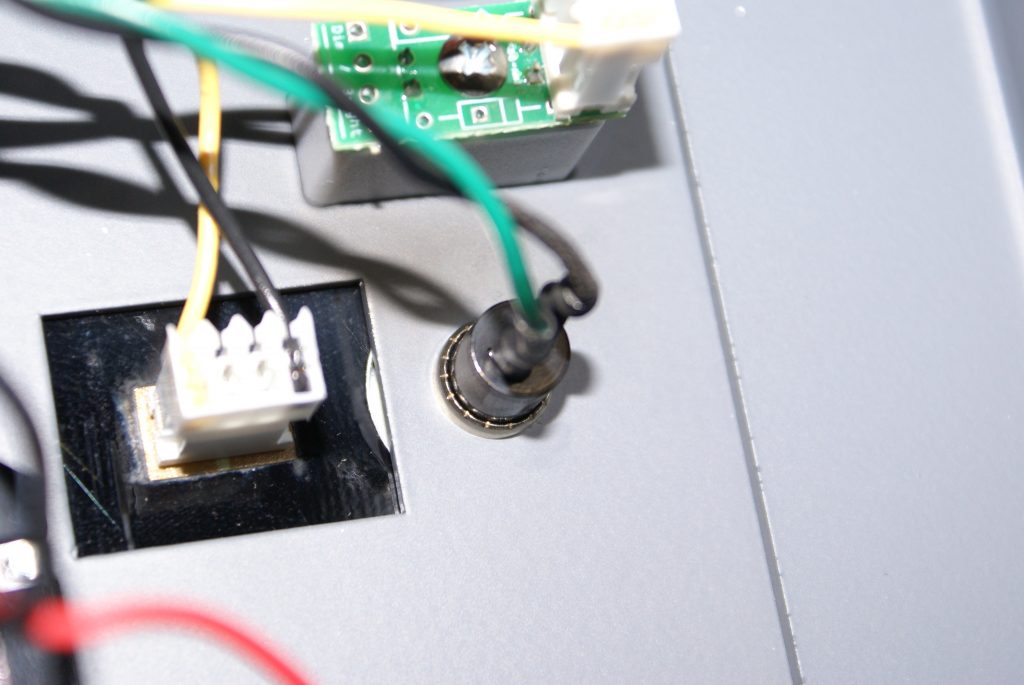
For those that have never soldered, I took a couple of pictures to show what I did. Worked out pretty well and guarantees no shortages. In my opinion, using electrical tape for insulation could cause shorts later if the tape was ever to come off of the soldered connection.
Solder
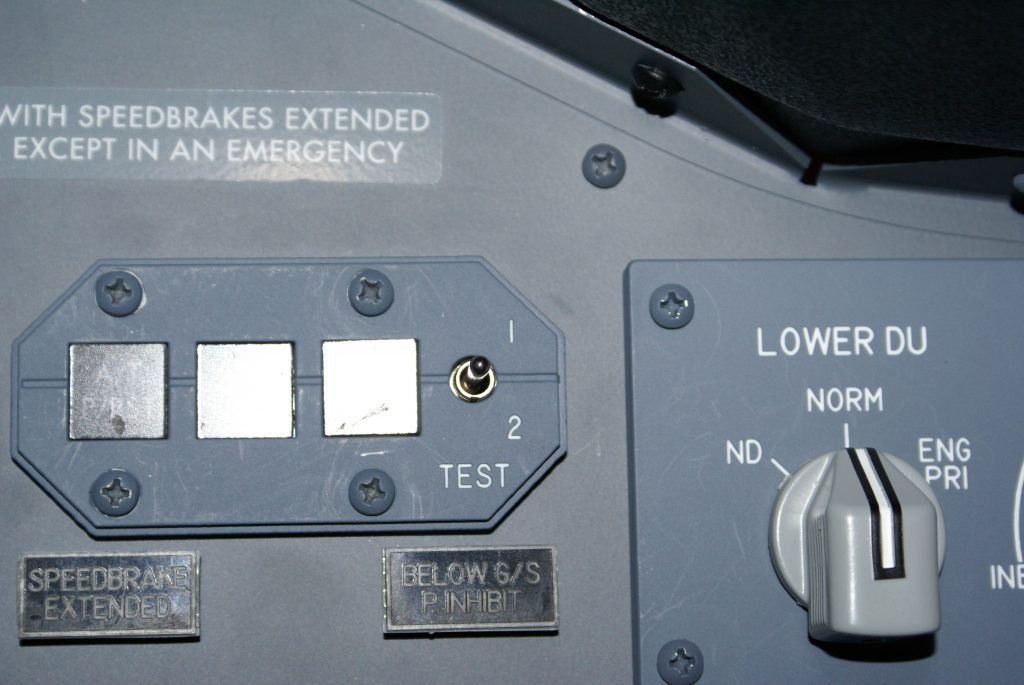
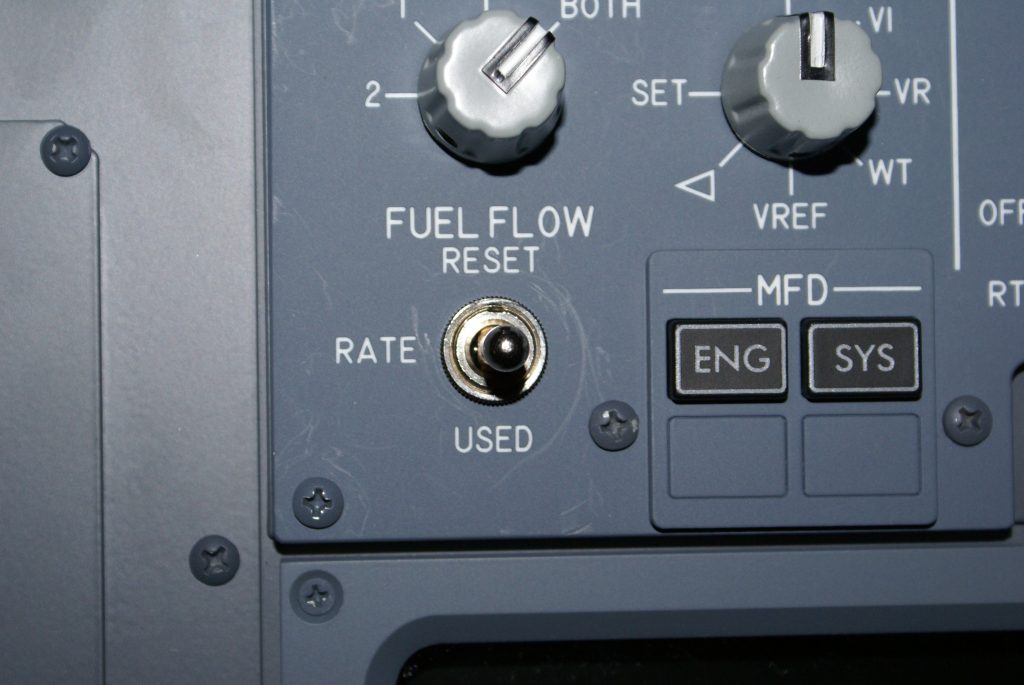
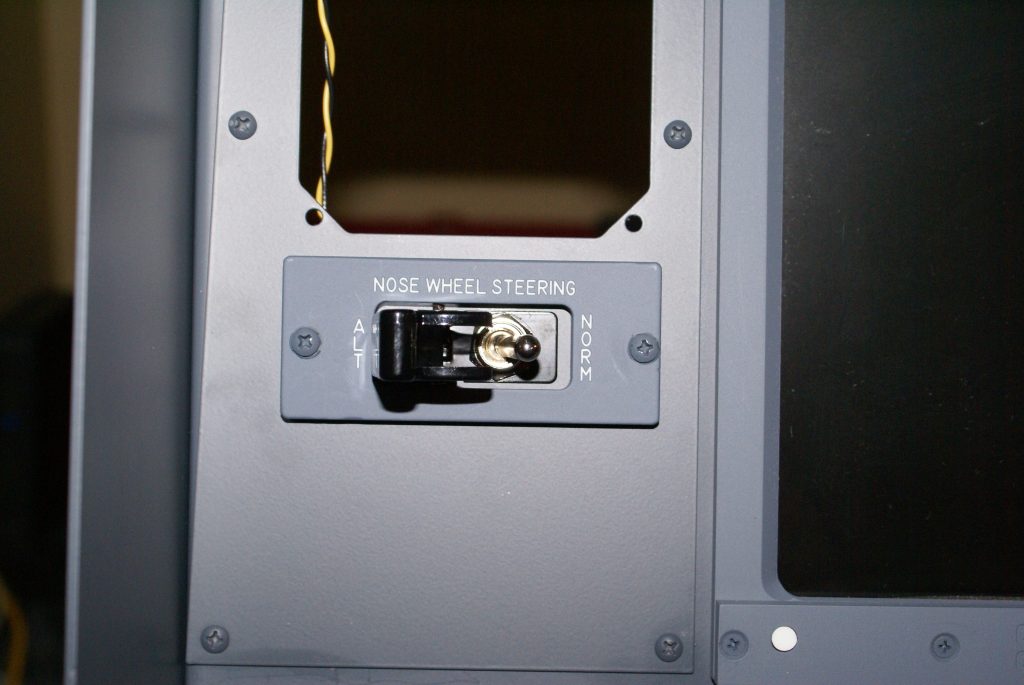
Toggles
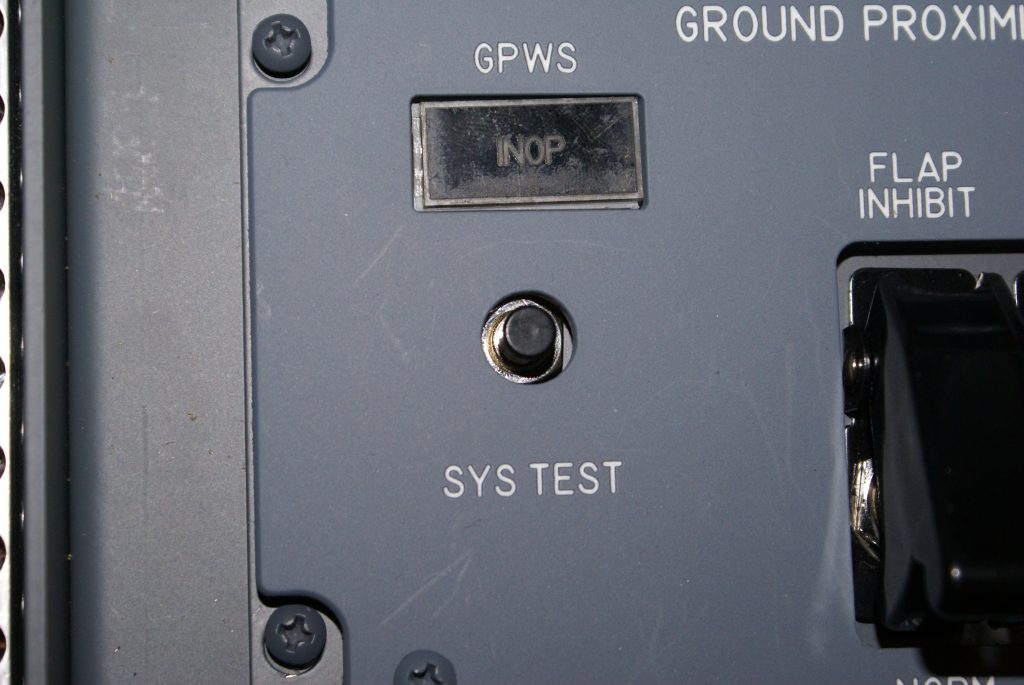
Push Buttons
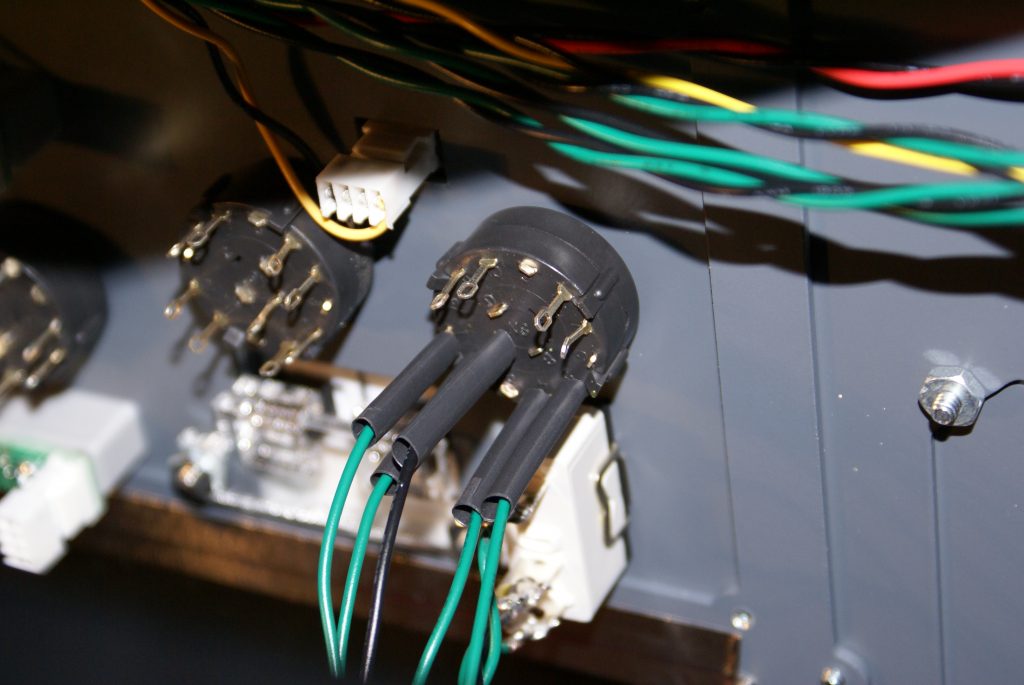
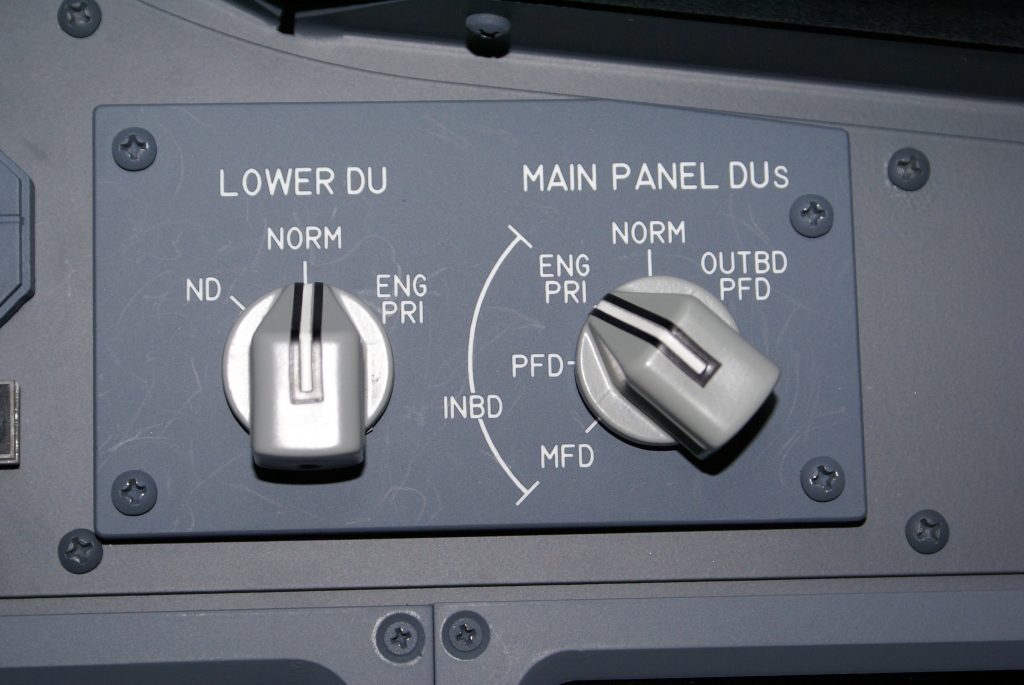
Rotary Switches
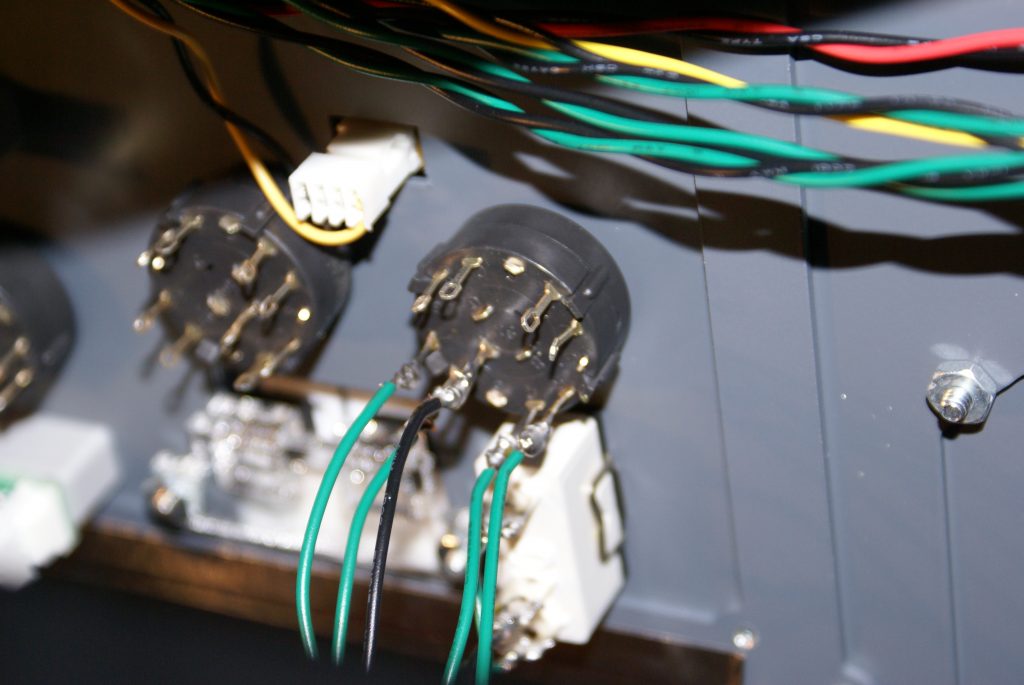
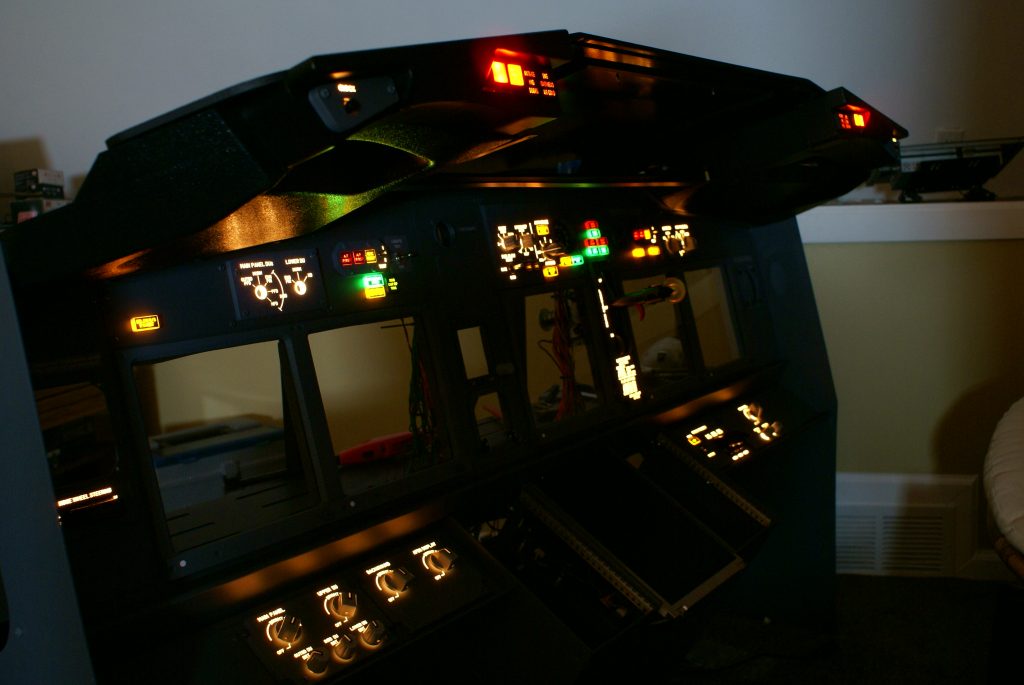
Finished Product
Once all of the hardware, gauges and monitors are mounted, the entire MIP gets very heavy. I made sure that all of the wiring was zip tied and all solder connections were shrink wrapped. A little OCD but it makes the finish product look unbelievable.