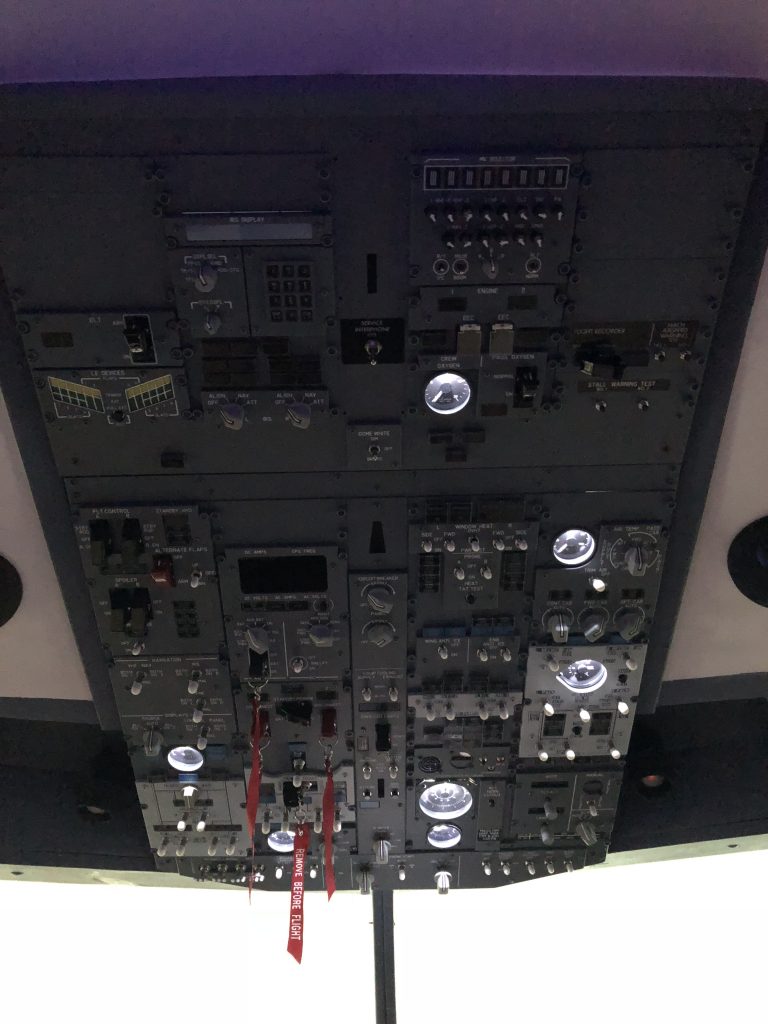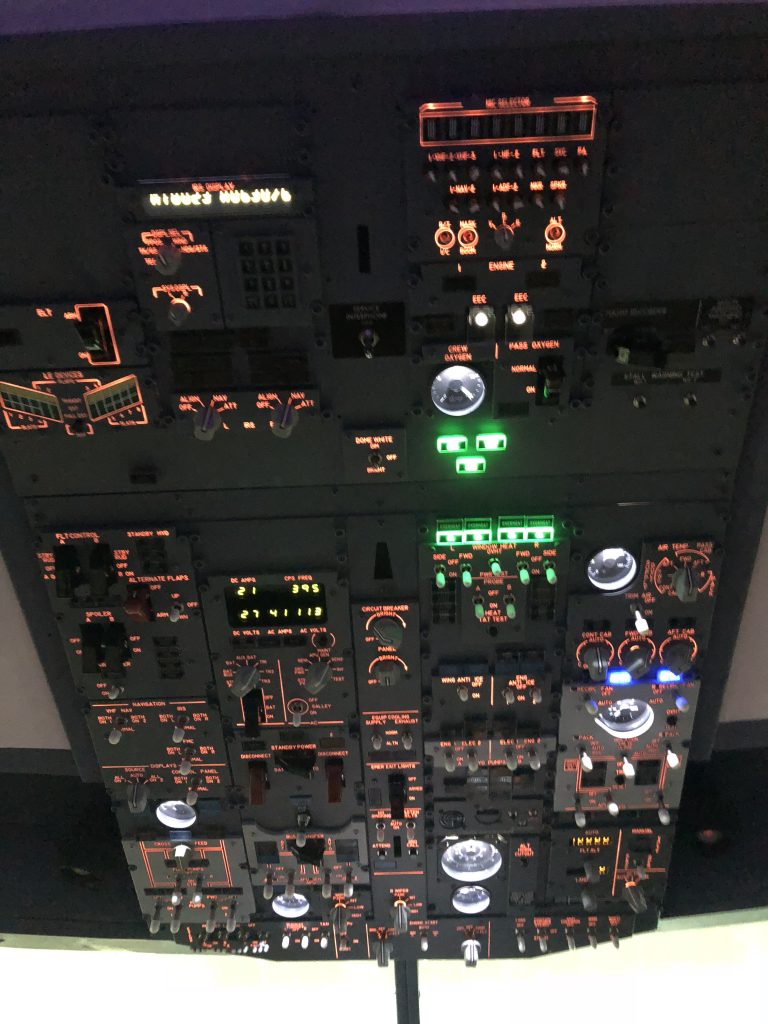
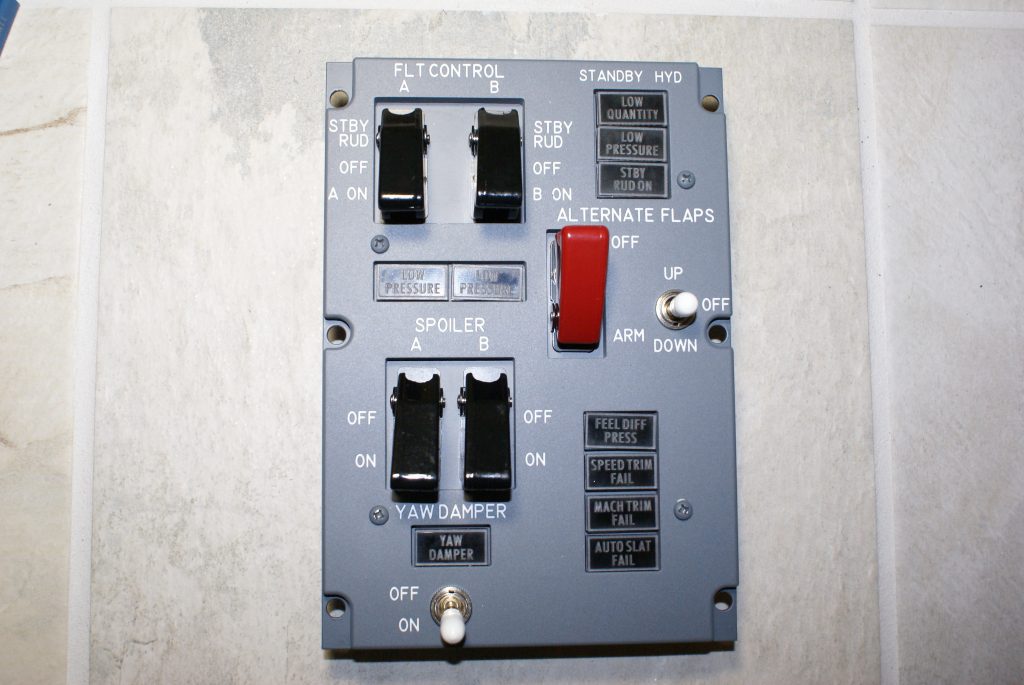
FWD & AFT Overhead
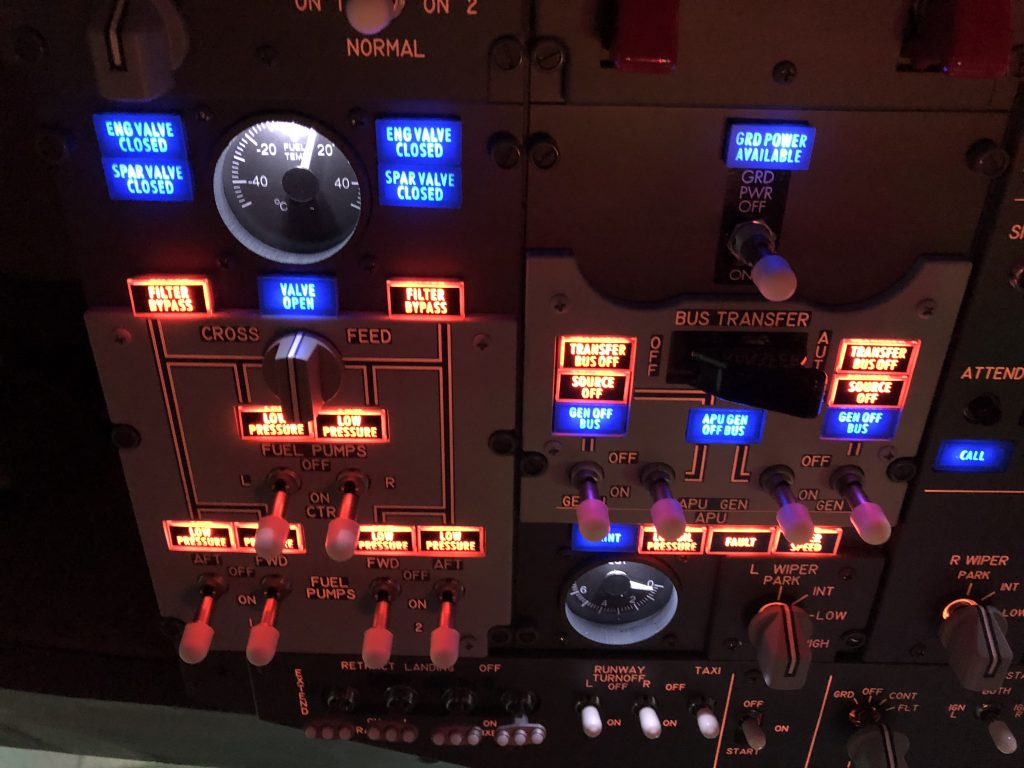
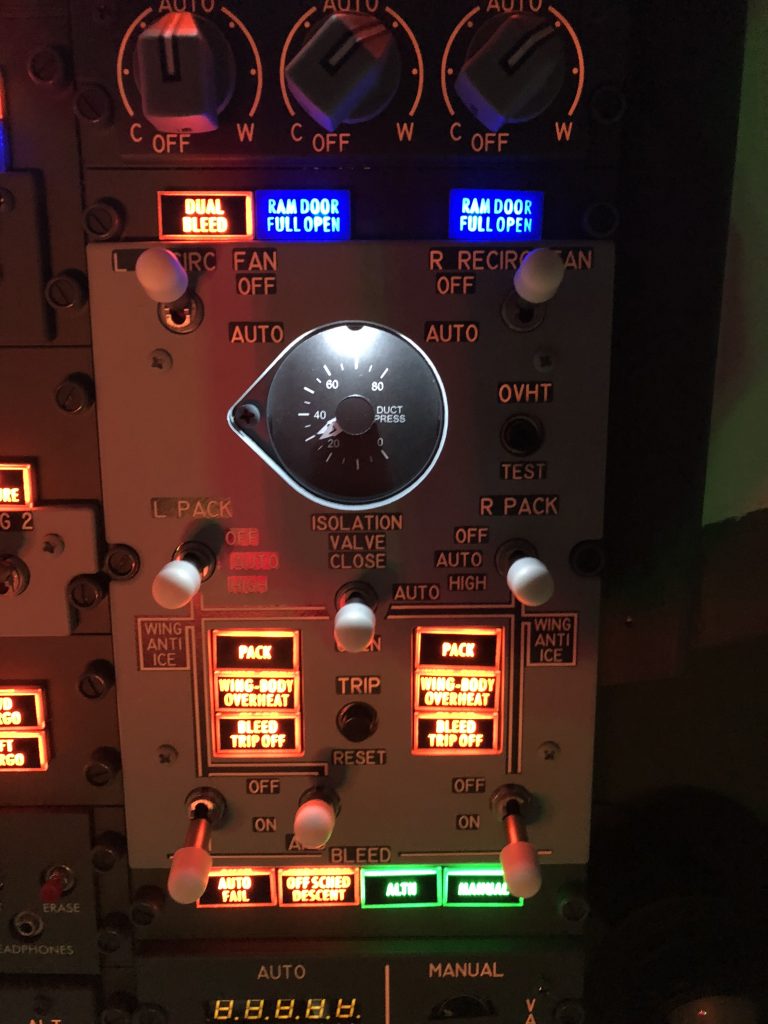
The overhead is, without a doubt, one of the most complex additions to the flightdeck. The overhead really finished the realism of the flight deck itself. It’s broken into a FWD & AFT section. I purchased all of the components and hardware from Flightdeck Solutions. The tactile feel of the components mimic the actual toffees and switched. The realism is really hard to believe.
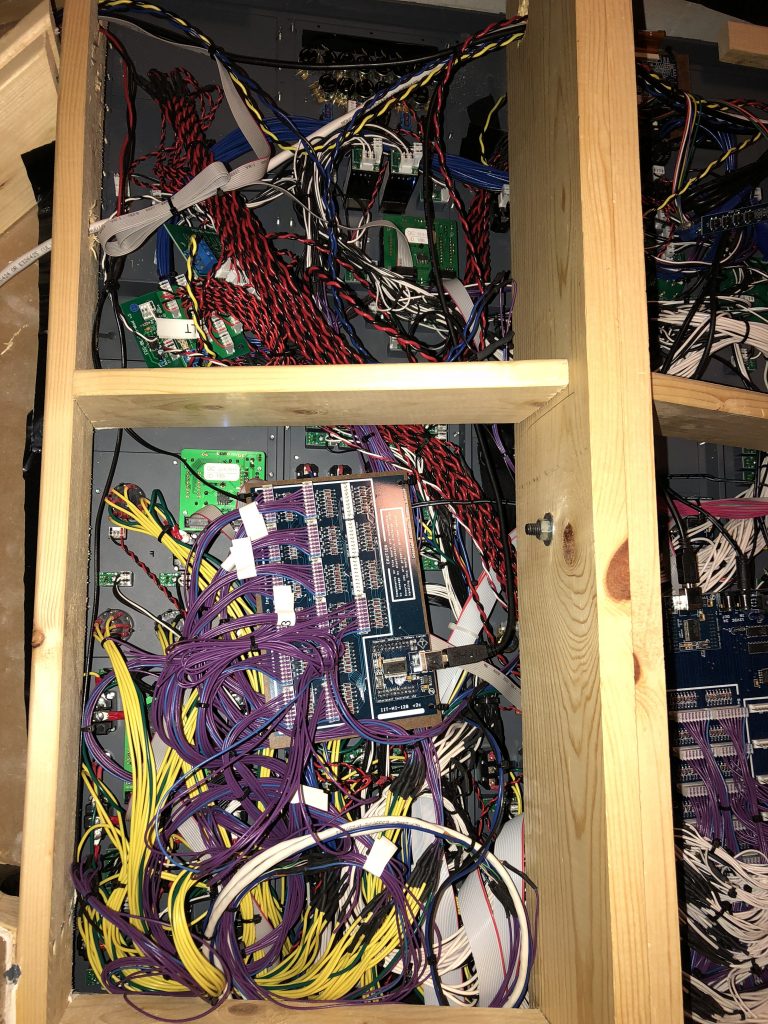
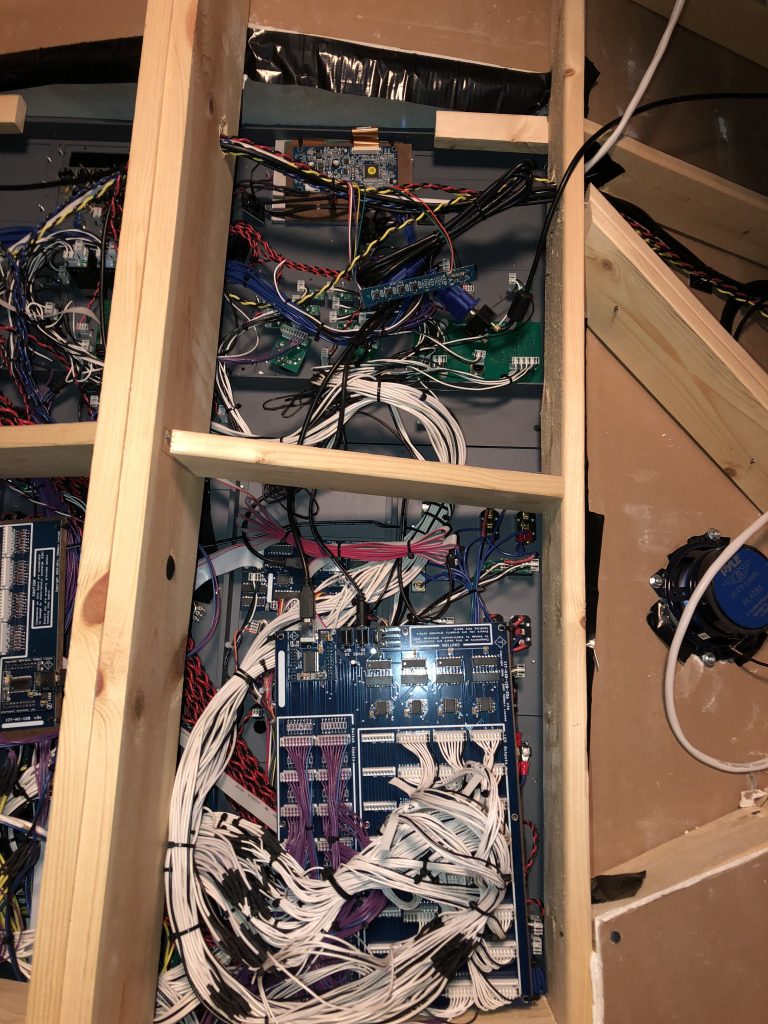
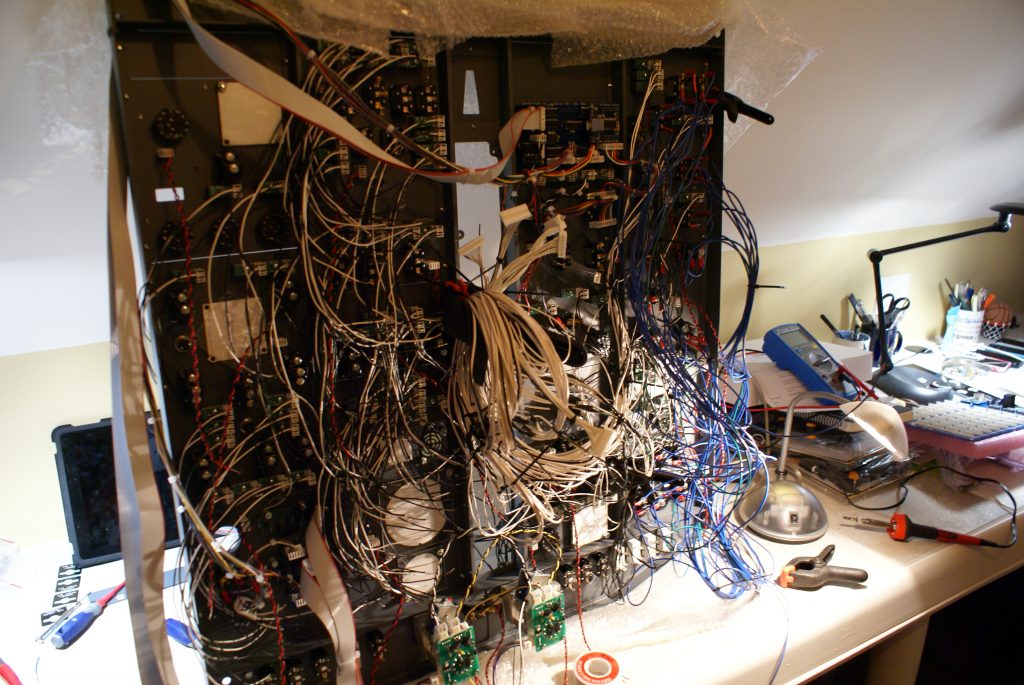
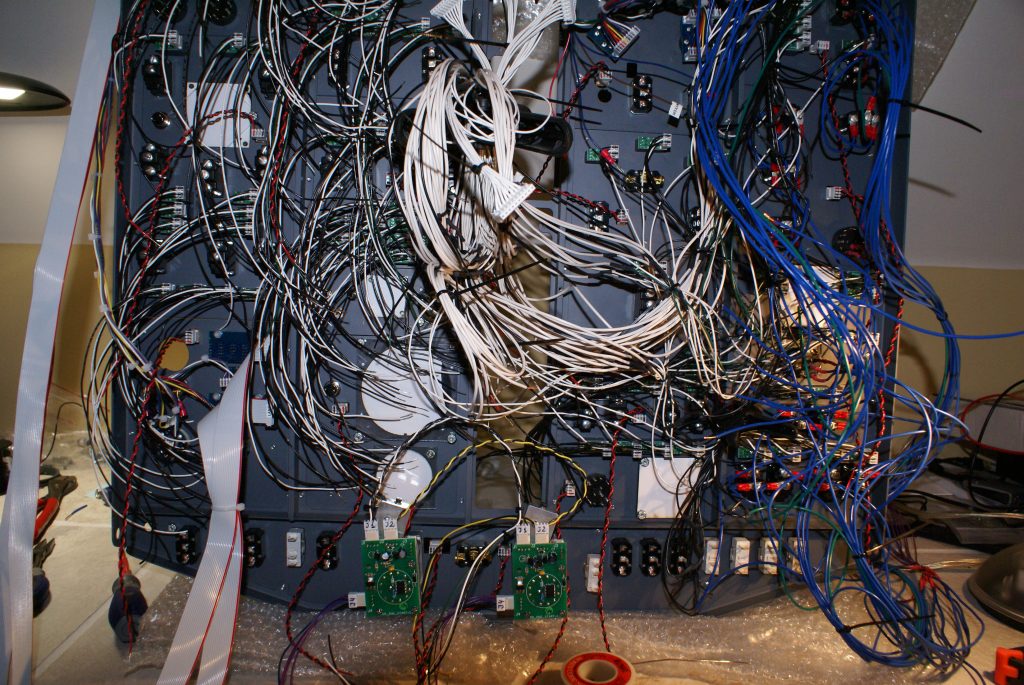
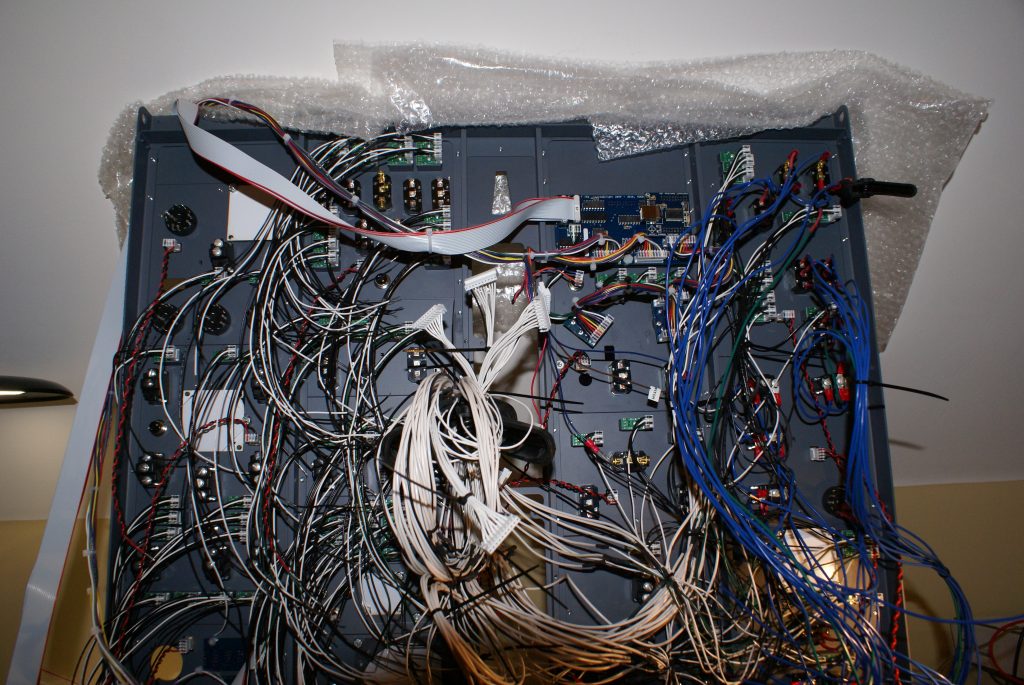
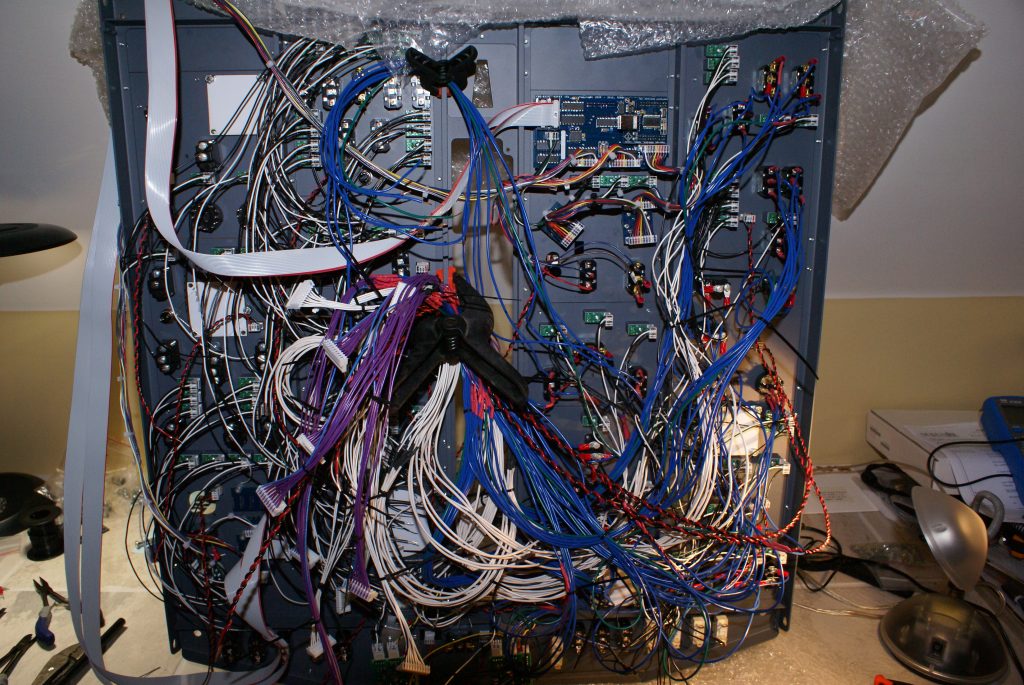
There must be 10 pounds of solder and 20 miles of wiring on the completed overhead. The three dimensional feel of the panels, the super cool backlighting from FDS and the overall system simulation make the flight deck experience feel real.
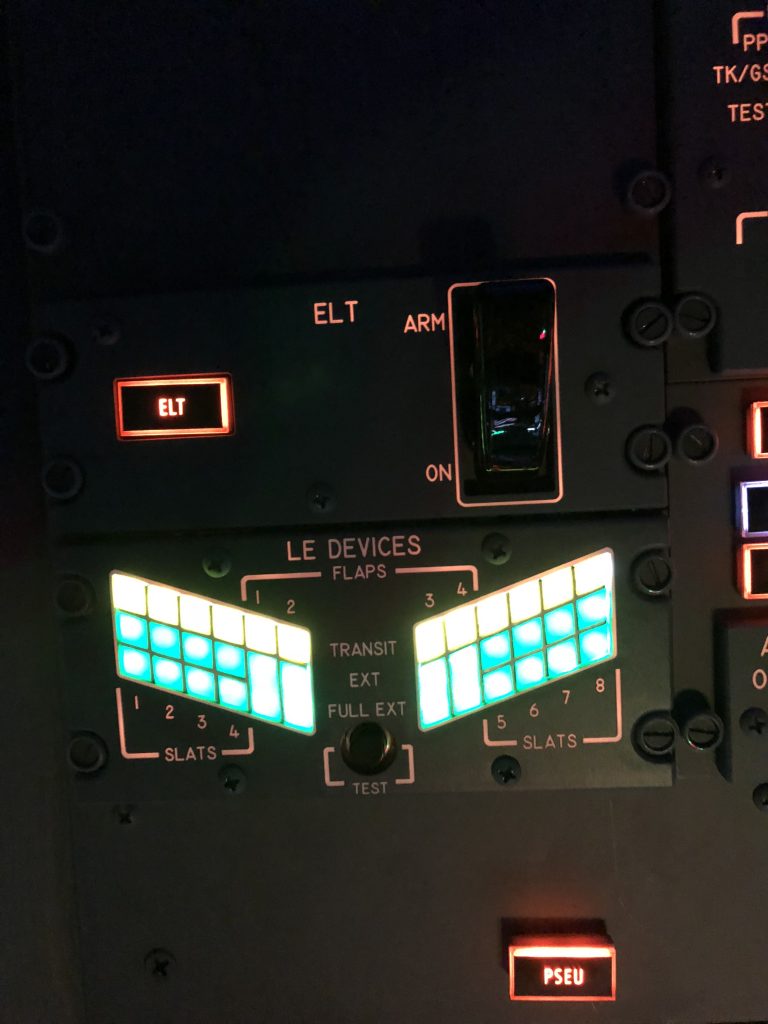
Other cool additions feature solenoid operated starter switches which rotate back to off during the starting sequence. There are several “dual state” blue LED annunciators that operate like the real think showing a bright state when vales are actuating and a dim state when open. Very cool realism.
Critical toggle switches also have a pull to move lock. This safety feature stops certain toggles from being moved accidentally, like the fuel pumps for example.
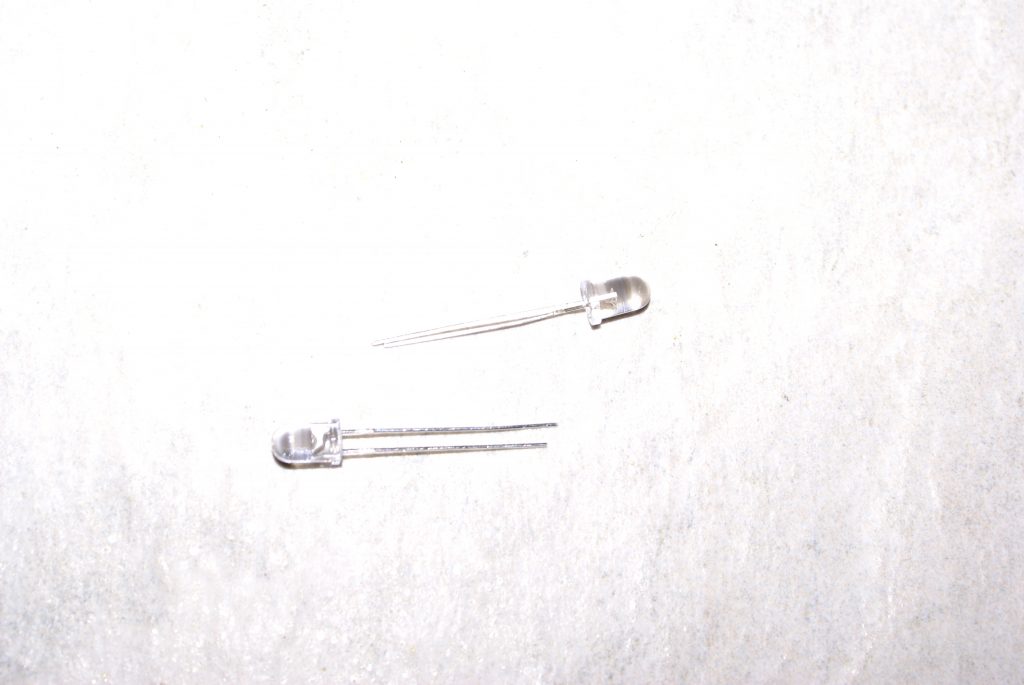
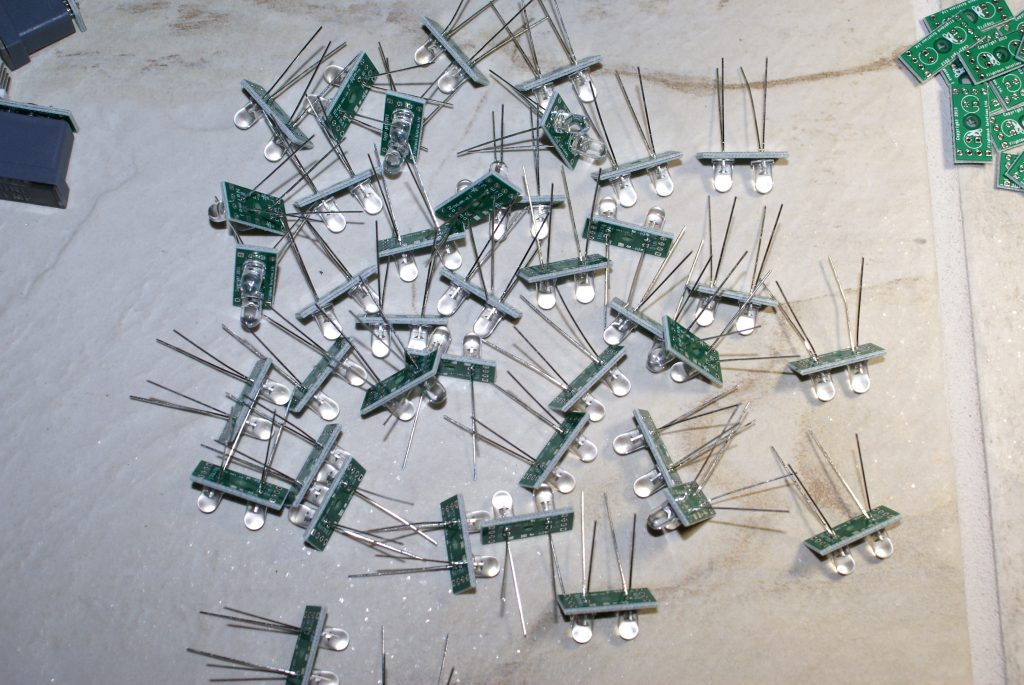
The first step was to assemble the many, many LED’s. Everyone of them had to be soldered and assembled. There are several different colors also, amber, green and blue. The blue LED’s are the dual state ones mentioned above.
LED’s
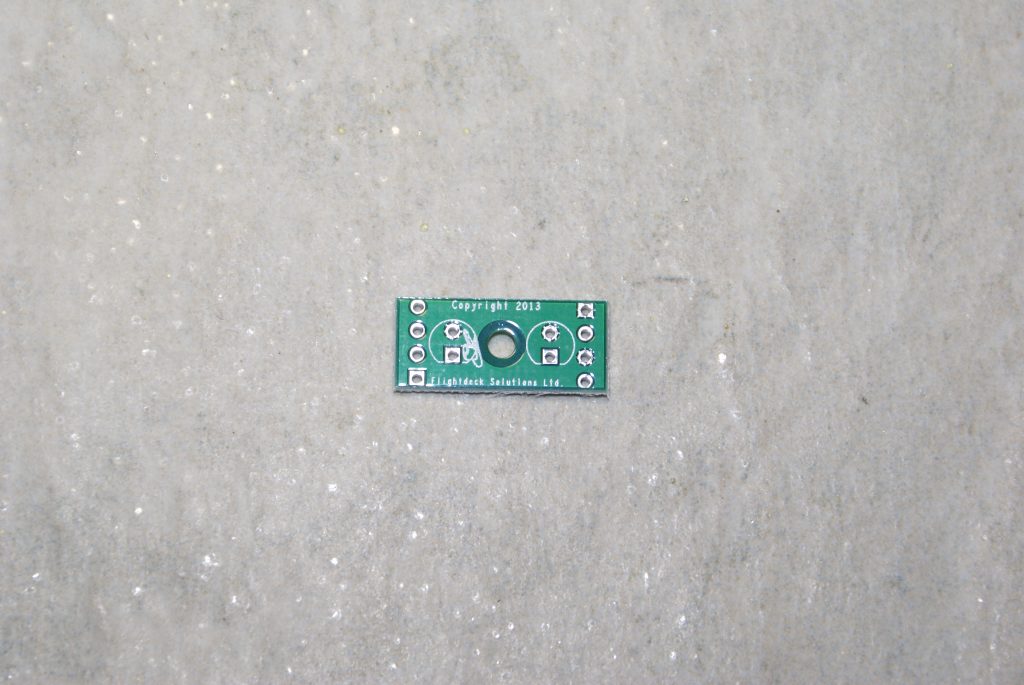
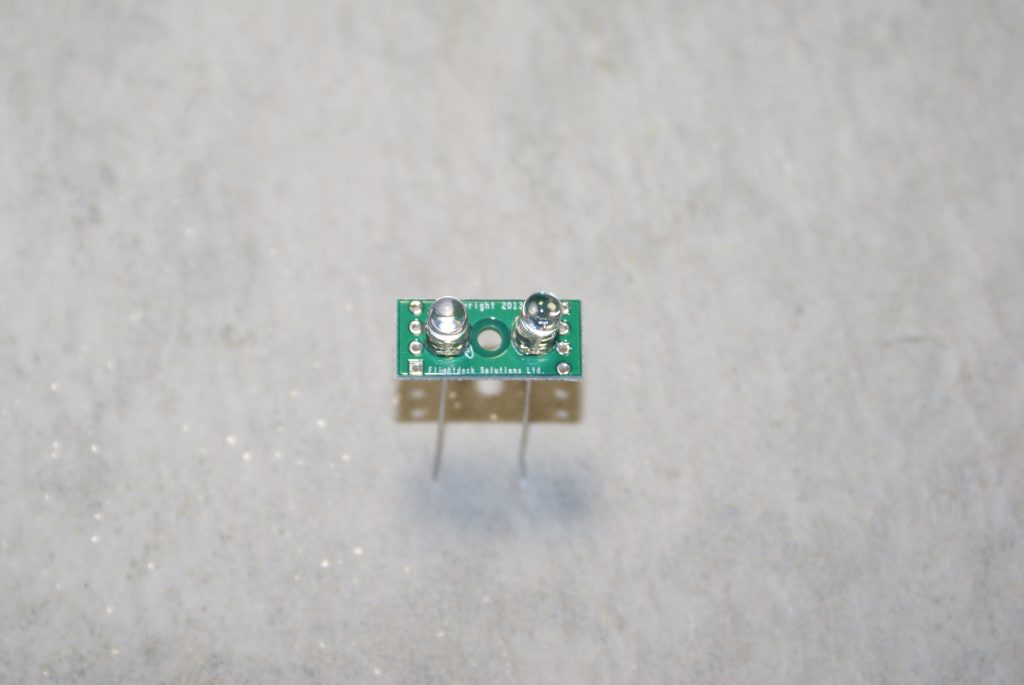
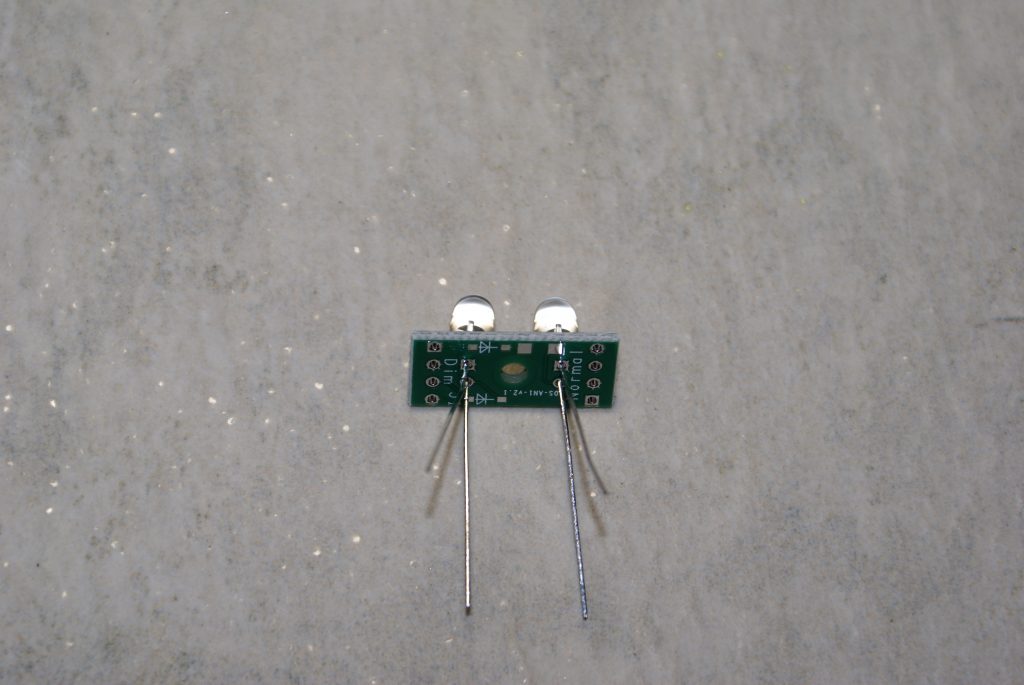
Once these are assembled and BEFORE the LED’s were cut to length, make sure you test all of these. If you have any loose connections they can be easily re-soldered. I learned this from experience. This takes time but iOS very important later. Once you mount everything up it is very difficult and complicated to replace items on the overhead.
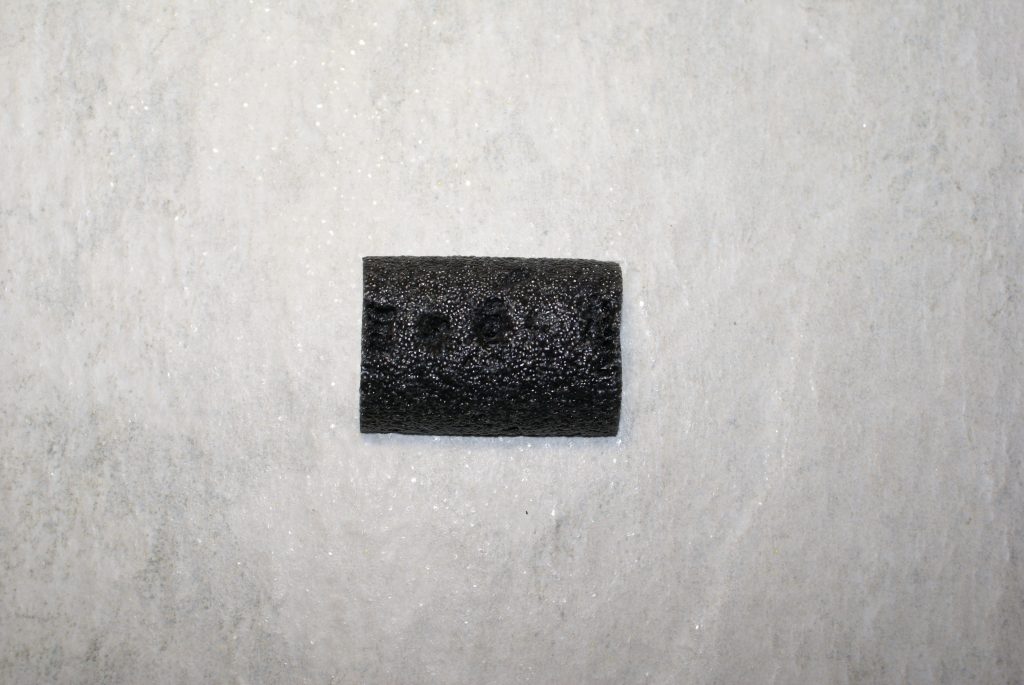
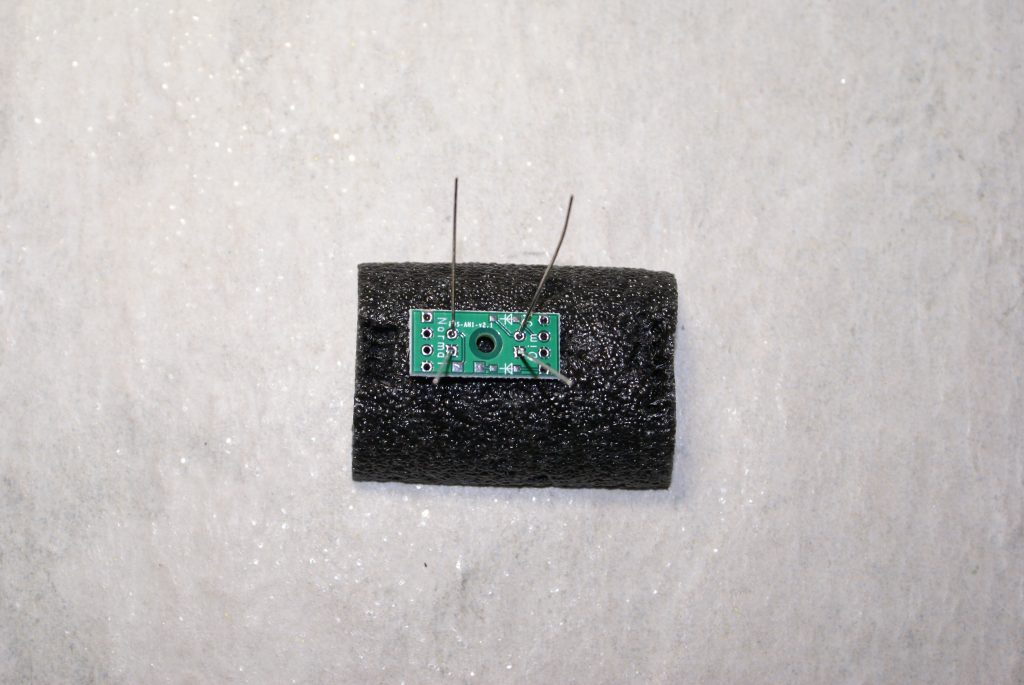
I also made a simple mounting tool our of pipe insulation to hold the un-soldered assembly. This allowed me to solder the assembly without having to hold it. There are four soldered connections per LED and literally hundreds of LED’s. Do the math….
Once soldered and tested (and sorted for color) then I cut the LED extensions.
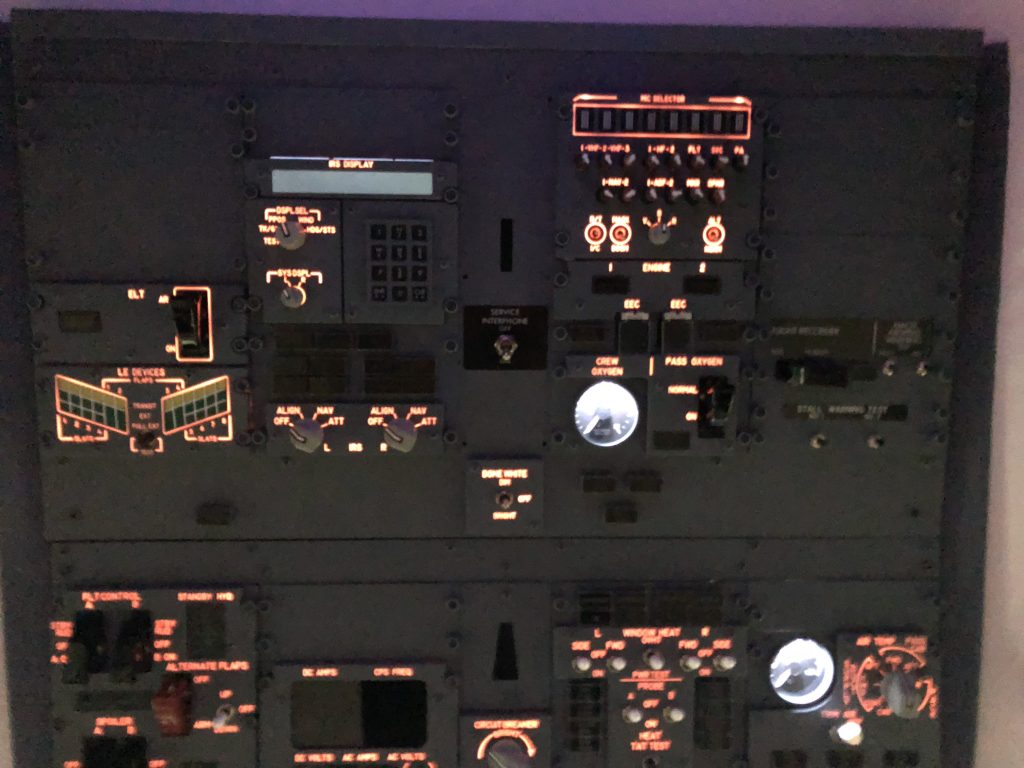
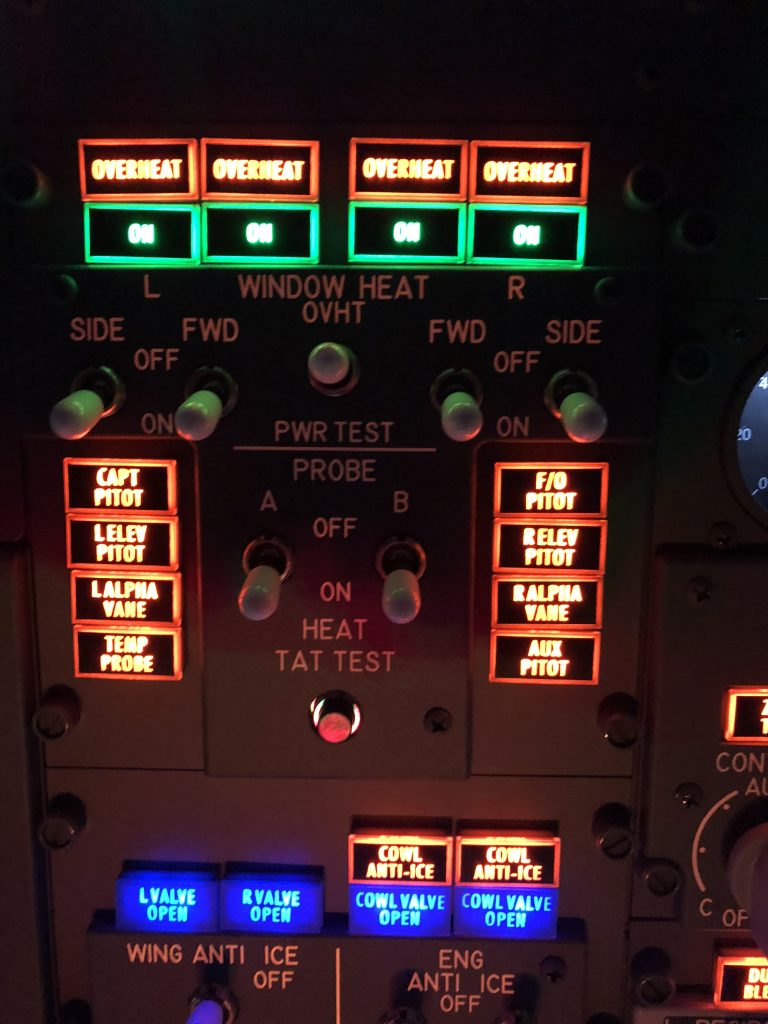
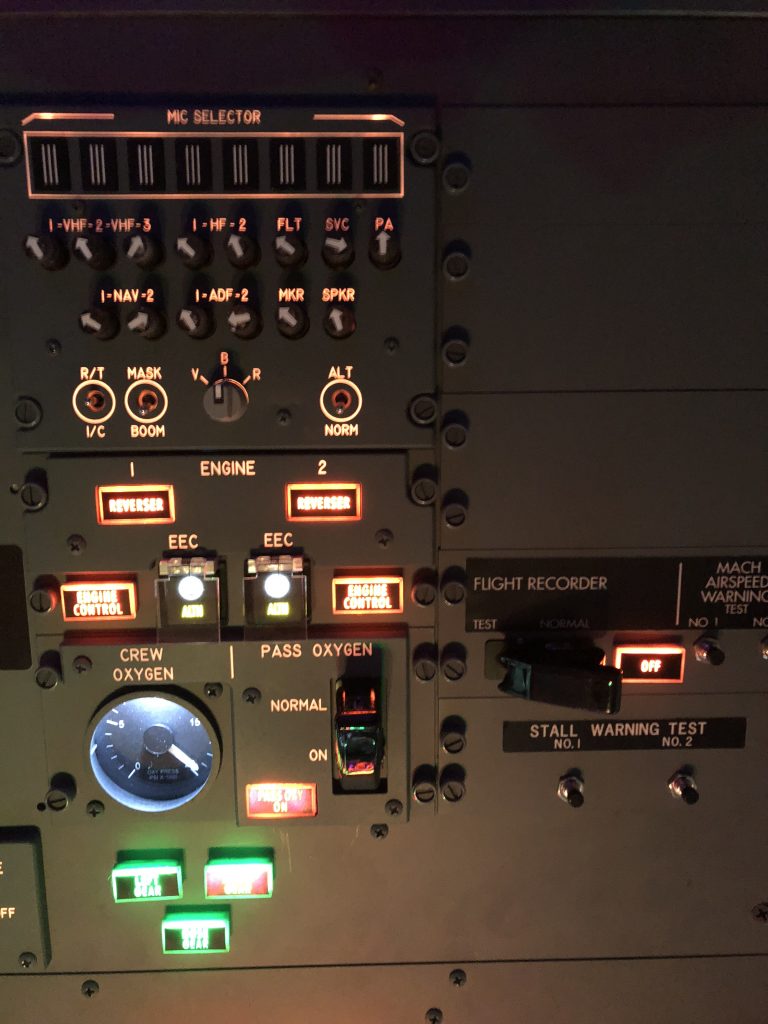
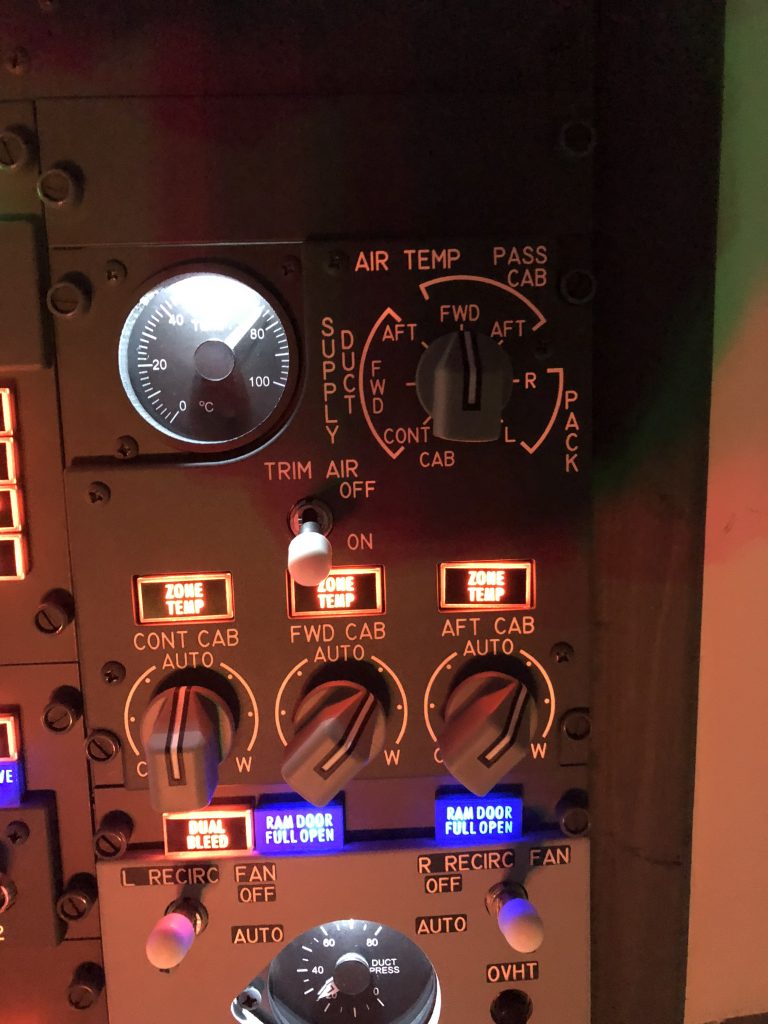
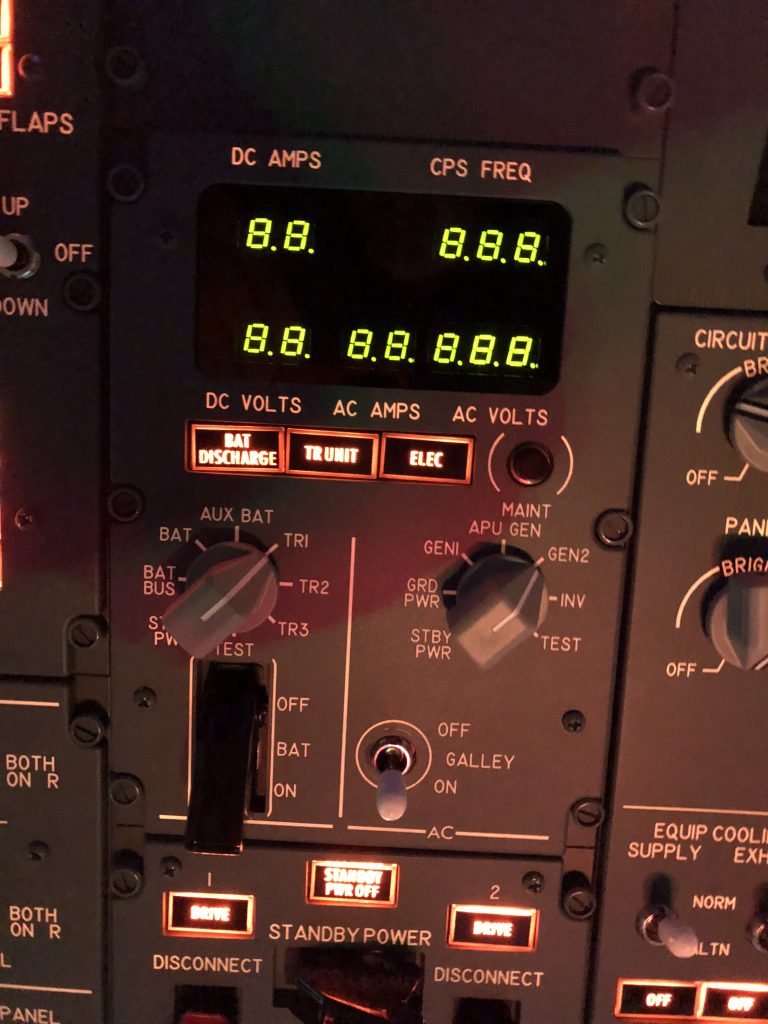
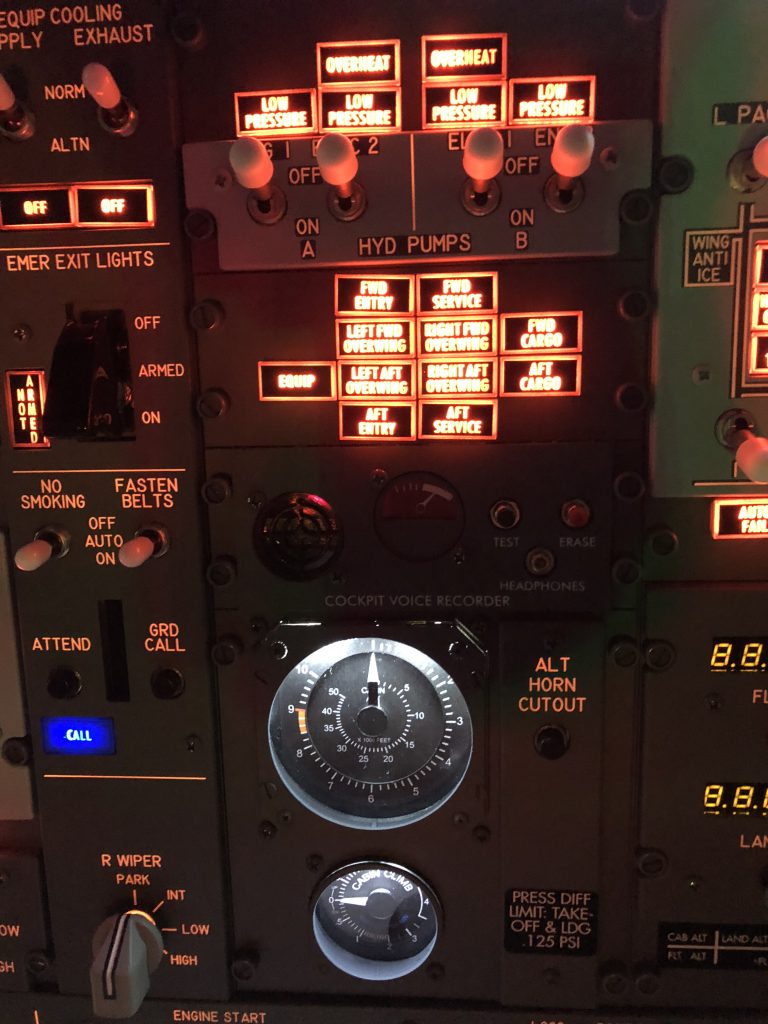
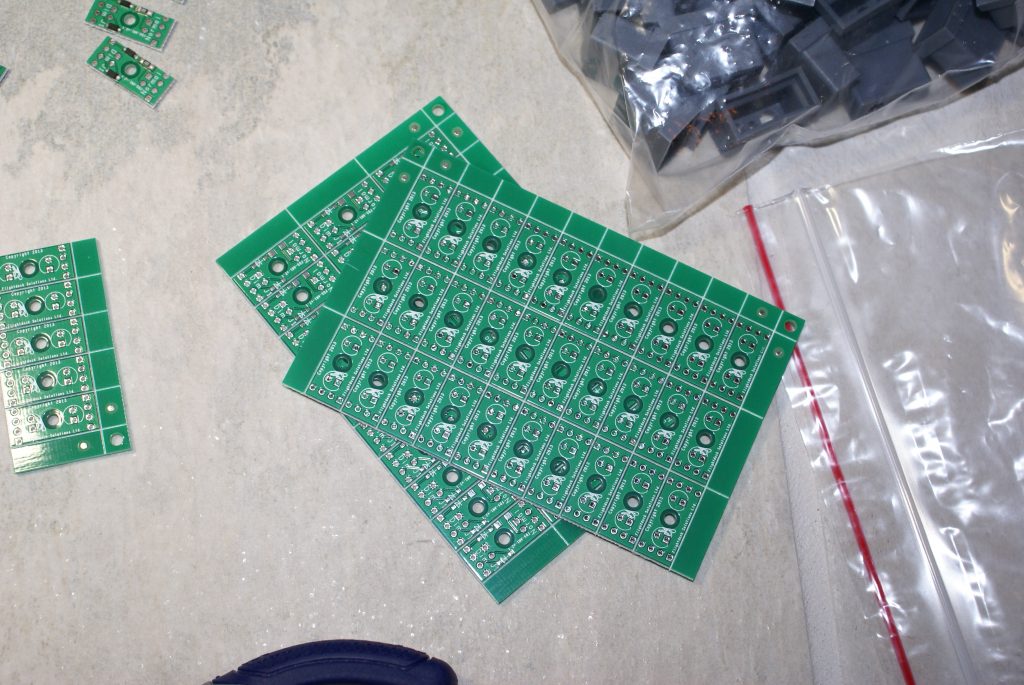
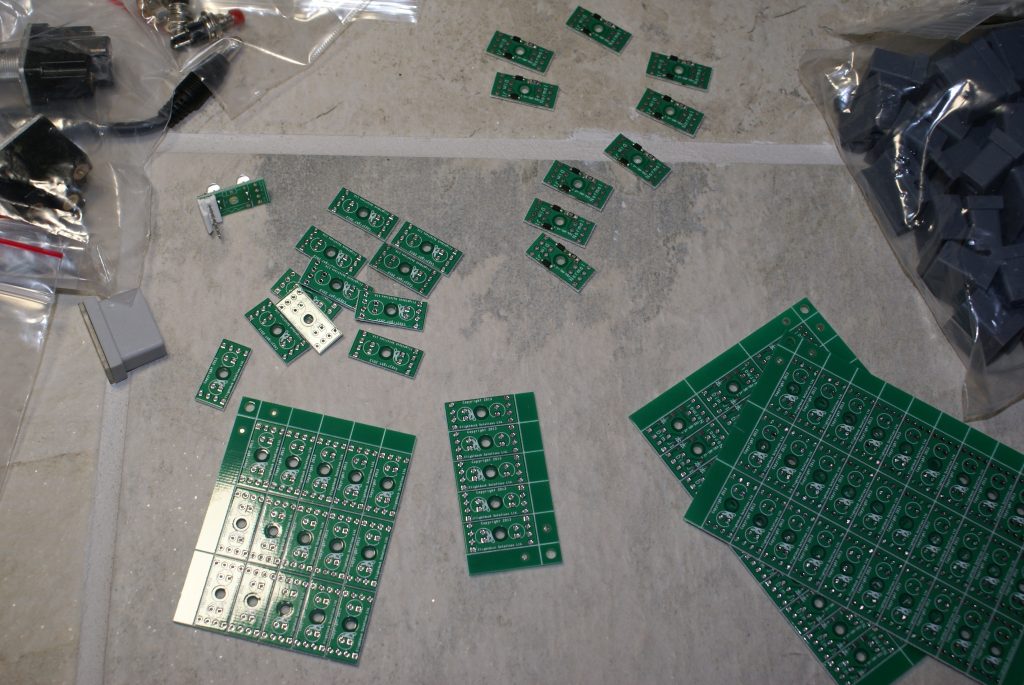
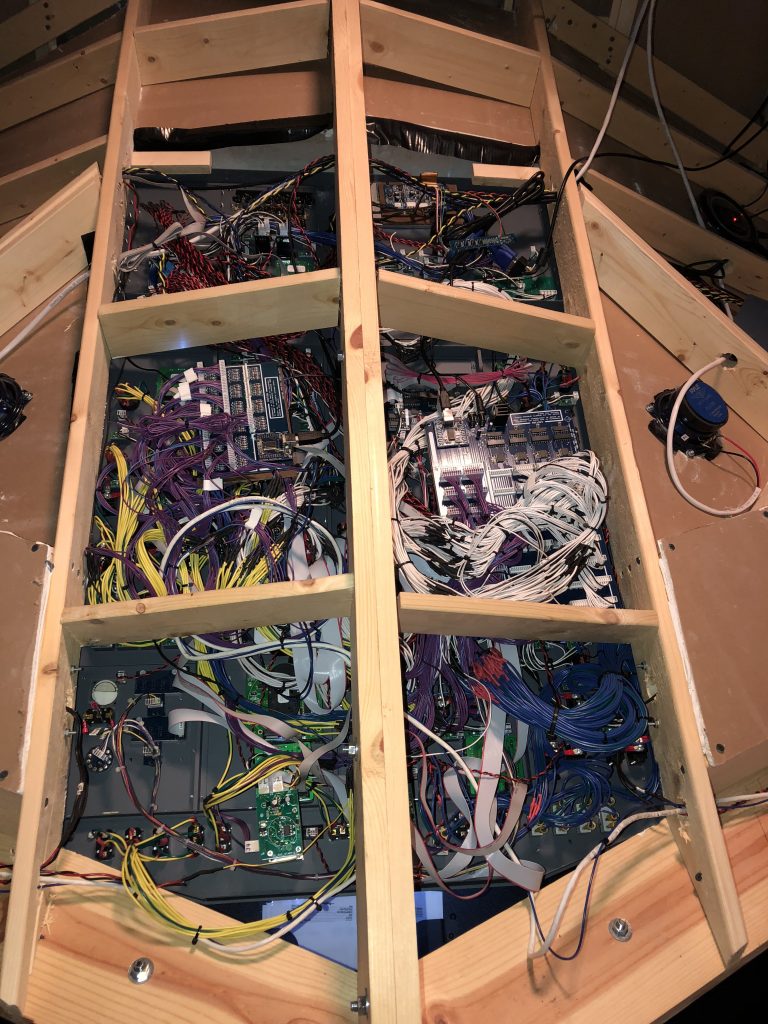
Sub Panels
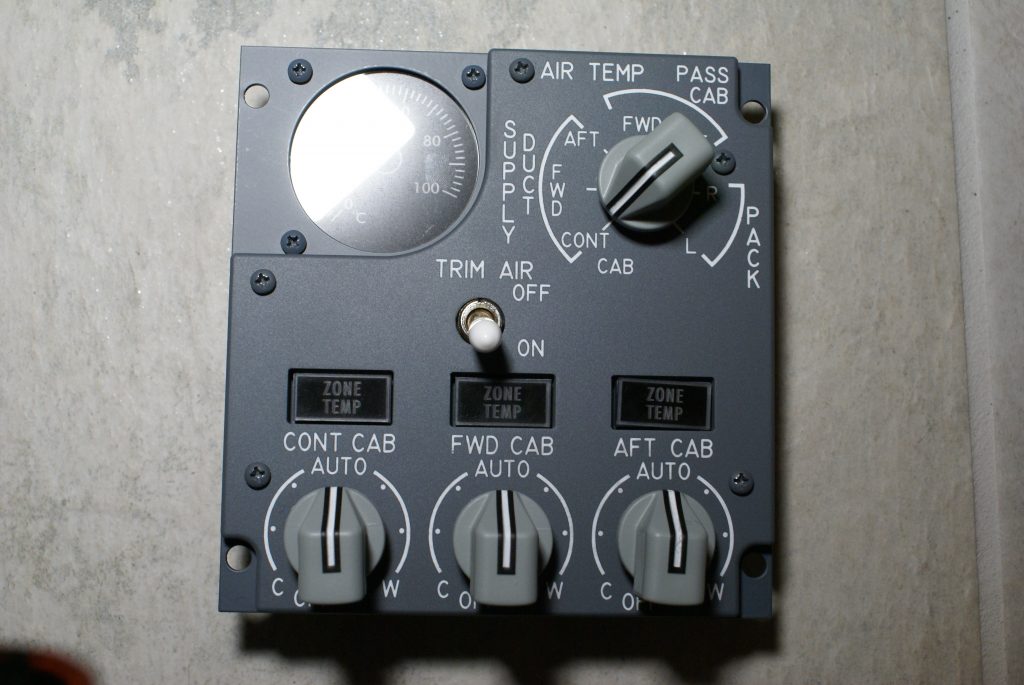
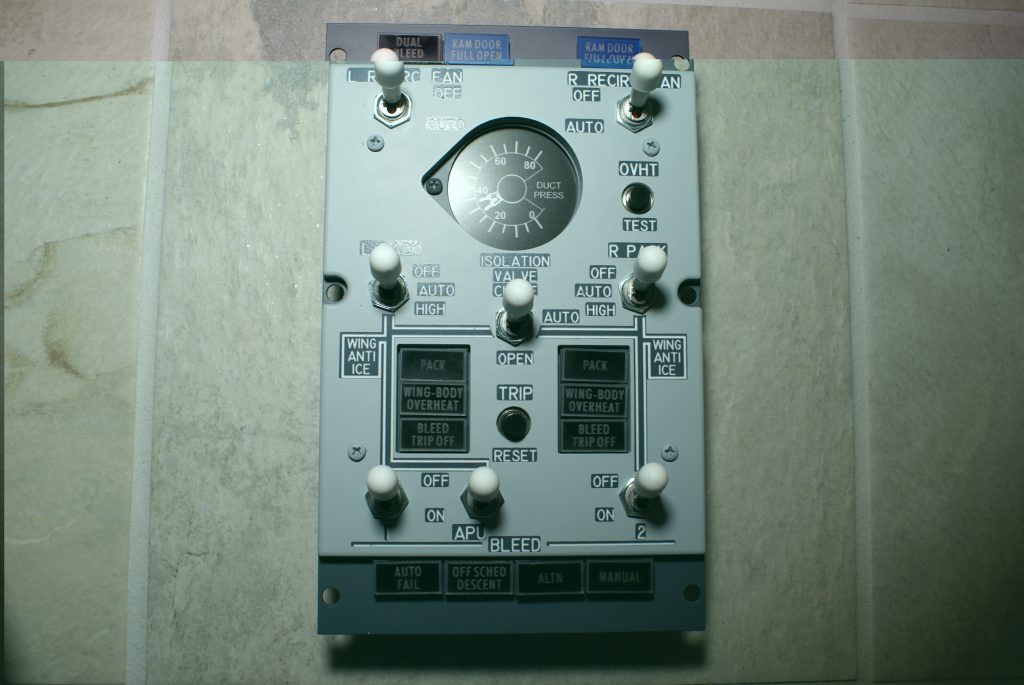
All sub panels were assembled and wired. Below are several pictures of the major components.

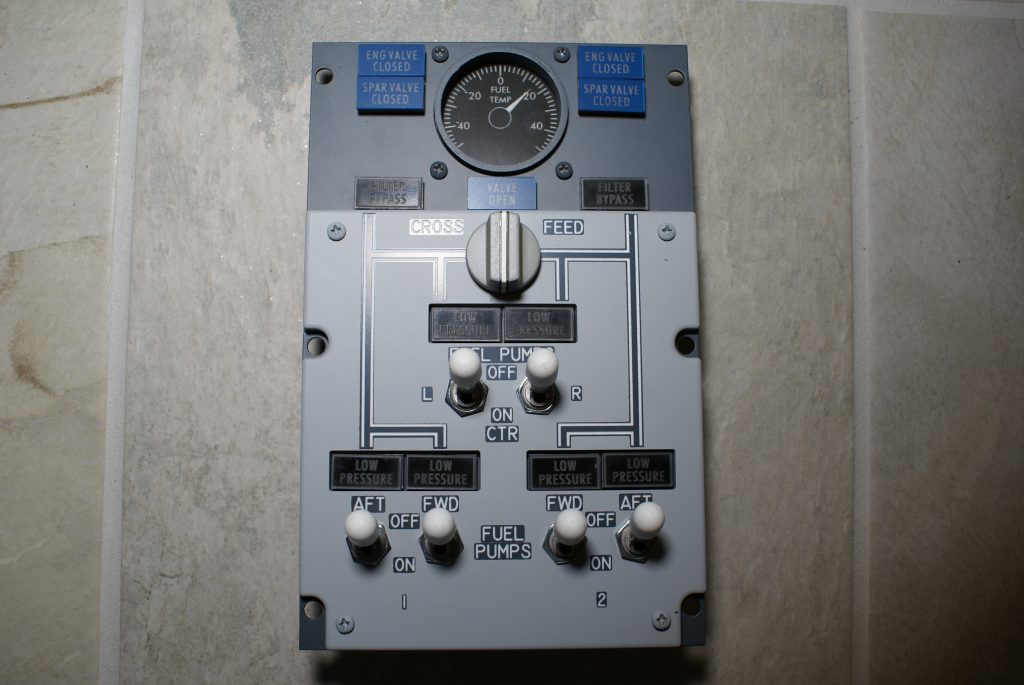
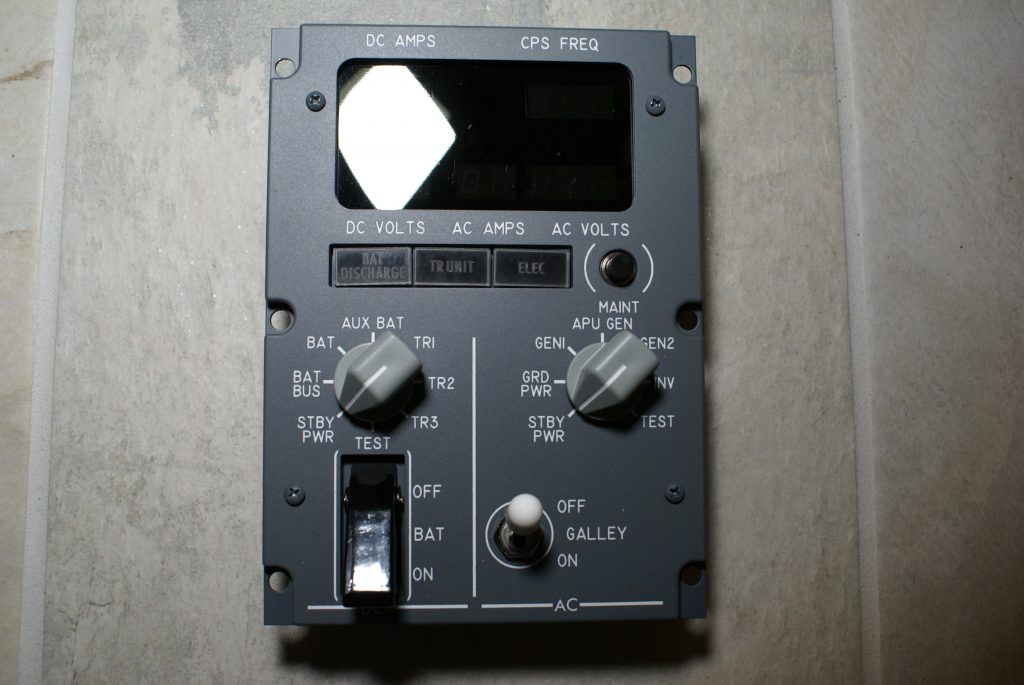
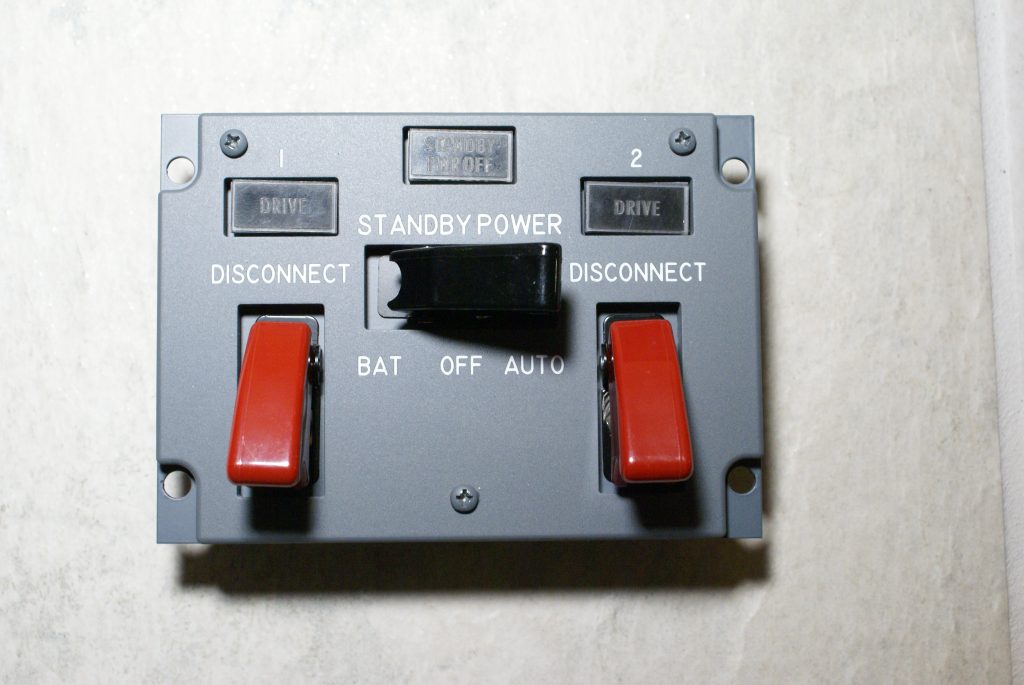
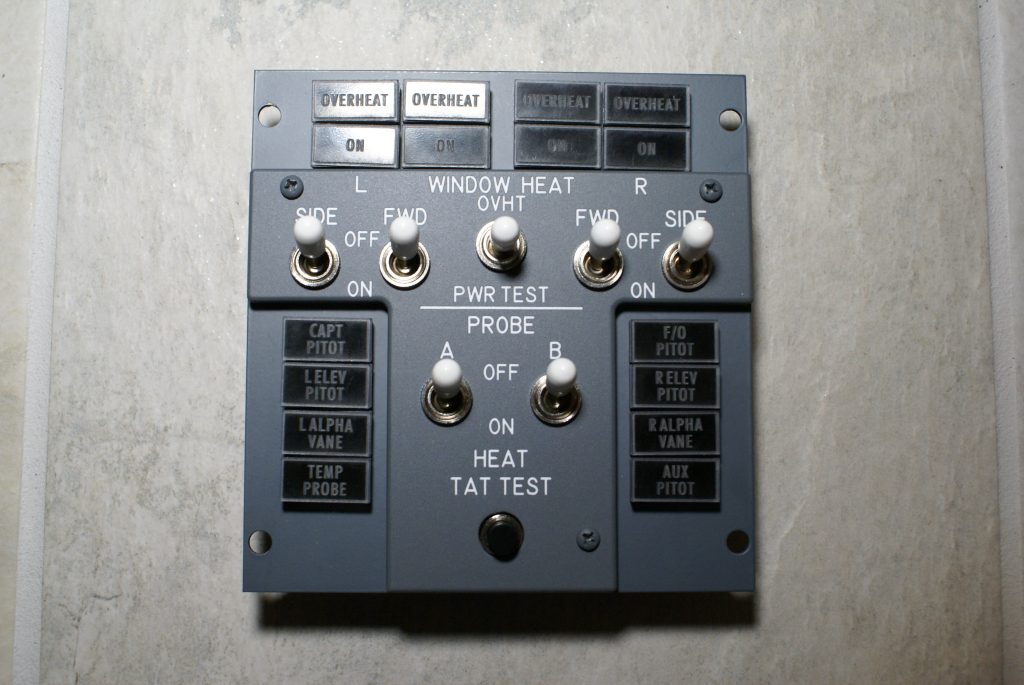
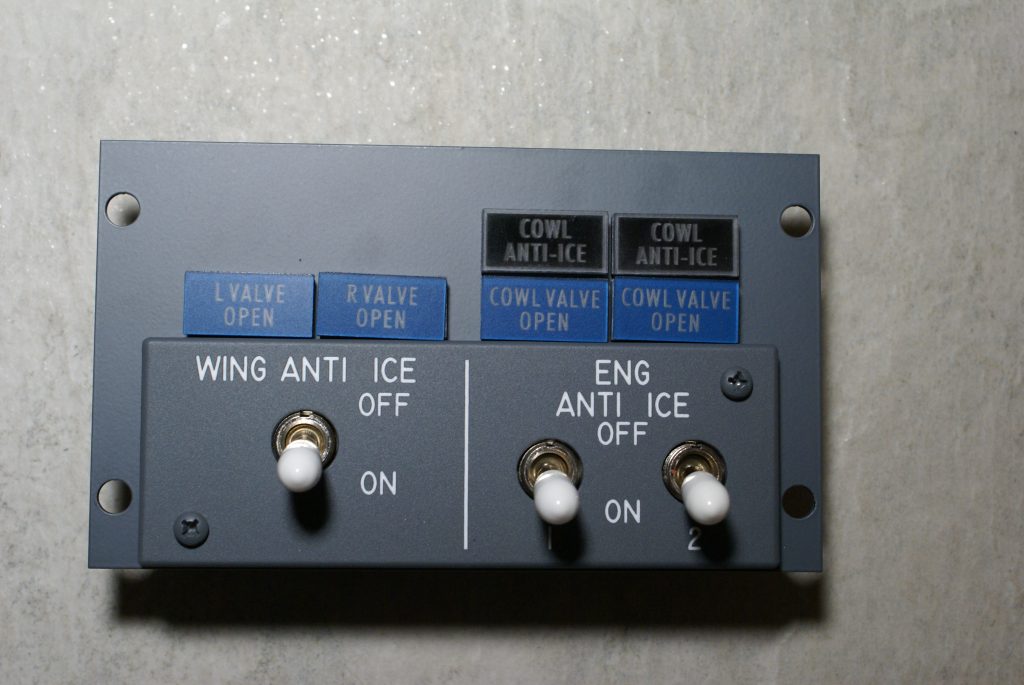
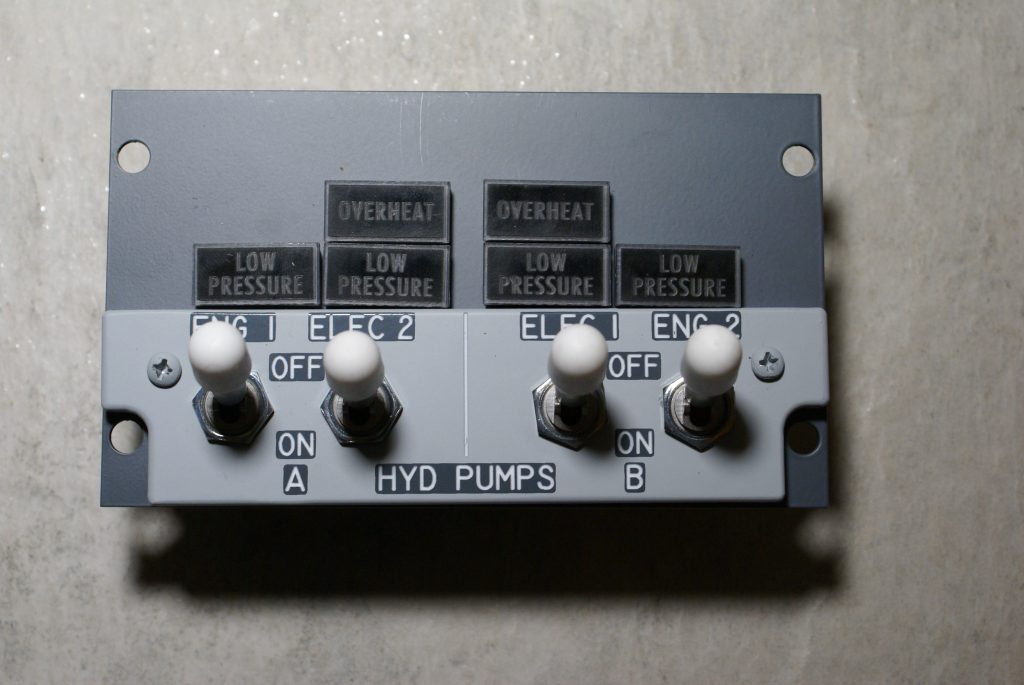
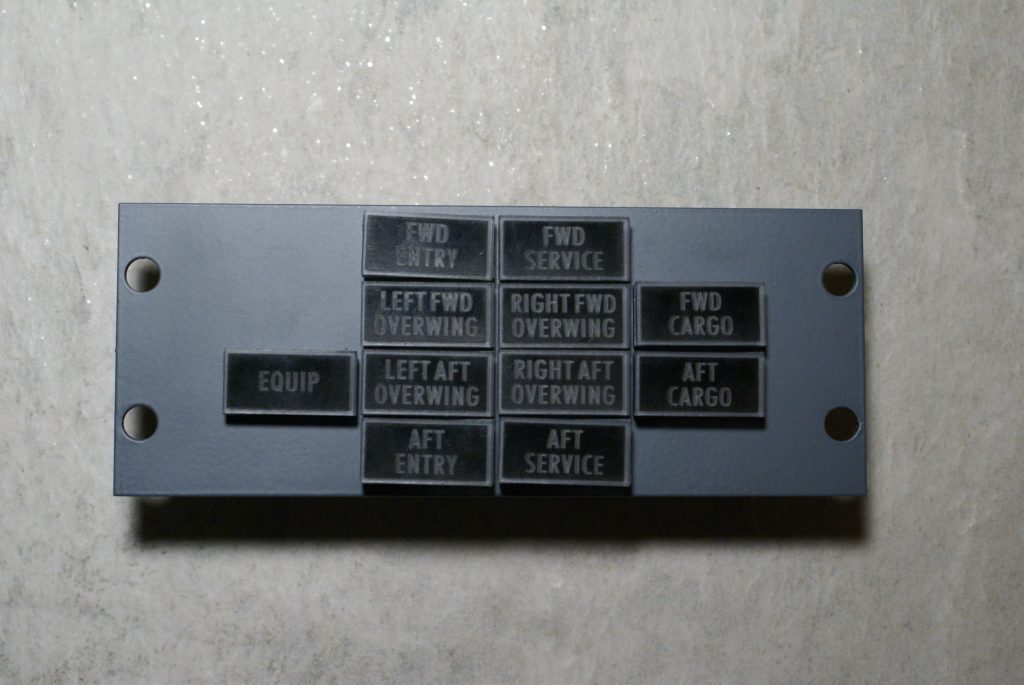
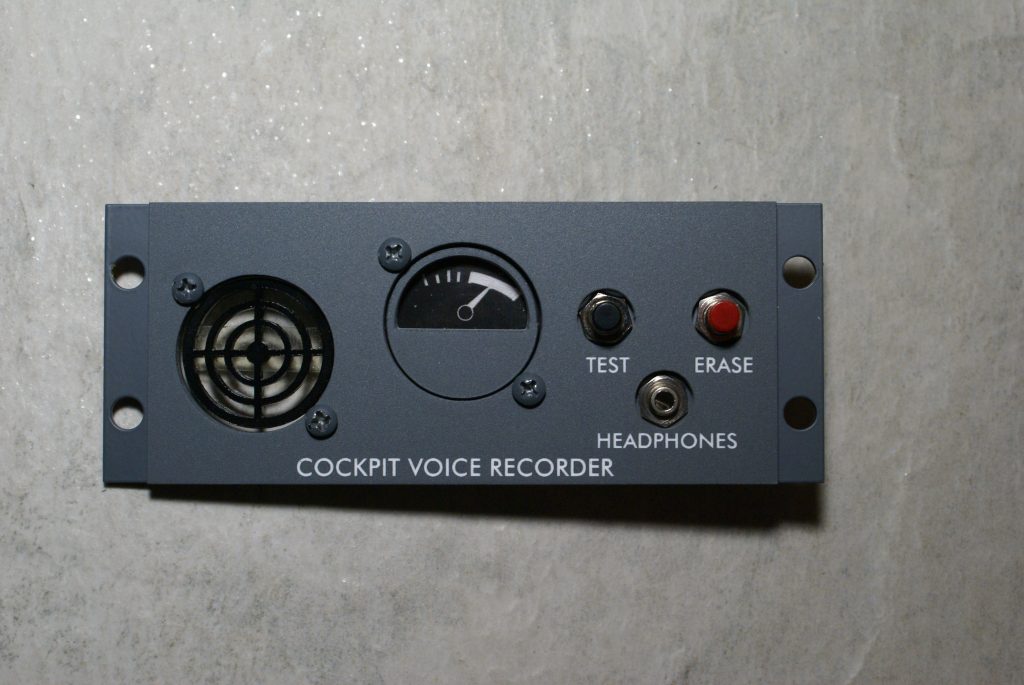
The wiring for the overhead is insane. There is wiring for the backlighting, switches, toggles, push buttons and LED’s.
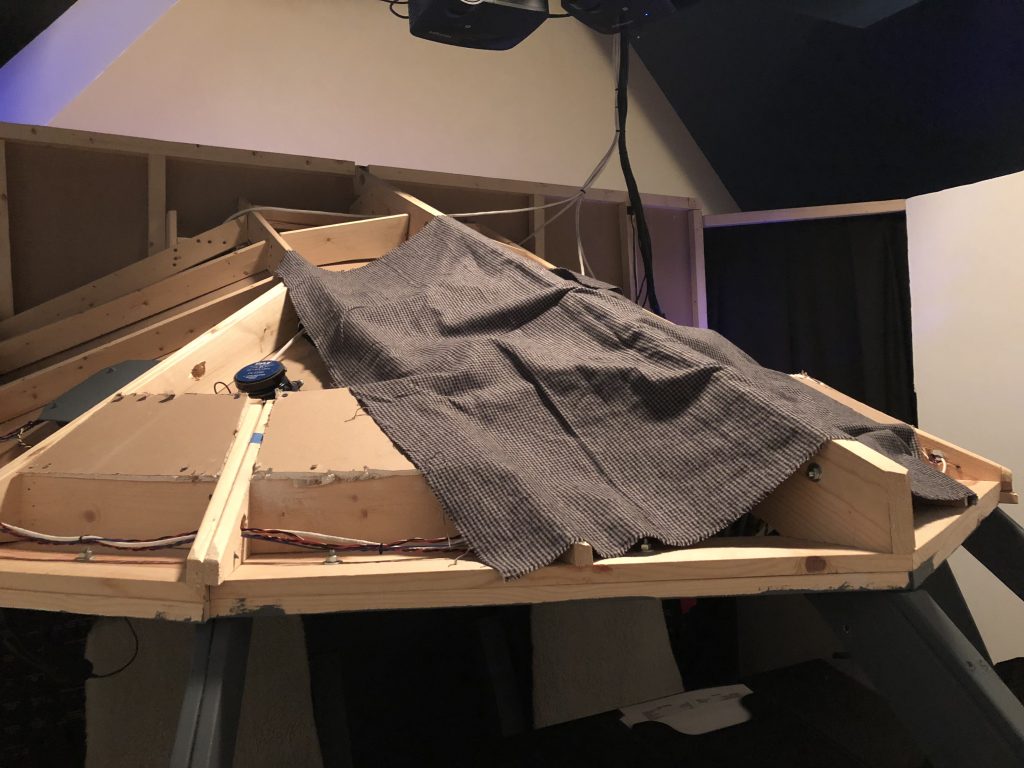
Once wired and tested, I mounted the FWD and AFT panel to the ceiling of the flight deck shell. This was no easy task as the assembled unit is heavy and awkward. Make sure you have help for this phase.
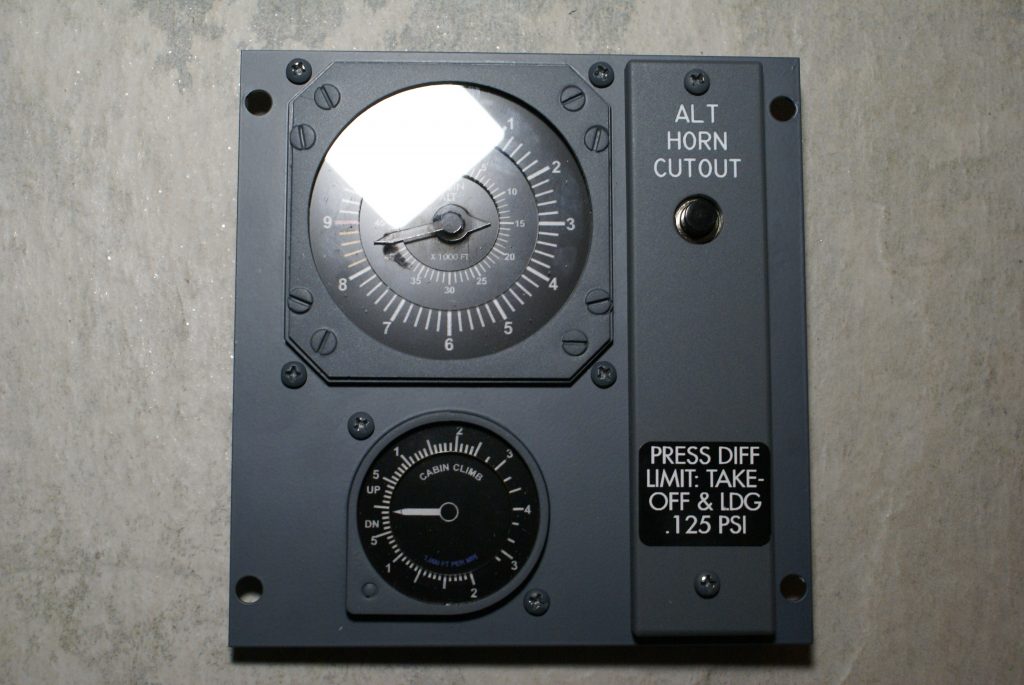
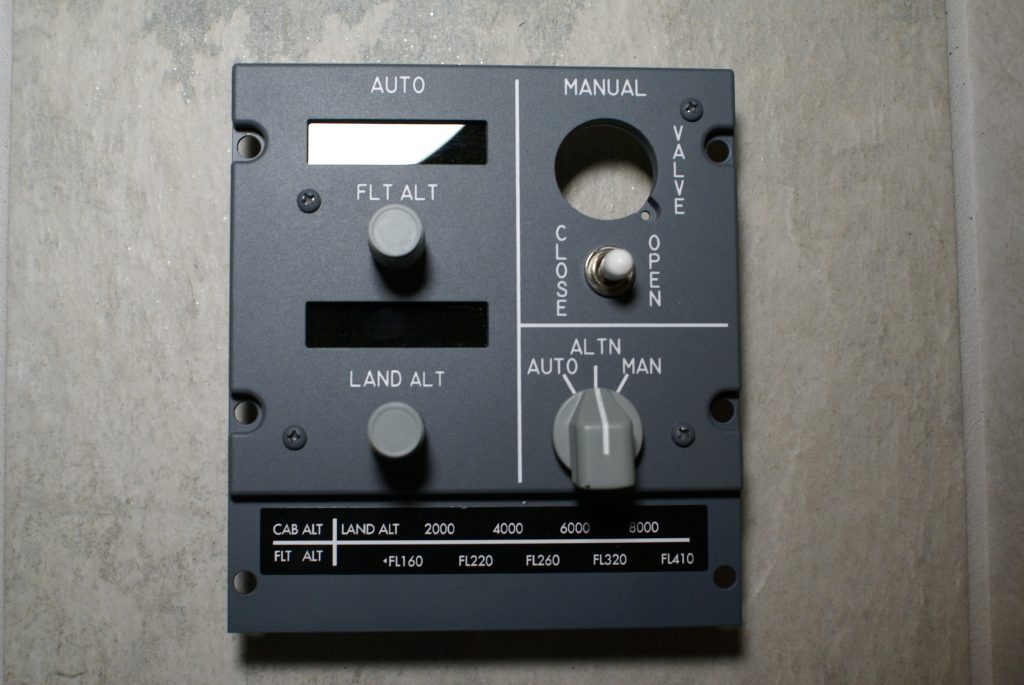
In the overhead I also installed Flight Illusion gauges (7 total), a custom LCD panel for the IRS AFT overhead panel, Two (2) SYS Boards, two solenoid operated starter rotary switches and the ELEC CAB with ribbon cables for the altitude panel. The backlighting is also dimmer controlled. All make the overhead over the top.